How to Run Basic Sync with Qiling Disk Master
Basic Sync is a feature that allows you to synchronize folders to other locations, such as an external hard drive, NAS, or removable USB flash drive. It works similarly to Windows' "copy" feature, but without creating an image file after the sync process is complete, allowing you to view your contents at any time.
Here are some examples of situations where basic synchronization may be needed for file operations: when multiple threads are accessing the same file, when a program needs to read and write to the same file simultaneously, when a program needs to ensure that a file is completely written before reading from it, or when a program needs to prevent multiple instances from writing to the same file at the same time.
- File Backup: Copying a file from one location to another is a common backup strategy that protects data from accidental deletion, damage, or loss by creating a duplicate that can be recovered in case the original file becomes compromised or lost.
- File Migration: File copying is the process of transferring a file from one storage device, server, or system to another, often used to move files from a local computer to a shared drive or between cloud storage services.
- File Sharing: When sharing a file, a copy is often made and placed in a shared location, such as a network drive or cloud storage, so others can access it without affecting the original.
- Multiple Uses: In some cases, the same file needs to be used in multiple applications or environments, but each may require different modifications or configurations. To accommodate this, it's common to copy the file to different locations and make the necessary adjustments to meet the needs of each use.
- File Sharing Permissions: Sharing files may require applying different access permissions based on individual users or user groups. This can be achieved by copying the file to separate directories for each user or group and setting specific permission settings accordingly, allowing for fine-grained access control.
How to run Basic Sync with Qiling Disk Master in Windows 10 step by step
Prerequisites for basic sync
Download Qiling Disk Master Standard, a free file sync software, and install it on your computer.
And you need to create a file to sync.
Detailed steps about how to do a basic sync
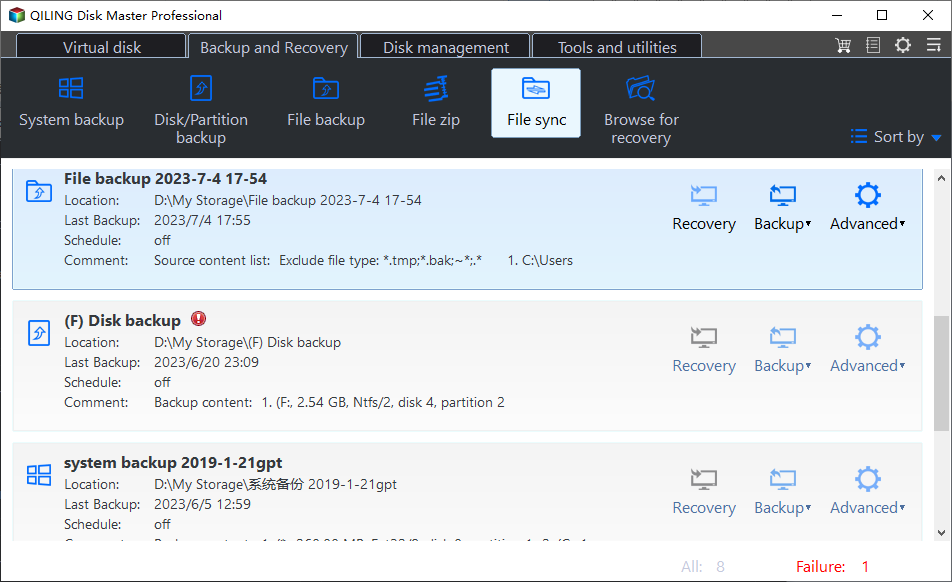
1. To access file sync, click on the "Backup and recovery" tab on the left side of the screen, followed by selecting the "File Sync" option.
2. You can create a backup using the Basic Sync Task, naming it to distinguish it from other sync tasks. To do this, click on the "Folder" option to select the folder you want to synchronize, and then click the "+" icon to add more folders to sync.
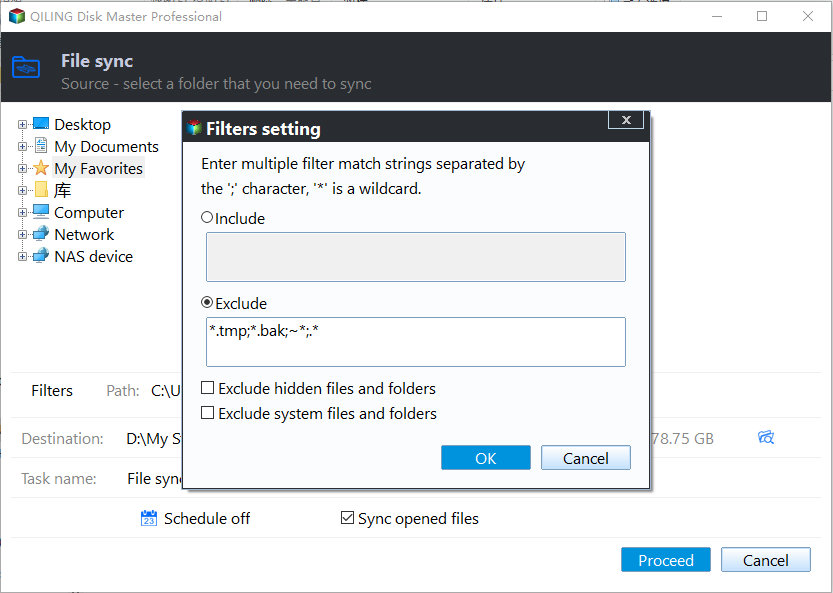
Tips: When adding folders, you can click the "Filter" button to open the "Filter Settings" for filtering files after adding the folders.
- The feature "Filter Settings" can be set after adding source folders, and it's only available in paid versions.
1) The File Inclusion Mask can specify files to sync, supporting wildcards and allowing multiple masks separated by semi-colons.
You can configure the mask to include sync files based on their extensions, like .doc, .xls, .ppt, and more, so only files with the same extensions are synced to the target path.
To sync only .doc files in the selected source folders, configure the mask with "*.doc" and separate multiple extensions with semi-colons if needed.
2) The File Exclusion Mask specifies the files to exclude, allowing for wildcards and multiple masks separated by semi-colons, such as *.temp;*.tmp;*.bak;*~*.
With this mask, you can configure to exclude files with specific extensions, such as .temp, .tmp, .bak, and others, thereby preventing their sync to the destination location.
To exclude only .temp files in the selected source folders, configure the mask with "*.temp" and separate additional formats with semi-colons if needed.
3) The Folder Exclusion Mask allows you to specify folders to exclude, supporting wildcards and separating multiple masks with a semi-colon.
This mask allows you to exclude folders with the same name, preventing them from being synced to the destination location.
To exclude a specific folder from the source folders, simply add its name to the mask, separated by semi-colons if there are multiple folders to exclude. For instance, if you want to exclude folder "A", you can just configure "A" in the mask. If you need to include more folder names, separate them with semi-colons.
You can also tick the bottom three boxes as you need. After setting the "Filter settings", please click "OK".
Please check the 3 filter example settings below:
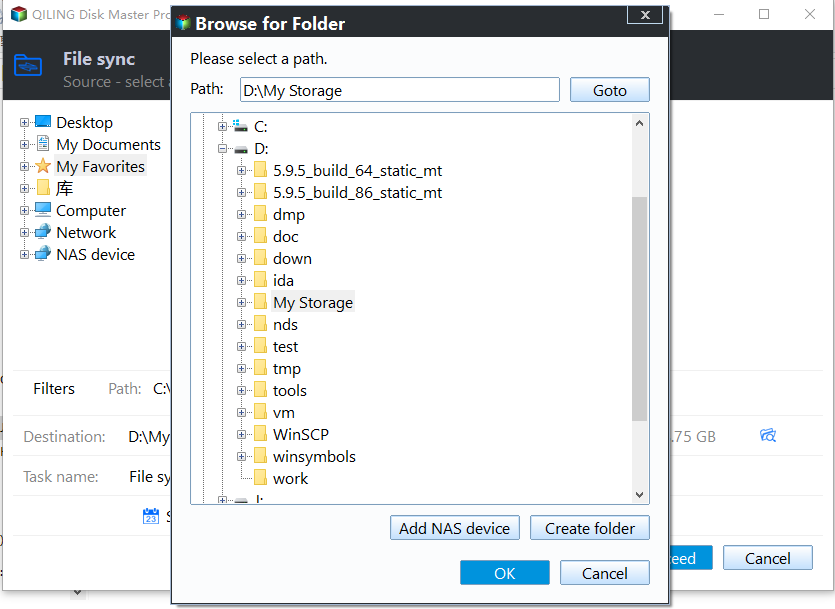
3. Select a destination location to store the folder, then click "Proceed" to complete the operation.
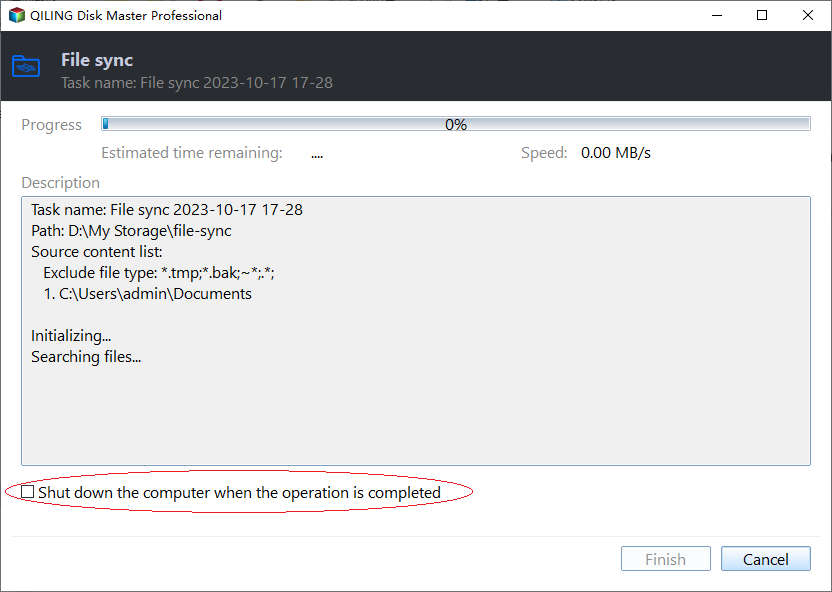
Tips: While sync is running, you can click an icon in the lower-left corner to set your PC to shut down, restart, hibernate, or sleep once the sync is complete.
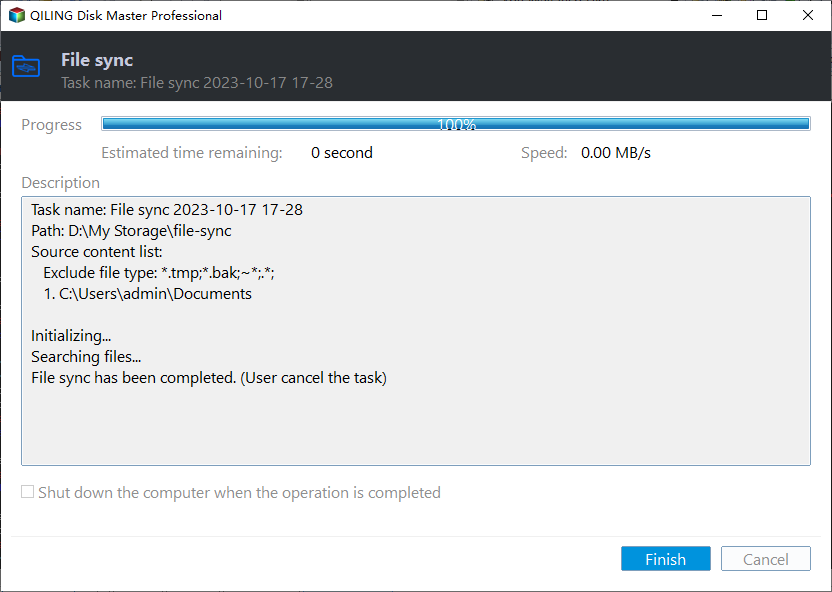
- When syncing, you can also click on the underlined sentence to see the sync process in detail. Wait for the sync to finish, then click "Finish".
4. The data is now accessible directly on the destination location, allowing for straightforward viewing.
Tips: When you run the Basic Sync task again, the added and changed data from the source directory will sync to the destination. If you need the files to be deleted from the destination location when they are deleted from the source folder, please tick the "Sync the deletions in the source directory to destination" option under Options->General.
Sync Settings
When creating a new Basic Sync task, you will find a "Options" button in the lower-left corner of the interface.
Click the button and you will see a dropdown menu with options for "General", "Command", and "Advanced".
General
- Comments: "Task: Daily System Backup - This task is responsible for creating a daily backup of the entire system, including all files, databases, and configurations. The goal is to ensure business continuity and data recovery in case of any system failures or data losses. The backup will be stored on a separate server for added security and redundancy.
- Email notification: In unattended operations, a notification can be sent via email containing the result of each backup, providing users with a summary of the backup process without requiring direct interaction.
- Sync the deletions in the source directory to the destination: When files are removed from the source directory, the corresponding files in the destination directory will also be deleted.
- Verify the integrity of files in the destination directory during synchronization: If a file in the source directory doesn't exist in the destination directory, it will be synced to the destination directory, ensuring file integrity, even if files in the destination were deleted manually. This option increases sync time.
Command
In this option, you can set the pre-command and post-command.
Advanced
- Operation Priority: What is the operation priority of the task? Please choose from the following options: High, Medium, Low. The higher the priority, the faster the task execution speed will be.
- Others: To create a Basic Sync task, you need to tick the box "Automatically create a folder with the same name as the task in the target location" before initiating the task, as this option is unticked by default.
Schedule Sync
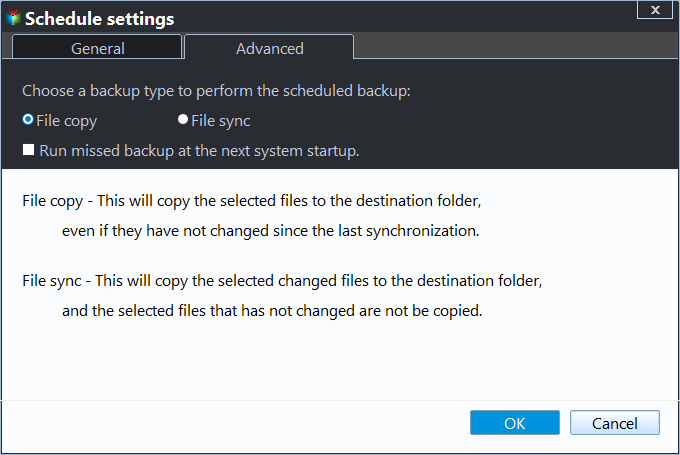
To schedule a sync task, select the "Schedule" option, which will prompt a dialog box. From there, choose the desired sync frequency, such as daily, weekly, or monthly, and select the sync method, including event triggers and USB plug-in.
Notes:
- The Basic Sync feature will copy the whole source folders by default, including subfolders and files, to the destination directory, unless specific files and folders are included or excluded through the "Filter Settings".
- Don't change the name of the source folder(s) after setting up basic sync, or the sync process won't work properly.
- For a new basic sync process, if the source file name matches a previously synced destination, the destination copy will be overwritten, with no option to retain a different version of the file using the same name.
- Due to Windows API restrictions, the maximum file path for basic sync is limited to 256 characters. To avoid issues, please verify and shorten folder names if necessary, and avoid using folders with special characters in their names. This ensures successful synchronization with Qiling Disk Master.
- Qiling Disk Master can only sync contents of unchanged folders during Basic Sync operation, requiring task modification if source folders are renamed or moved.
- The Basic Sync is a one-After modifying the source files, they will be synced to the target directory. However, if source files are deleted, they won't be synced to the target directory. Conversely, if a file is deleted in the target directory, it won't be deleted in the source directory.
- Synchronizing the C drive to another disk with Qiling Disk Master will not allow you to boot from the synced disk, as it only copies data and not the system's boot configuration.
- Basic Sync supports VSS, enabling synchronization of files in use by other programs, but requires the "Volume Shadow Copy" service to be enabled, and files exclusively used by other programs are not synchronized.
- If there are special system files or folders with security attributes in the source folders, they won't be synchronized and you'll be prompted to skip them.
- Basic Sync's main function is to synchronize working files and user data files, but it excludes special system files or files with special security attributes from synchronization.
- If the target path is on a FAT or FAT 32 partition, files larger than 4 GB won't be synced there because FAT/FAT 32 can't store files over 4 GB.
- After synchronizing folders, any changes made directly by the user to the files or folders stored under the destination location will cause inconsistencies between source and destination data, leading to potential errors or data loss.
Conclusion
File syncing can consume storage space and take time, especially with large files or many files, and it's crucial to ensure accuracy and integrity to avoid data loss.
FAQs:
Q: Why was the source folder created in the destination location?
A: The design mechanism for Qiling Disk Master creates a folder with the same name as the original path to store synchronized files, preventing confusion with the original file in the target path.
Q: Why are changed/new files not synced to the destination?
A: To ensure that the changes to the file are synced, verify that you have completed the sync task after the file has been modified. This will guarantee that the updated file is reflected in the system.
Q: When files are deleted from the source location, they are not synced to the destination again because the sync process typically only copies new or modified files from the source to the destination, but does not restore deleted files. This is a deliberate design choice to prevent accidental overwriting of existing files at the destination.
A: Disk Master currently doesn't support deleting files from the destination when deleting from the source for common or schedule sync. However, you can try using real-time sync and check the option "target files will be deleted when deleting the source files" in the real-time sync settings.
Related Articles
- Download the Best USMT Alternative to Migrate User Profiles and Settings
If you are looking for an easy User State Migration Tool (USMT) alternative to migrate user profile, keep reading this article and I'll introduce you to such software. - WD Smartware Files Pending Backup-Why Files Not Backed up
Have you encountered the WD SmartWare file pending backup that leads to files not backed up? This article will show you how to resolve it effectively. - Easiest | Automatic Backup Software for External Hard Drive
You will learn the easiest automatic backup software for external hard drive - Qiling Disk Master and how to backup file to external hard drive in simple steps. - Perform Auto Backup with Batch File in Windows 10 (2 Ways)
This article introduces how to create backup batch file in Windows 10 and how to automate the task. If you have further backup needs, here's also a reliable program with GUI
