Continuous Backup Explanation and Best Practices (Full Guide)
What is Continuous Backup, Why Use It
Continuous backup, Continuous data protection (CDP) is an advanced backup scheme that automatically saves each version of changed data on a tight schedule or in real-time.
Continuous backup is a time-The Continuous Data Protection (CDP) concept has been adopted by some Windows backup software and remains in use today, offering advantages over traditional data backup solutions.
◆ The backup is automatically executed, eliminating the need for manual setup and ensuring data security.
◆ For frequently modified data, keeping multiple copies allows you to revert to any previous version when needed, making it easier to track and recover changes.
Achieving continuous backup in Windows 11/10/8/7 involves using a reliable backup software to automatically save your data at regular intervals. This ensures that your files and settings are protected in case of a system crash, hardware failure, or other disasters.
- How to Implement Continuous Data Protection in Windows 10/8/7
- Best Backup Software for Windows Continuous Protection
How to Implement Continuous Data Protection in Windows 10/8/7
When searching for "Windows continuous backup" on Google, the results are likely dominated by third-party software solutions. This is because the built-in backup utilities in Windows are not capable of achieving true continuous or real-time backup. Instead, they allow users to schedule backups of specific folders or volumes, but with limited options and a lower success rate compared to third-party solutions.
In Windows Backup and Restore, continuous backups can only be set as frequently as once a day, whereas File History allows backups to external drives but lacks scheduling options. System Image Backup also lacks a scheduling feature.
To set up a flexible backup schedule or perform real-time backups, using a specialist continuous backup software is recommended. However, for simple automatic file backups, built-in tools like File History may suffice.
Best Continuous Backup Software for Real Time Data Protection
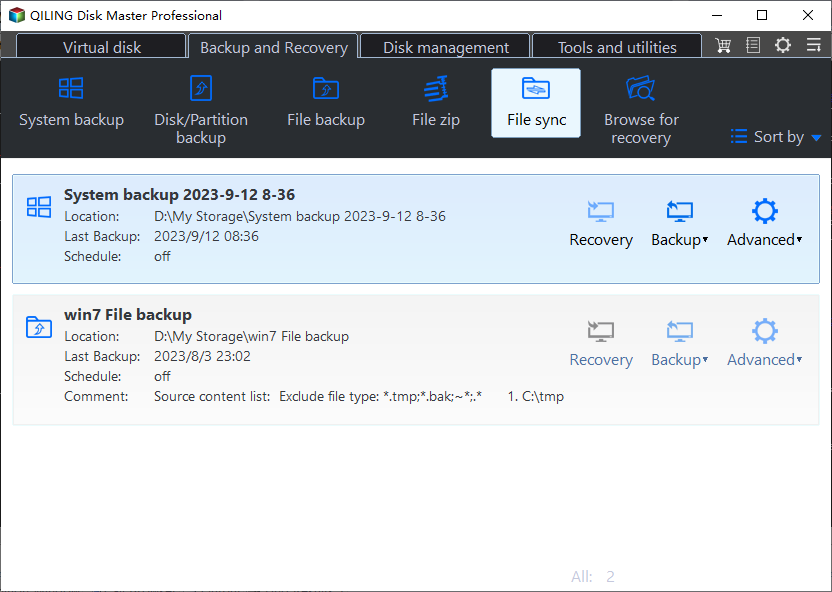
To set up continuous backup in Windows, a flexible and effective backup software is necessary, such as Qiling Disk Master Professional, which provides complete backup and restore capabilities.
🔹Qiling supports all Windows OS, including Windows 11/10/8.1/8/7/XP/Vista, and devices such as internal/external hard drive, USB, network, and cloud drive. It also allows backup to Qiling Cloud with a Qiling account.
🔹With this feature, you can create a schedule for automatic backups of files, partitions, system, or even the entire disk. You can choose from various options such as daily, weekly, or monthly backups, as well as event triggers like startup and shutdown. Additionally, you can set specific time points and intervals for the backups, making it flexible and convenient.
🔹It offers a real-time sync feature that continuously backs up changed files in real-time.
🔹The software offers additional features like cloning Windows to another drive, and provides practical tools such as creating bootable media or wiping a disk.
You could download the 30-day free trial to have a try:
There's also a completely free Standard edition with basic schedule options, or a Server edition for Windows Server users, with details in the edition comparison.
How to Continuous Backup Changed Files in Real Time
If you don't feel like creating a schedule, and want to backup changed files in real-time, Real-Time Sync may suit your needs better, available in Qiling Disk Master Professinal, it enables you to automatically sync files or folders from source directory to target directory once changes are detected.
You can choose between Two-Way Sync, which syncs changes in both directories, and Mirror Sync, which keeps the target directory identical to the source directory.
Note that real-time syncing won't keep different versions of your changed data, only the latest version. If you want to keep different versions, you can create an automatic backup with a tight schedule.
Steps for continuous backup to external hard drive:
1. To continuously back up your data, navigate to the Sync tab and select Real-Time Sync.
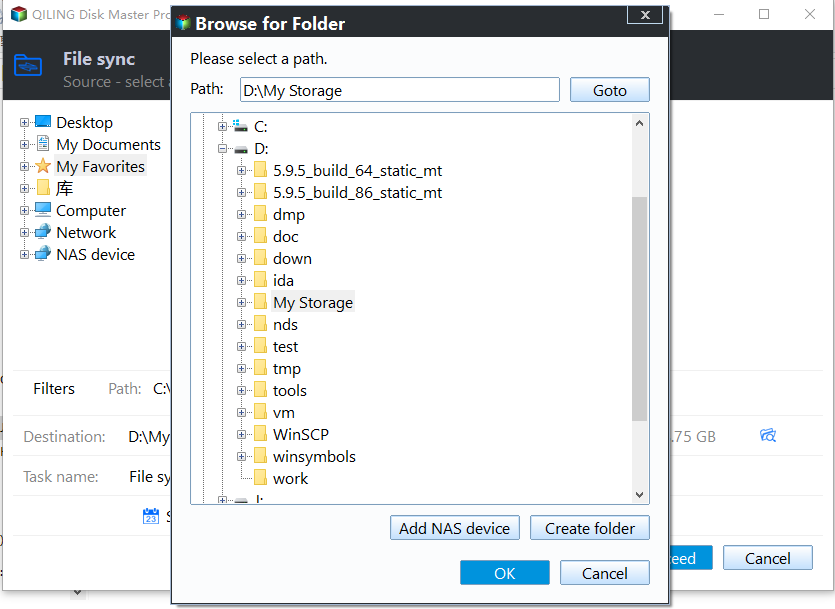
2. Click "Add folder" to specify the data you want to sync, allowing you to add multiple folders by clicking the "+" button.
>> To access data from a network share or NAS, click the "Share/NAS" button in the pop-up window.
>> To narrow down the files to be processed, click on the funnel button to access the Filter settings. Here, you can include or exclude files based on specific formats.
3. To select a destination directory, choose a location outside of your local disk where you can sync your files, such as a network drive, external hard drive, or USB device.
>> To backup changed files to removable devices in real time, keep the device always connected.
4. Click Proceed and wait for the process to complete.
Your files are now under continuous data protection, and any changes detected in the source directory will be synchronized to the target directory in real time.
◆ What's the difference between Sync and Image Backup?
Both backup and sync are effective data protection solutions, but they serve different purposes. A backup typically creates a restorable image of the source data that can't be used directly, whereas sync creates an exact copy of the files in their original format, allowing for direct access and use. This means that while a backup can be used to restore previous versions of data, a sync is more suitable for keeping multiple copies of the same data for easy access and use.
How to Continuous Backup Data with A Tight Schedule
Automatic backup with a reasonable schedule is the most common form of continuous backup. This can be achieved using Windows' built-in utilities, but professional backup software like Qiling Disk Master offers more flexible options, especially for protecting operating systems like Windows 10.
Steps to create automatic backup with tight schedule:
1. To backup your system, go to the Backup tab, select System Backup, and other backup types are also available.
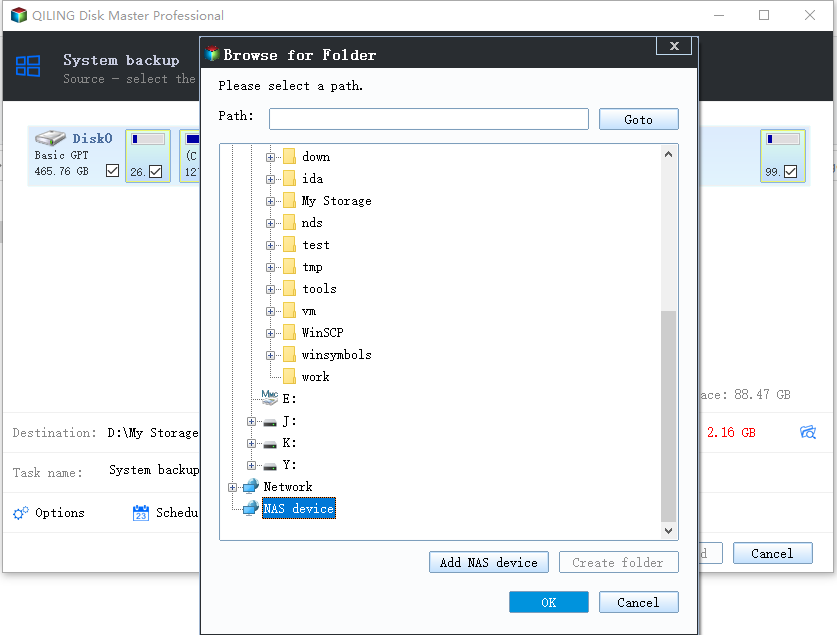
2. The system partitions are automatically selected as the source, and you can choose a destination. You can also select a network location or a cloud drive by clicking on the inverted triangle icon.
3. To set up a continuous backup, click Schedule Backup. You can select the frequency as Daily, Weekly, or Monthly, and choose specific time points or intervals. Additionally, you can set the task to autorun when certain events occur, such as logon or logoff, startup or shutdown, or when a USB device is plugged in.
If you're concerned about your continuous backup filling up your storage space, you can use the Backup Scheme option to set a retention policy for automatically deleting older backups.
4. Click Proceed and wait for the progress to end.
The scheduled incremental or differential backup will backup only changed or newly added files each time. To restore an earlier version, go to Restore > Select Task or Select Image File, and choose the image file at the desired time point.
✍Tips:
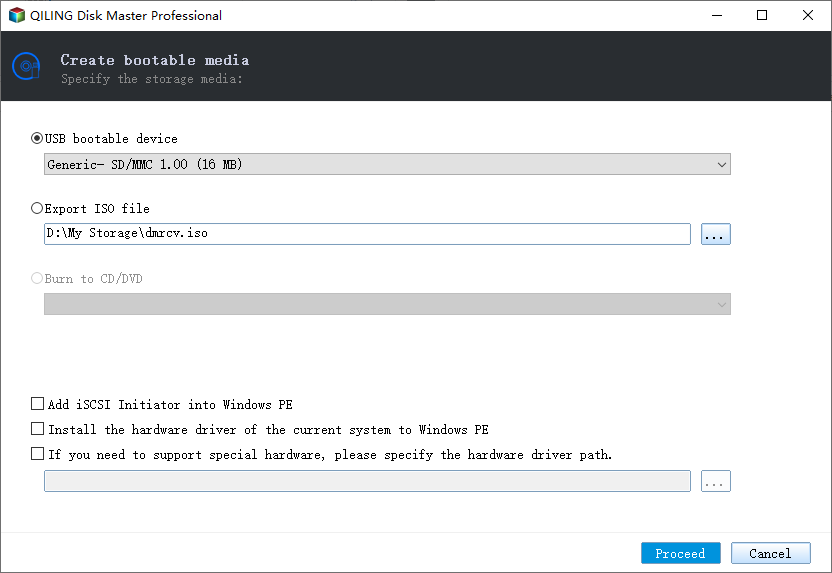
If your Windows computer won't boot, you can try booting it with a bootable disk or create a recovery environment to boot it successfully. If you don't have a bootable disk, you can create a recovery environment on your computer in advance to help you boot it and enter the software interface.
Schedule backup Windows data with built-in backup tools
Since Windows 8, users have had several built-in options to perform scheduled backups, covering basic data protection needs. These options allow users to create scheduled backup tasks, providing a convenient and built-in solution for data backup.
-
In Windows File History:
For Windows 8/8.1/10/11 users, automatic file backups can be achieved using an external hard drive. This method is ideal for those who prioritize specific folders and want to back them up regularly.
In Windows 11, the ability to add custom folders for backup has been taken away, leaving only the Users folder as an option. *
1. To find the Windows File History feature, go to Start > Settings > Update & Security > Backup, or simply type File History in the search bar.
2. To set up automatic backups, connect an external hard drive, click "Add a drive" to select it, and then click "More options" to choose the frequency of backups, which can range from hourly to daily.
-
In Windows Backup and Restore:
The tool applies to Windows 7/8/10/11 for backing up folders, libraries, or system images, and is necessary for creating a system backup or bare metal backup.
1. To enter the Backup window, search for it, then click on it to open it. Once open, click on "Go to Backup and Restore (Windows 7)".
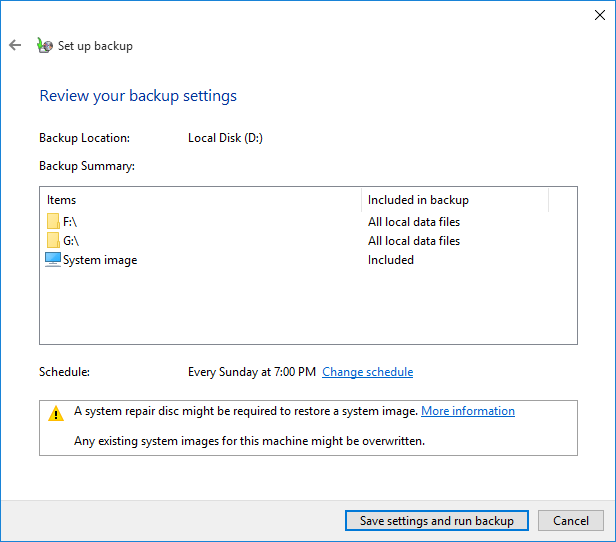
2. To set up a backup schedule, click Set up backup, follow the wizard, and then click Change schedule on the Review your backup settings page. From there, you can choose from daily, weekly, or monthly backup options.
The guide provides step-by-step instructions on how to use Windows 10's built-in backup options, including screenshots to help users navigate the process.
Conclusion
In Windows 10/8/7, there's no built-in utility that can provide effective and flexible continuous data protection, so you still need to use continuous backup software to automatically save your changed data with a schedule or in real time.
Qiling Disk Master is a reliable Windows backup software that offers continuous protection for your important data. With its scheduled backup and real-time sync features, you can ensure that your files are always up-to-date and safe. Additionally, its clone feature allows for easy migration of your OS to another hard drive, providing a seamless transition to a new storage device.
Related Articles
- Create Schedule Automatic Backup in Windows 10 [3 Ways Included]
- Best Way to Do Real-Time Backup to External Hard Drive
- Best Free Way to Backup PC to Cloud in Windows 10/8/7
- Real Time File Backup in Windows 7/8/10 to Backup Changes
