How to Quickly Partition a Hard Drive with Qiling Disk Master?
Updated on Jun 24, 2024 | by Nick Jones
Overview of Quick Partition
Quick Partition in Qiling Disk Master is a feature designed for quickly repartitioning a hard drive, which can run smoothly in PC, Server, and Windows PE systems. It allows users to partition a new hard drive or repartition an existing one with existing partitions. Users can specify each partition's size, type, volume label, and more. With a few easy operations, a hard drive can be partitioned and formatted, with the option to keep the default partition count, type, and label if desired. Simply open the Quick Partition window, click "Start Partitioning", and the disk will be repartitioned and formatted quickly.
How to Quick Partition a Hard Drive in Windows 10/8/7?
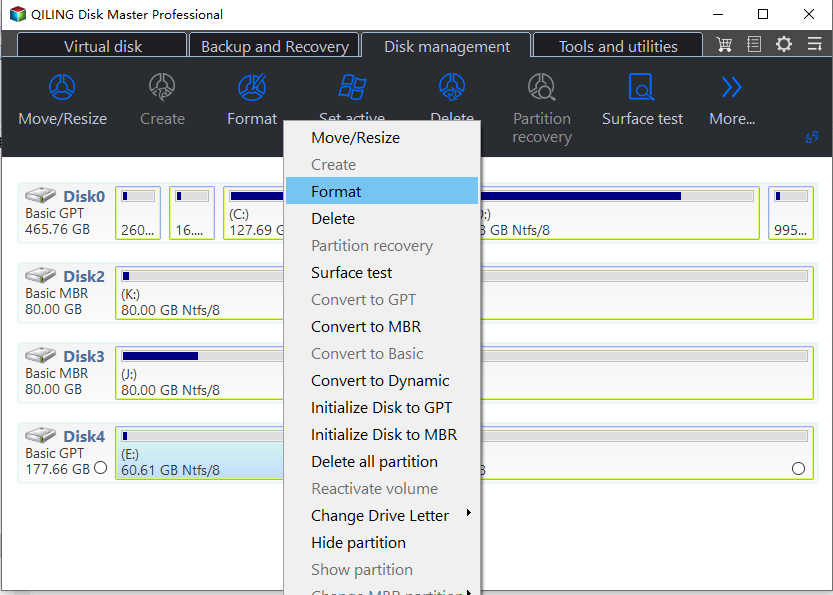
To use this function, instlall and run Qiling Disk Master Professional Firstly, to install the Windows Subsystem for Linux (WSL) on Windows 10, go to the Microsoft Store, search for "Linux" and select the version you want to install. Once installed, open a new Command Prompt or PowerShell window and type "wsl --install" to enable the WSL. Then, open a new Command Prompt or PowerShell window and type "wsl --list --verbose" to list the installed Linux distributions.Qiling Partition Assistnat Server) Right-To partition a disk, click on the disk you want to partition and then select the partitioning option from the context menu."Quick Partition" in the drop-down menu.
Then the "Quick Partition" window shows as below:
The Specific Instructions:
1. Select Disk
You can re-Under Windows, Qiling Disk Master doesn't allow direct repartitioning of the system disk, so it recommends creating a Qiling Disk Master Bootable Media and booting from it to quickly partition the system disk, avoiding the need to return to the home screen.
Warnings: The operation will delete all existing partitions on the current disk if there are partitions on the selected disk.
2. Partition Count
Under "Select Disk", choose the partition count as you want.
You can quickly select the partition count by pressing the "1, 2, 3, 4, 5, 6, 7, 8 or 9" key.
You can also select partition count by mouse click.
After selecting, the corresponding partition count will be immediately shown at the right side of the dialog box.
3. Disk Type
During the disk partitioning process, you'll have the option to choose between MBR and GPT disk styles, as well as decide whether to check for errors. This allows you to tailor the setup to your specific needs."Rebuild MBR", and select which sectors to align partitions.
The Master Boot Record (MBR) supports disk space up to 2TB in size, but choosing it for a larger disk will result in wasted space.
Select GPT for disks larger than 2TB or computers that support UEFI/EFI boot mode.
If there is a boot manager based on the Master Boot Record (MBR) on the disk and it needs to be reserved, do not check the option to rebuild the MBR.
For solid state drives (SSDs), it's recommended to select 4K alignment, which means 8 sectors, to improve performance. However, for hard disk drives (HDDs), this option has minimal impact, so it can be left as default.
4. Partition Parameters
"Partition Parameters" The `fdisk` command shows the basic parameters of every partition, including its type, size, label, and whether it's a primary partition or not.
The program will automatically set a default size for each partition based on the disk size, but you can also manually enter a specified size for each partition. To do this, click on the "Adjust partition size" option."Default Size", and then it will become the default size.
When choosing a partition file system, you have the options of NTFS and FAT32. While FAT32 has good compatibility, it has limitations, such as not supporting partitions over 2TB or files over 4GB in size. In contrast, NTFS is more stable and secure, supports larger partitions, and allows for larger file sizes, making it the recommended choice for most users.
The program sets a default label for each partition, but users can manually choose or modify this label, or even remove all volume labels by clicking on the relevant option."Clear All Labels" and then set labels by yourself.
If you want the partition to be a primary partition, check the box next to "Primary" on the partitioning tool. This will make the partition one of the first four primary partitions on the disk, which can be bootable and contain the operating system."Primary Partition"primary partitions, so you don't need to specify the type of partition. On MBR disk, if you want to create 4 partitions, you set them all as primary, and If you want to create more than 4 partitions, you can set at most 3 primary partitions. This option is invalid for GUID partition table, because all partitions on GPT disk are assigned as primary partitions, so you don't need to specify the type of partition. The rest of the partitions will be automatically assigned as extended partitions."Primary".
When you've finished setting all the settings, the partition layout of the disk after being partitioned will be visually presented in the preview window, allowing you to click."Start Partitioning" button to perform one-If there are old partitions on the disk, a message box will appear, indicating the presence of existing partitions. If there are no partitions on the disk, no message will be displayed.
Click "Yes" to continue, or click "No" to cancel.
Related Articles
- How to Format External Hard Drive to FAT32 on Windows 10? [FAT32 Guide]
How to format external hard drive to FAT32 on Windows 10? You will see the five instructions in this article if you have tried to format an external hard drive to FAT32 in Windows. - How to Format SSD with OS on It [Reliable Solution] - Qiling
How to format SSD with OS on it? The - How to Format Write Protected SD Card and Repair It to Usable Again [2023 Newest Guide]
You can easily remove the protection and format write-protected SD cards. This guide will teach you two easy solutions to format write protected SD Cards: #1. Use Write Protected Format Software; #2. Format Write Protected SD Card Using CMD. - How to Free Up Space on C Drive in Windows 11/10 [8 Efficient Ways]
This article gives eight solutions to help the problem: How to free up space on C drive. It teaches readers step-by-step and introduces a professional disk manager tool to extend the C drive to get more space.


