How to Create Automatic Backup to NAS in Windows 11, 10, 8, 7
Why do auto backup to NAS?
NAS (network attached storage) is a hard drive connected to your network, and it's becoming increasingly popular for backing up data. Users are turning to NAS for its convenience and reliability, making it a trend in the tech world.
- Save important data from computer errors. Backing up data to a NAS (Network-Attached Storage) device ensures that your data remains safe from system crashes, virus attacks, and other potential misoperations.
- Share data within a company. Users can save files to a shared NAS, making them accessible to others via the network path.
To avoid forgetting to backup changed data to a Network Attached Storage (NAS), it's a good idea to set up an automatic backup to the NAS. This way, even if you forget to backup after making changes, the system will do it for you, ensuring your data is always up-to-date and backed up.
Best freeware to run NAS automatic backup
Auto backup to NAS is a crucial task for users, and a reliable third-party application can help. Qiling Disk Master Standard stands out as the best NAS backup software, offering powerful features to safeguard your important data.
- Backing up your system, hard drive, partition, files, or folders can save you a significant amount of time in case of data loss or system crashes.
- You can backup data to local disks or external hard drives, as well as to various NAS devices like Synology, QNAP, and WD My Cloud.
- If you have a Qiling account, you can backup files to Qiling Cloud.
- You can schedule automatic backups by enabling the Schedule Backup feature.
Windows PC users can use the feature for free, and I'll now explain how to create automatic backups to a NAS drive on Windows 7, 8, 10, and 11 systems.
Create automatic backup to NAS with Qiling Disk Master
To set up automatic backup on your Synology NAS, start by downloading and installing the free backup software Qiling Disk Master Standard on your PC. This will enable you to easily back up your Synology NAS.
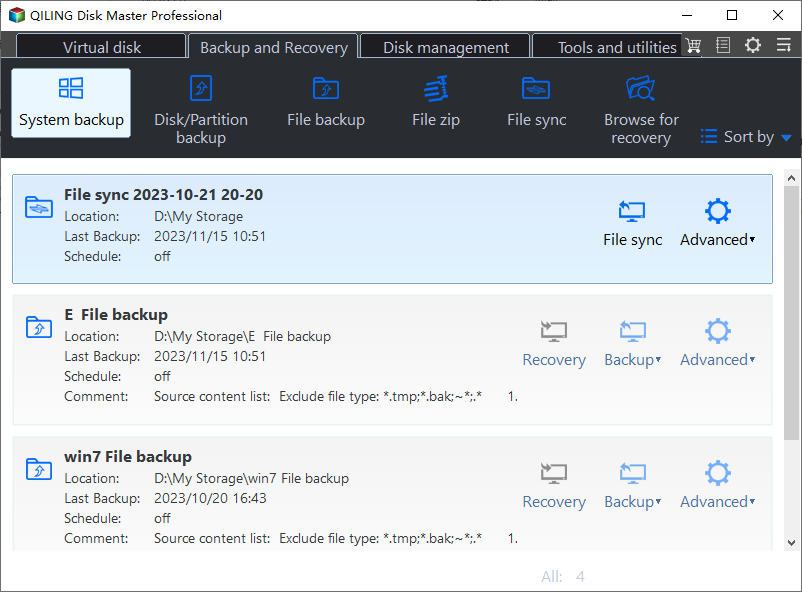
Step 1. Launch Qiling Disk Master, click Backup, and select the backup type (e.g. System Backup) according to your needs.
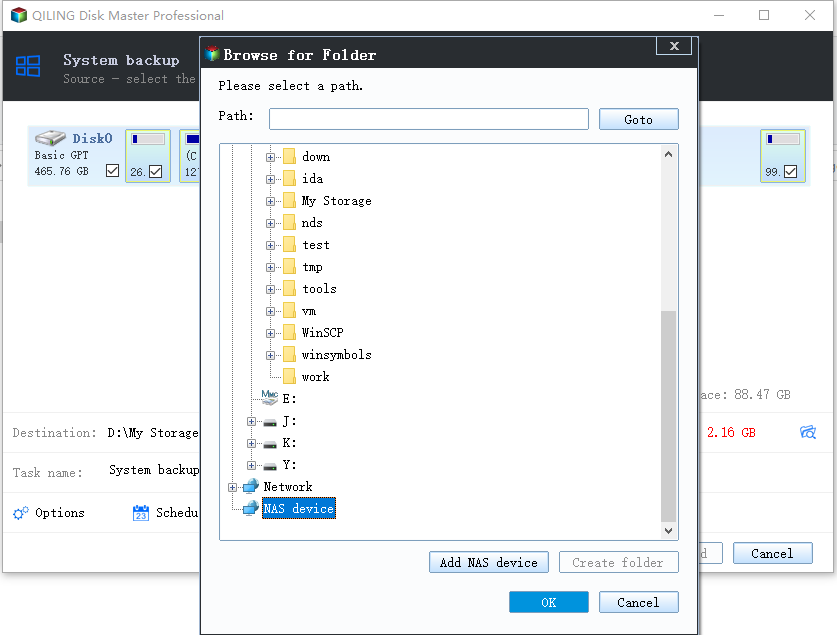
Step 2. The program will automatically select the system partition(s). Simply choose "Add Share or NAS Devices" from the second bar's drop-down menu.
Step 3. You will move to a window called "Add Share or NAS Devices". Type the IP address of the Synology NAS and select a shared folder as the destination place to store the backup.
Step 4. Here you have already done the job of backing up to NAS. However, NAS auto backup needs one more step, which is clicking Schedule Backup on the left bottom to open the schedule setting window, where you can choose daily, weekly, monthly, event triggers, or USB plug in mode, with the last two modes available in the Professional version.
Tip: Qiling Disk Master does an incremental backup by default, but you can switch to differential backup by choosing the backup scheme as full/incremental/differential. This is a paid feature.
Step 5. After all the settings, click Proceed to launch the progress.
With the help of Qiling Disk Master, backing up data to NAS is a straightforward process. In addition to NAS backup, the software offers various other utilities to ensure data safety, including automatic backup to cloud storage like OneDrive or Google Drive, and customized backup of files with specific extensions.
Qiling Disk Master is a powerful software that allows you to clone a hard drive to a Crucial SSD with ease, making it a great tool for upgrading your storage needs.
Related Articles
- Top 3 Ways to Backup Windows 10/11 to Network Drive/NAS
- Create NAS to NAS Backup with Best Free NAS Backup Software
- How to Backup Windows 10 to NAS of All Kinds (Synology/QNAP)
- Create Windows 10 Repair USB for Another PC - 3 Ways Included
This tutorial offers three ways to create a Windows 10 repair USB for another PC. You can choose Windows built-in tools or third-party software as per your need.


