How to Enable Windows 11 Automatic Defrag?
Can defrag make my PC run faster?
Your PC's slowness could indeed be due to disk fragmentation, which is a common issue, especially if you've installed and removed programs or files frequently over the years. Defragmenting your hard disk can help improve your PC's performance by rearranging files and data to be stored in contiguous blocks, reducing the time it takes for the disk to access them. You can defrag your hard disk using the built-in Disk Defragmenter tool in Windows. Simply type "defragment" in the search bar, open the Disk Defragmenter, and follow the prompts to run the defragmentation process. This should help alleviate the slowness you're experiencing.
What is Windows 11 automatic defrag and why do it?
Nowadays, even the most high-Windows 11 computers can become slow and sluggish over time, impacting daily use. To address this issue, one effective solution is to set automatic Windows 11 defragmentation. This process helps to rearrange fragmented data on the hard drive, leading to improved system performance and responsiveness.
As files are saved, re-saved, or deleted on a hard disk, small information packets become scattered across the disk, rather than being stored together. This can cause your PC to become slow due to the increased time it takes to locate and access these scattered data packets. The disk's file allocation table (FAT) also becomes disorganized, leading to slower data retrieval and processing times.
Traditional spinning HDDs require the read head to move to different spots on the hard disk to access files, slowing down the process. Defragmentation reunites scattered file parts, effectively compressing data and improving PC speed and user experience.
Windows 11's automatic defrag feature allows you to schedule disk defragmentation, eliminating the need for manual optimization and saving time by letting the system automatically determine the optimal defragmentation frequency, such as daily, weekly, or monthly.
How to automate defrag for Windows 11?
Windows 11 offers a built-in way to defrag disks, but first, let's cover manual defragging of hard disks and then introduce the automatic method. After that, the built-in tool will be discussed, followed by a recommendation for a third-party software that offers more advanced options for auto-defrag.
Method 1. Use Windows 11 built-in defraggler
If you're struggling to defrag Windows 11 with its built-in program, don't worry! Follow this step-by-step guide to get it done correctly.
Manually defrag in Windows 11
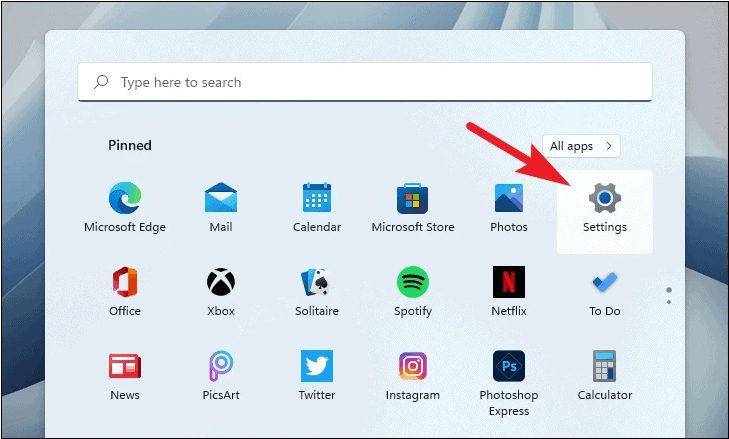
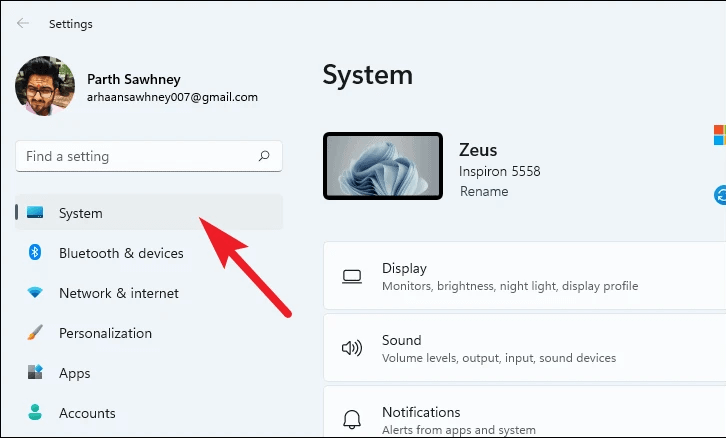
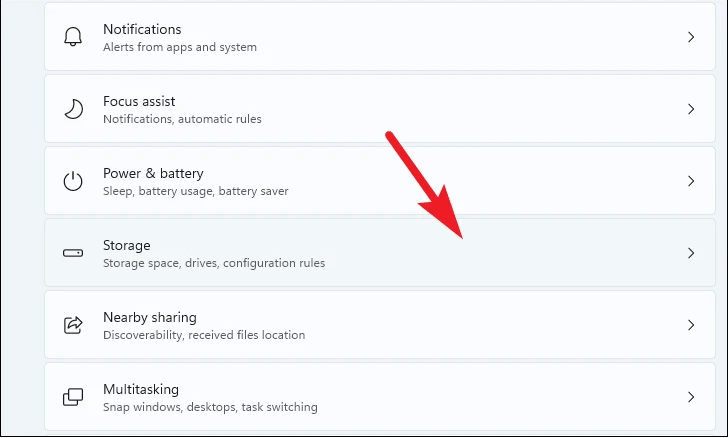
1. To defrag Windows 11 manually, open the Settings app from the Start Menu, select "System" from the left sidebar, and then click on "Storage" or "Storage & device care" depending on the version, and finally, click on "Optimize" or "Optimize storage" to start the defragmentation process.
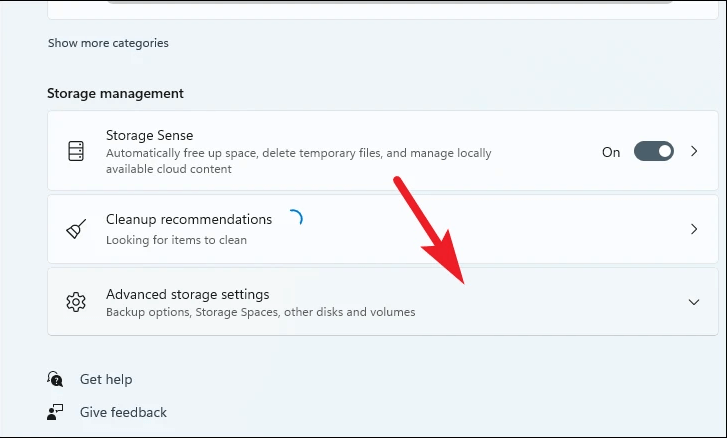
2. To access advanced storage settings, first select the "Storage" option. Next, select "Advanced storage settings".
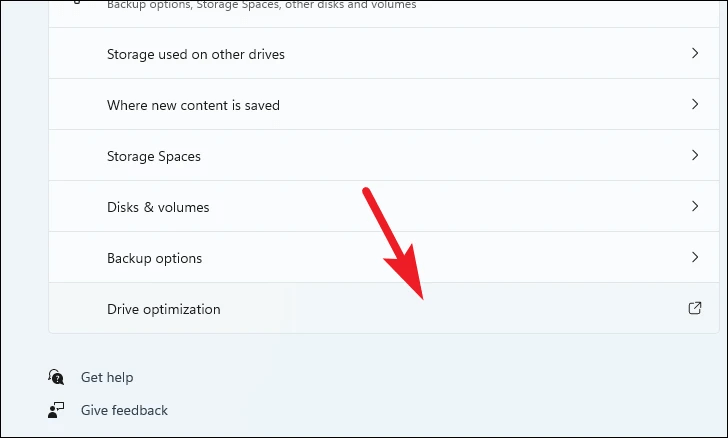
3. Click on "Drive optimization" from the list and you'll be sent to a separate "Optimize Drive" window, where you can initiate the optimization process.
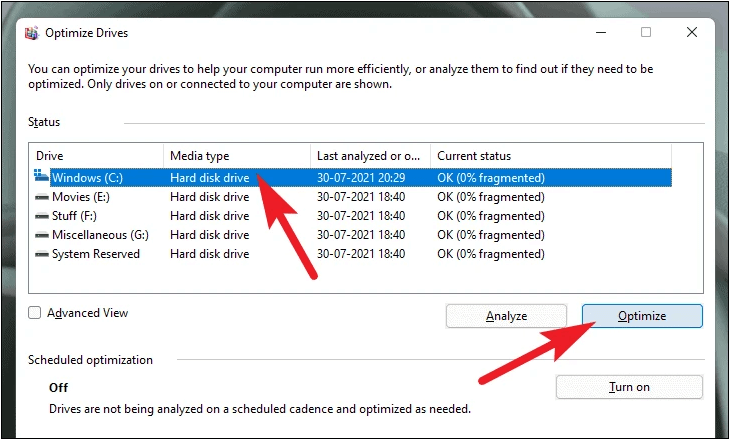
4. Select the drive you want to defrag, then click on "Optimize" to start the defragmentation process.
Automatic defrag in Windows 11
If you think it's too time consuming to defrag a disk every time you need, you may set a frequency for the disk defrag. Here, you'll learn to perform automatic defrag for hard disks in Windows 11.
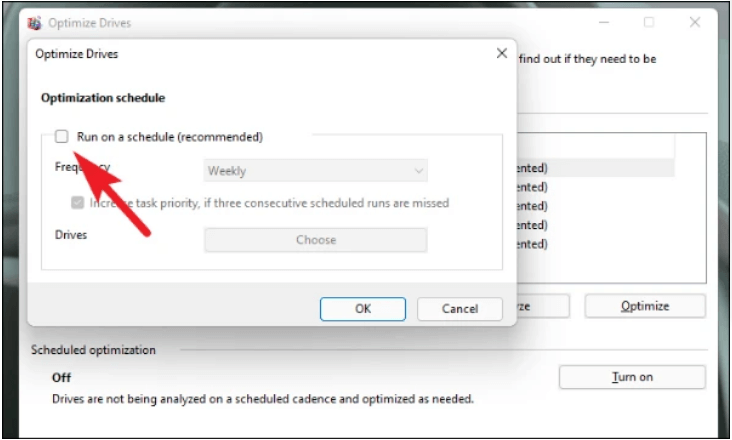
1. To optimize your drives, go to the "Optimize Drives" window and click on "Change settings" under the "Scheduled optimization" section. This will take you to a separate window where you can configure the settings.
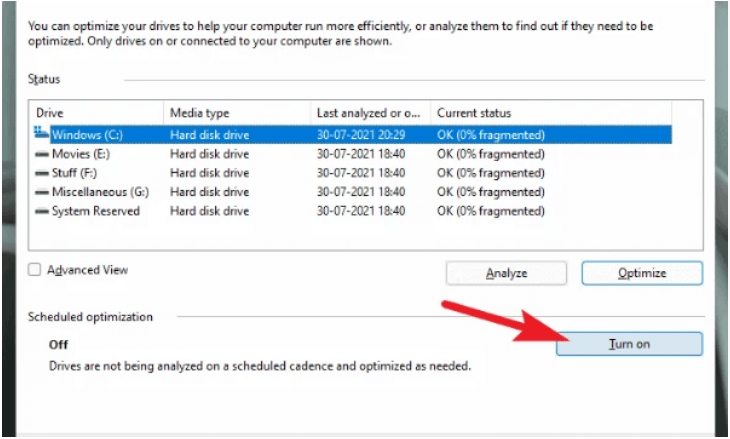
2. Then, tick the option "Run a schedule".
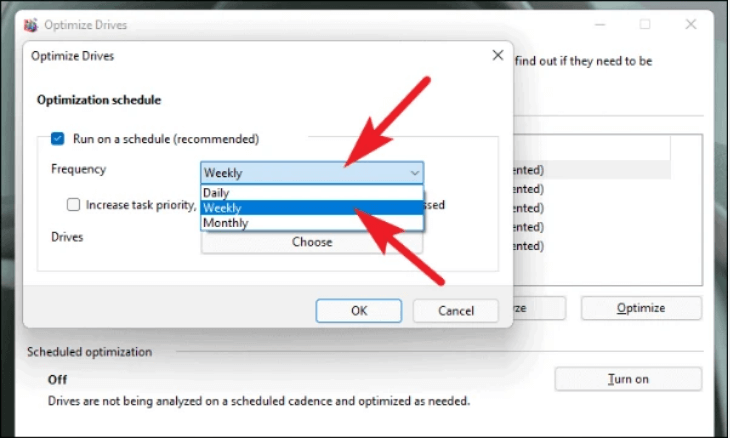
3. To optimize your computer's performance, you can preset the frequency of the defragmentation process. This allows you to schedule when the defrag will run, ensuring it doesn't interfere with your usage.
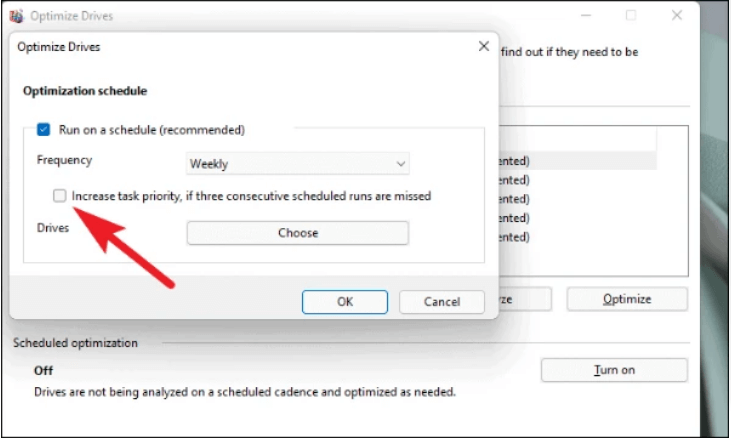
4. Tick the option "Increase task priority …".
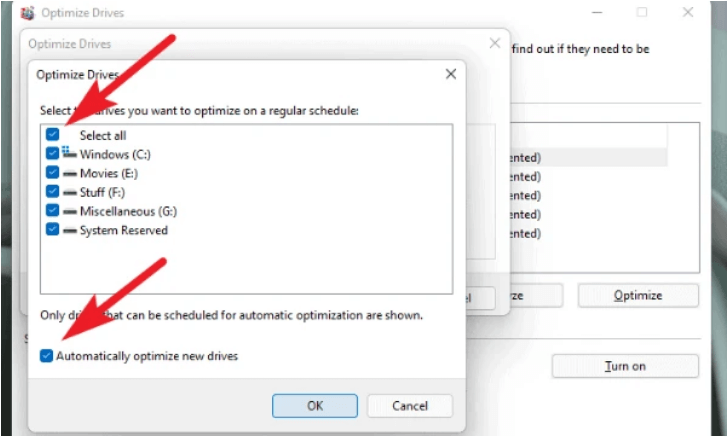
5. Click on the "Choose" button to select the drives you need to defragment.
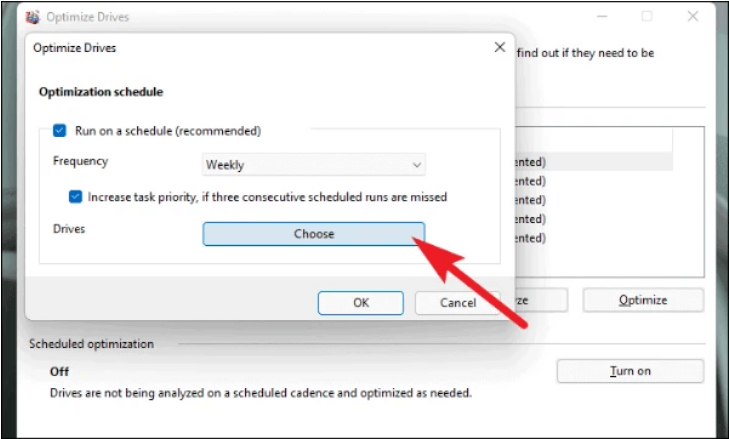
6. Select the drives you want to defragment, and also select the option to "Automatically optimize new drives". Then click "OK".
Method 2. Try a more powerful automatic defrag tool for Windows 11
Windows 11 built-While Defraggler offers a straightforward way to keep your PC in good condition by defragging/auto-defragging your hard disks, it may be too complex for computing novices and lacks sufficient options. I recommend using Qiling Disk Master Professional, a more full-featured and user-friendly third-party Windows 11 defraggler, which can defrag/auto-defrag all your hard disks more efficiently. This tool allows you to schedule defragmentation at a specific time, either once or daily, giving you more control over when your disk is defragmented.
To defragment your disk automatically in Windows 10/11, you can use the built-in Disk Cleanup tool or a third-party disk manager like Auslogics Disk Defrag. This tool can scan your disk, identify fragmented files, and defragment them for you, ensuring your system runs smoothly and efficiently.
Conclusion
To enable automatic defrag in Windows 11, consider using a third-party disk management program like Qiling Disk Master Professional, which is easier to use and offers more options for automatic defrag, as well as additional features like SSD 4K alignment and partition checking.