Automatically Backup Files to External Drive | 4 Free Ways
- Why need to automatically backup files to external hard drive?
- How to automatically backup folders/files to an external hard drive
- Way 1: Automatic backup files to external drive with Backup and Restore
- Way 2: Automatically backup files to external hard drive with File History
- Way 3: Backup files to external hard drive automatically with Qiling Disk Master🔥
- Way 4: Automatically copy files to external hard drive in another manner with Qiling Disk Master🔥
- Summary
Why need to automatically backup files to external hard drive?
When was the last time you backed up the important files on your computer? Three months ago when your friend called in tears that she lost her thesis because of computer failure? Maybe it is longer. You know the importance of system backup, while file backup cannot be ignored, either, especially to backup those significant documents, office files, and irreplaceable photos.
Computer failure, hardware conflict, hard drive damage, or hacker invasion is a fact of computer life. It’s not a matter of whether or not your computer will encounter these problems, it’s a matter of when. As for the destination backup path, you can backup files to internal hard drive or external hard drive or the like for better protection. The latter way avoids the data loss caused by system disk failure or system meltdown.
You know the importance of backup, how about automatic backup? We all are busy with various stuff, work, family, friends, school, etc. It is hard to promise we can remember to do backup for each modification. But with the help of a schedule or auto task, it becomes a piece of cake. And it saves you much time and effort as well as protects your precious memory.
How to automatically backup folders/files to an external hard drive
Usually, Windows backup utility can do a regular backup, such as Backup and Restore, File History. Both of them allow you to automatically backup files to external hard drive. Also, there is much useful third-party software that can do this, Qiling Disk Master Standard, for example. Then, which one should you choose to schedule backup files? Please stay for a while, check the difference among them, and then make a decision.
- Backup and Restore is able to backup files saved in libraries, on the desktop, and in default Windows folders. Also, you can choose whether or not to include a system image in the backup task. In addition, you can choose to backup specific files or partition on the disk. It supports daily/weekly/monthly schedule backup.
- File History is designed to backup files or folders in the user folder, so you can only add files or folders you want to backup to that folder ahead of time. In Windows 10, you are allowed to backup specific folders by directly adding folders. It supports backing up files from every 10 minutes to daily and saving multiple backup versions from 1 month to forever.
- Qiling Disk Master is an all-in-one backup software to backup files, partition, system, disk, or create a cloud backup per your needs. You can backup any files you want, from a local disk, external disk, USB drive, network path, or cloud drive. It supports multiple schedule settings and other backup options, such as, daily, weekly, monthly, incremental backup, normal or high compression level, etc.
Now, you can choose one backup tool among them and start your new journey to automatic backup files.
Way 1: Automatic backup files to external drive with Backup and Restore
Step 1. Connect your external drive and make sure it can be detected. Then, search for backup settings and select it > select Go to Backup and Restore (Windows 7) under the Looking for an older backup option.
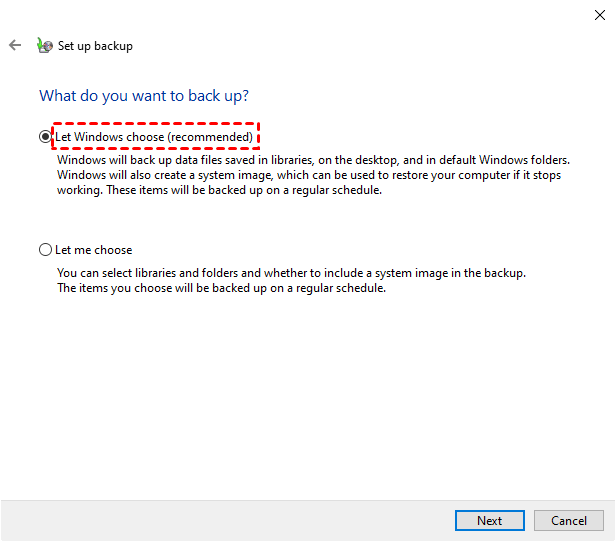
Step 2. In the Backup and Restore (Windows 7) window, click Set up backup > select external hard drive > choose what to backup: Let Windows choose or Let me choose. The second one will be more flexible, and you can choose any items you want to backup, such as files, folders, partitions, or system.
Step 3. Then, you will be asked to confirm the items you choose. Note the schedule backup is set to 7:00 PM every Sunday by default. To change it, click Change schedule. After that, click Save settings and run backup.
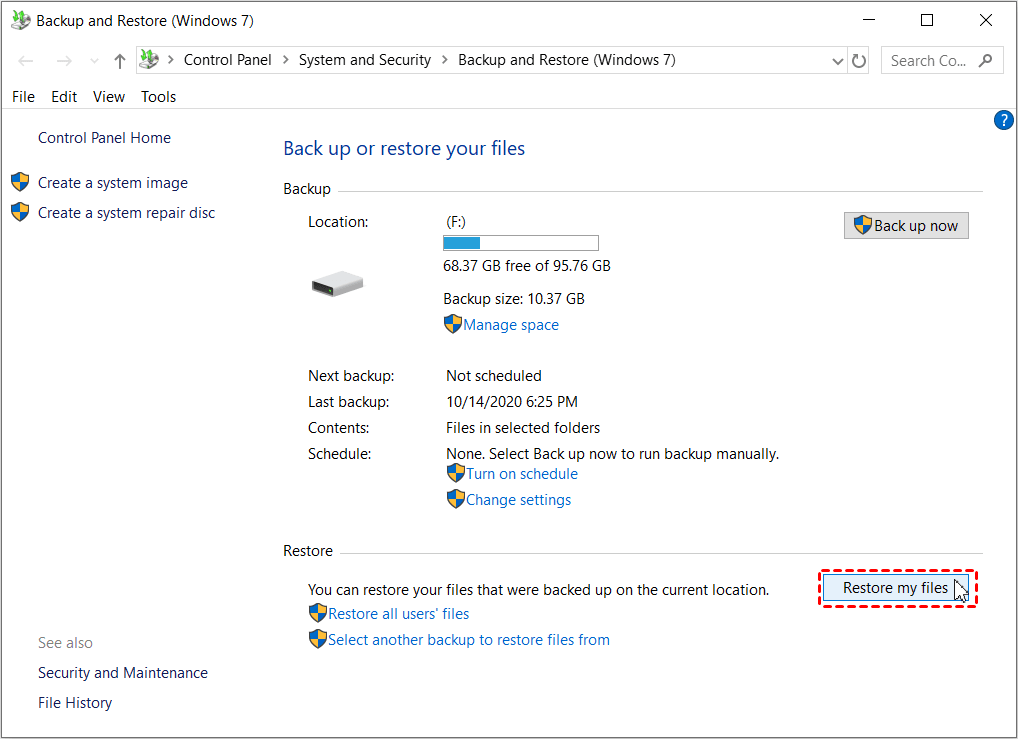
Then, when something unexpected happens, you can restore files from backup through "Restore my files". If your backup is created on a different computer, please choose "Select another backup to restore files from".
Way 2: Automatically backup files to external hard drive with File History
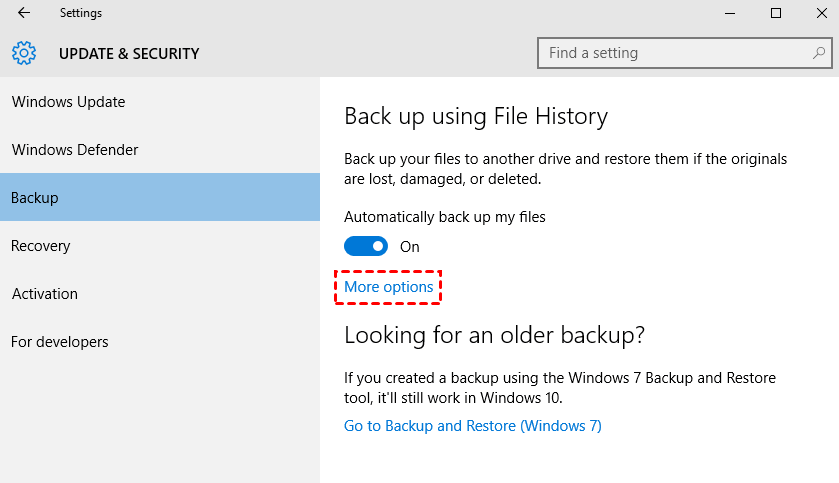
Step 1. Be sure the external drive is recognized. Go to the Backup settings window, click Add a drive option under Back up using File History and select external hard drive.
Step 2. Then, you will see the Automatically back up my files option is already turned on. Click More options to set backup interval and backup retention.
The default backup interval is Every hour and the backup retention is Forever. You can change the backup interval (from every 10 minutes to daily) and the backup retention (from 1 month to forever) as per your need.
Step 3. Scroll down and take a look at the selected folders. Then, you can add, remove or exclude specific folders.
- To add or exclude folders, scroll down to Back up these folders or Exclude these folders, and select Add a folder option.
- To remove a certain folder, select the folder you don't want to backup and then click Remove.

Step 4. Go back to the top location and click Back up now.
Now, you already have a file history backup, and you can restore files when needed. The simplest way is to right-click a file or folder and select "Restore previous versions", then select a backup version and click "Restore" to get your data back.

Way 3: Backup files to external hard drive automatically with Qiling Disk Master🔥
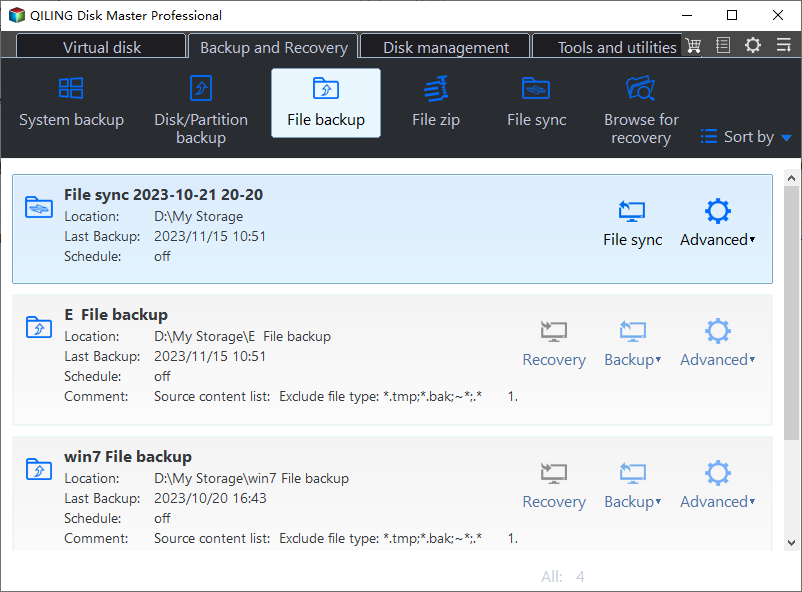
Step 1. Make sure the external disk is recognized. Then, download, install and launch Qiling Disk Master Standard. Select Backup and File Backup in order.
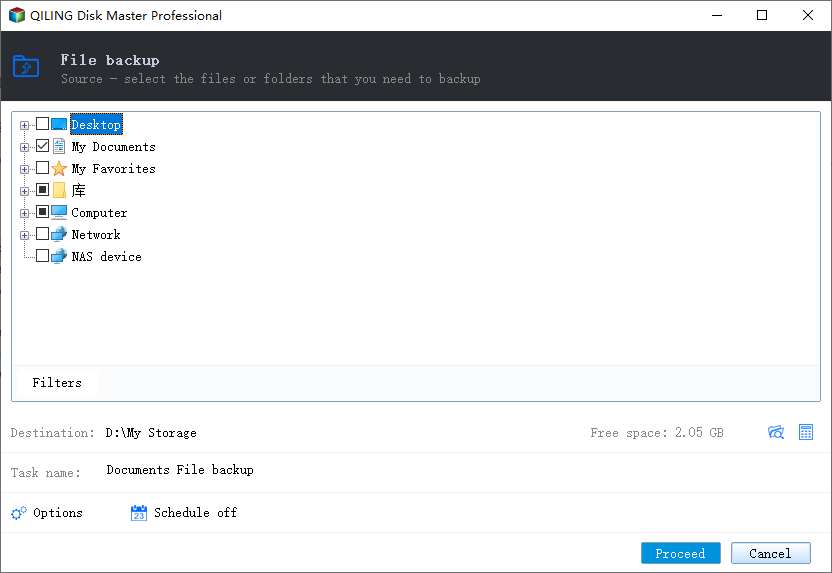
Step 2. Click Files or Folders to browse the files/folders you want to automatically backup to external drive.
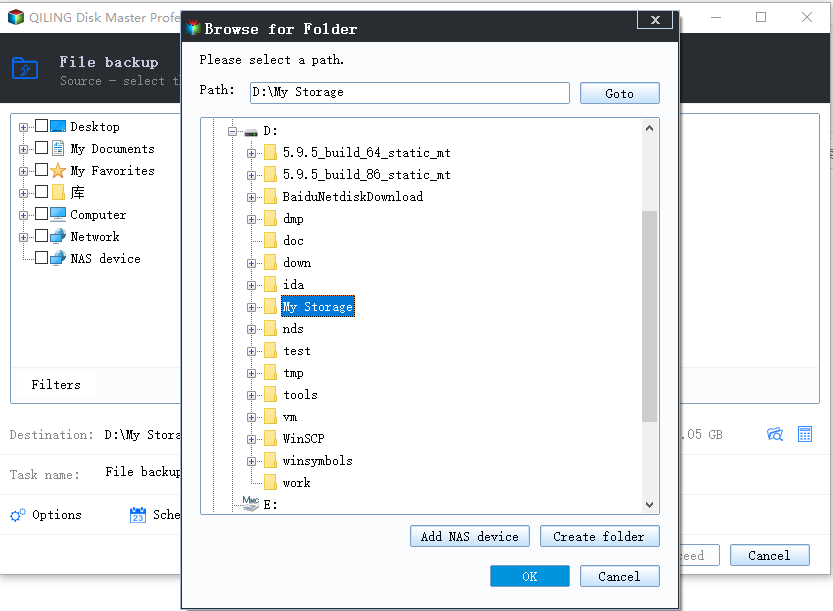
Step 3. Select the external hard disk as the destination path.
Step 4. Click Schedule Backup option after selecting the destination, and then you will see several options. Select daily, weekly or monthly.

You can also use the following features:
- Event triggers. It allows you to backup files at a specific event, such as system shutdown or user logon.
- USB plug in. It is able to backup files to or from a USB drive automatically when detected.
- Scheduled differential backup. It is capable of only backing up changed files since the last full backup. This feature is available in the professional version or higher.
- Wake the computer to run scheduled tasks. It can wake your computer 2 minutes before the scheduled task starts, so your backup will be executed automatically without human intervention. It is very useful if the backup time is during off-peak hours.
Step 5. Click Proceed after your confirmation. The selected files and folders will be backed up on a regular basis.
Tips:
- Except for the external drive, this software allows you to backup files to Qiling Cloud, a cloud drive with 1TB of free storage, and you have 15 days of free access after registration.
- To restore files from backup, go to "Restore", select backup image and items you want to restore, then choose the restore path and click "Proceed".

Way 4: Automatically copy files to external hard drive in another manner with Qiling Disk Master🔥
Backup means you create an image for certain files, and when you need them back, you should restore the image to files. Syncing files to external hard drive is to make an exact copy of these important files and you can use them directly without restoration.
Here you will use "Basic Sync" feature in Qiling Disk Master to sync files to external hard drive automatically. Let's get started.
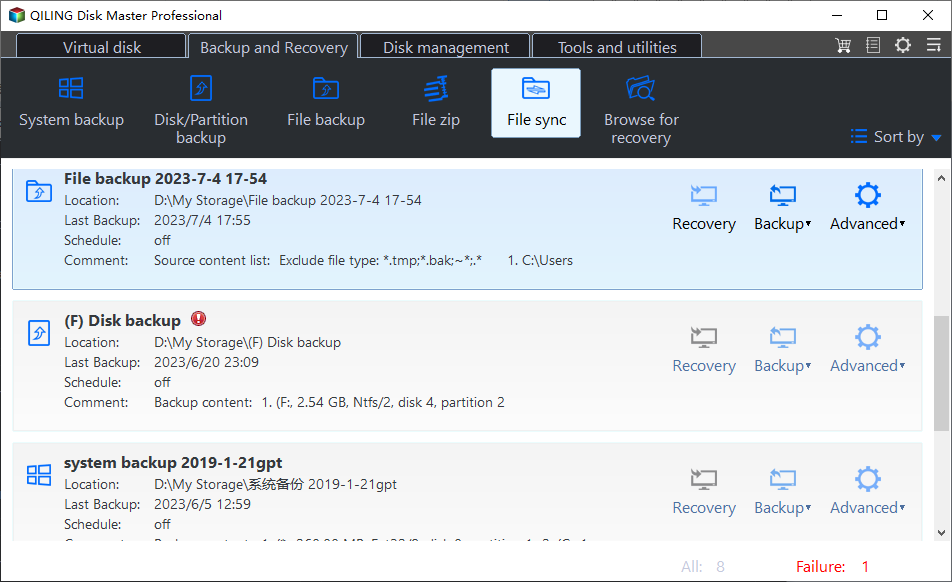
Step 1. Launch Qiling Disk Master Standard, and go to Sync > Basic Sync this time.
Tip: If you upgrade to higher editions, you can enjoy the other three sync methods: Real-Time Sync for frequently changed files, Mirror Sync for exact copy of source directory, and Two-Way Sync for syncing changes on both sides.
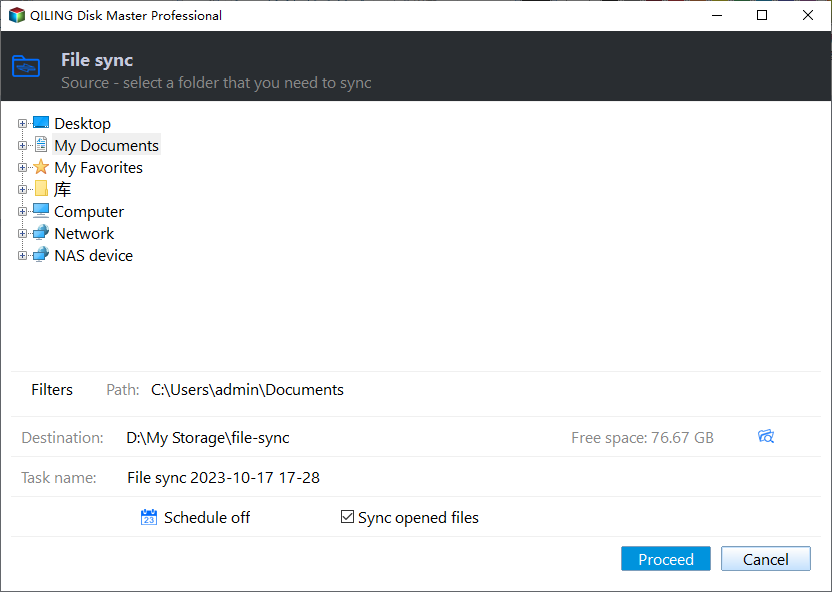
Step 2. Click Folder and then This PC or Computer to add the items you want to back up.
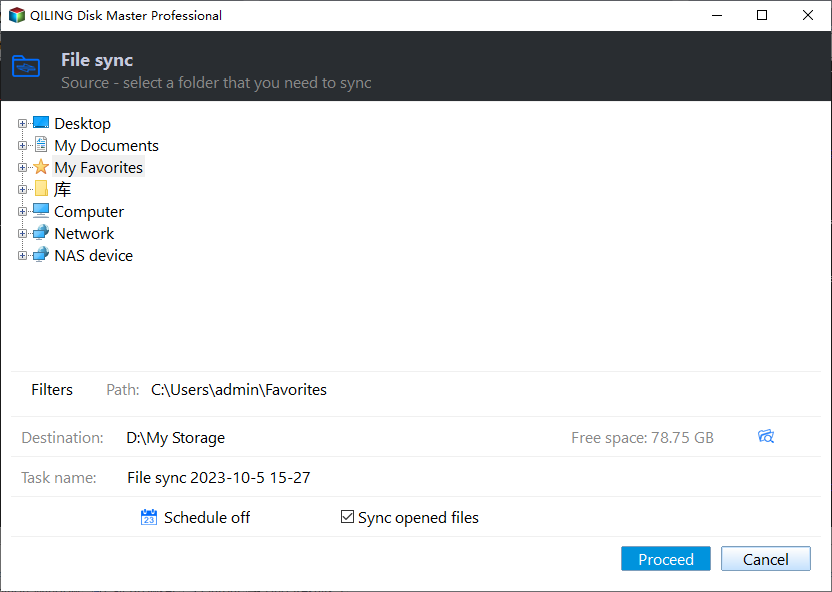
Step 3. Select the external disk as the target path.

Step 4. Click Schedule Sync to set auto-run task.

Step 5. Click Proceed to save settings or run file sync.
Notes:
- Don't change the source folder name, or the sync task will not sync changes made later.
- Basic sync will not sync the deleted files by default. You need to enable this feature in the Options.
Summary
Automatically backing up files to external hard drive the first time may take a little longer, but it is worth doing that because it saves much more time than rebuilding the lost forever files or memories.
No matter which method you’ll choose, the most important thing is to keep data safe. Qiling Disk Master has many other features embedded, such as selective file restore, disk clone, create bootable media, etc. Try it to experience more.
Related Articles
- Set Up Automatic Backup Windows 10 to External Hard Drive
- Easily Backup Files to External Hard Drive in Windows 11, 10, 8, 7
- Create Schedule Automatic Backup in Windows 10 [3 Ways Included]
- Easily Clone Raspberry Pi SD Card to Larger Card in Windows 10
How to clone Raspberry Pi SD card to larger card or smaller card in Windows 10 easily, as a backup or for card replacement? Get the stepwise guide here now!