Best Bootable Hard Drive Eraser for Windows 11/10/8/7
Need of bootable drive wiper
As time goes by, your computer may work slower and slower or become out of date. If you want to recycle your old PC or give it away, there is an important thing to do beforehand - data erasure. Otherwise, your private data will be exposed to others. How to erase your personal data securely?
The most direct way is to delete personal files and then empty Recycle Bin. However, your deleted files can often be recovered with data recovery software. You can also reset Windows with the “Reset this PC” feature in Windows 10. This feature indeed makes it harder for someone to recover your removed files, but it is still not enough.
If you want a stronger and more secure method of data erasure, you need a bootable drive wiper. A bootable drive wiper will overwrite your data on the hard drive and prevent all software-based file recovery methods from recovering deleted files.
Prime bootable hard drive eraser - Qiling Disk Master
Talking about bootable hard drive eraser, I’d like to recommend Qiling Disk Master Professional. It runs well on all editions of Windows 11, 10, 8/8.1, 7, Vista and XP. Let’s have a look at its main features:
- It allows you to erase an internal or external hard drive, USB flash drive, or SD card with the “Wipe disk” feature.
- It enables you to wipe all sectors on a selected partition or unallocated space using the “Wipe partition(s) or unallocated space on the disk” feature.
- You are able to create a bootable disk so that you can wipe a hard drive without Windows.
Download and install Qiling Disk Master now to have a try!
How to perform bootable disk wipe in Windows 11/10/8/7 easily
Qiling Disk Master allows you to wipe a hard drive either within Windows or without Windows. In this part, I’ll show you how to use a bootable USB to wipe a hard drive securely and completely. There are two main stages involved:
Note: Your data can’t be recovered after wiping, so backup files that you still want to keep in advance.
Stage 1: Create a bootable USB
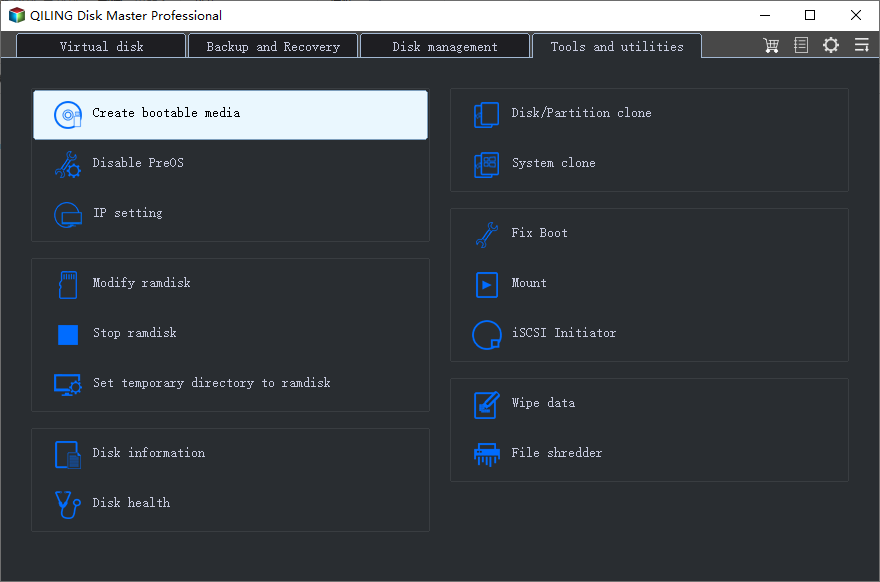
Step 1. Connect a USB drive to your computer. Launch Qiling Disk Master, click Tools and select Create Bootable Media.
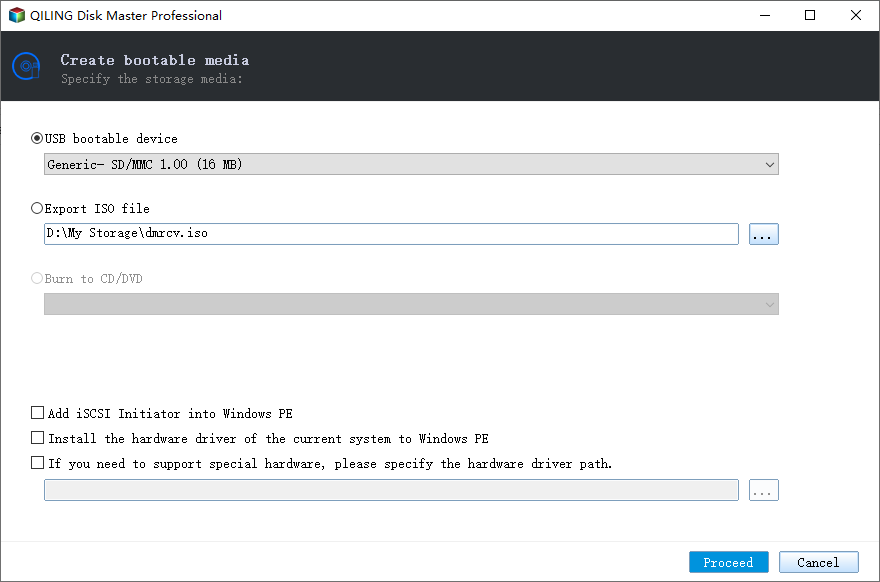
Step 2. Select USB Boot Device and click Next. You will receive a prompt to format your USB drive. Click Yes to begin bootable media creation if you have already backed up important files.
Stage 2: Wipe a disk from the bootable USB
Step 1. Enter BIOS and set the bootable USB as first boot device.
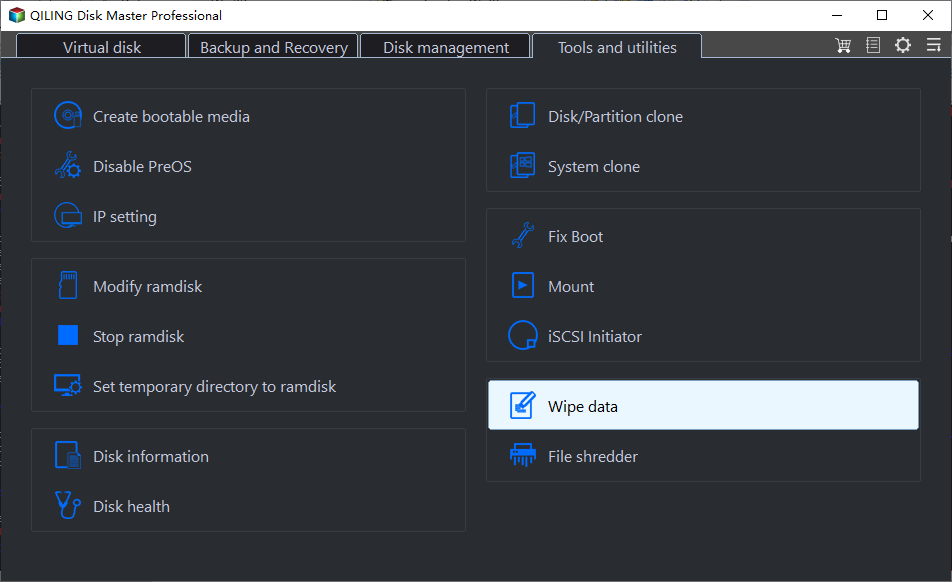
Step 2. You’ll see loaded Qiling Disk Master once your computer boots up. Click Tools and choose Disk Wipe.
Step 3. Select the disk that you want to wipe. You are able to choose more than one disk to be wiped.
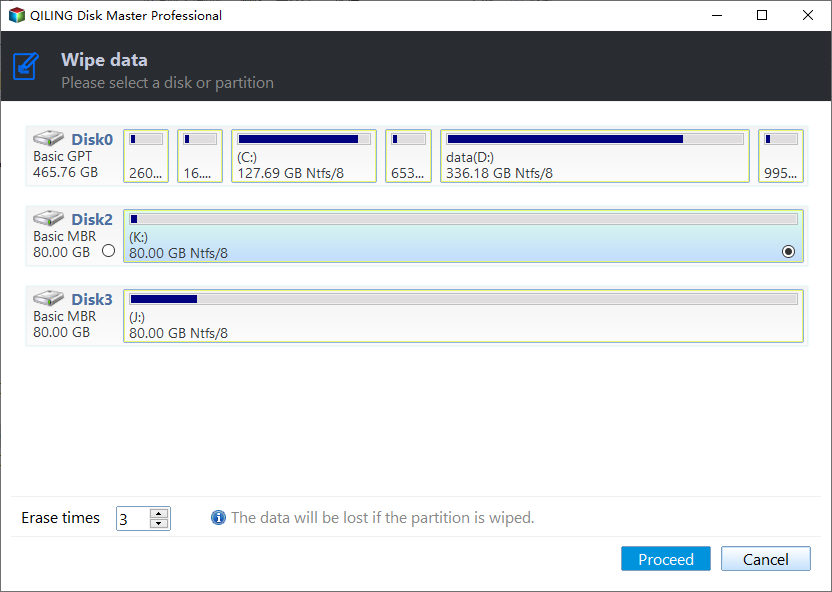
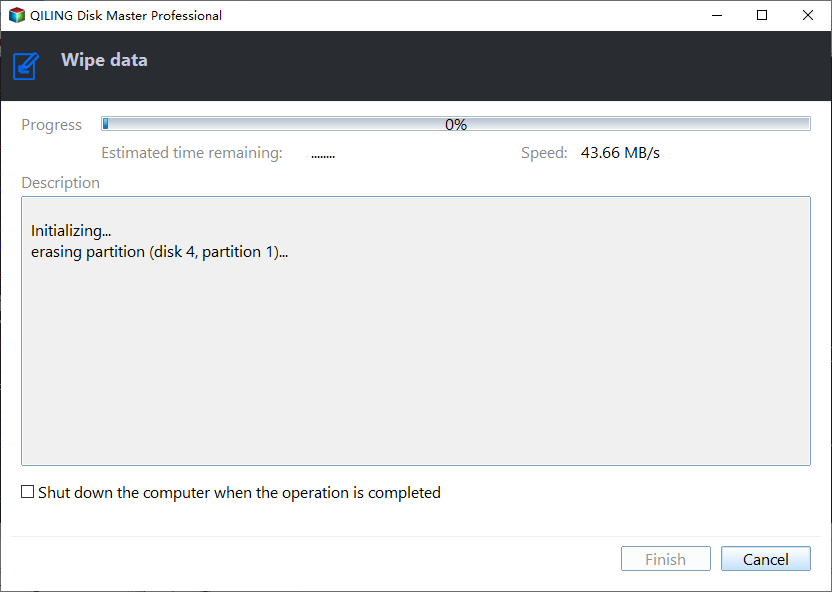
Step 4. Choose the first wiping method - Fill sectors with Zero. Then click Proceed to begin bootable disk wipe.
✎ Notes:
● For higher security level, you may use the other three wiping methods - Fill sectors with random data, DoD 5220.22-M, or Gutmann. The more complicated the method is, the longer time the wiping process would take.
● The steps mentioned above don’t apply to wiping an SSD. If your computer is using an SSD, learn how to erase an SSD here.
Conclusion
If you are looking for reliable bootable hard drive eraser, Qiling Disk Master can be your best choice. It offers both the “Create Bootable Media” feature and “Disk Wipe” feature so that you can erase a hard drive without loading Windows. What’s more, it’s professional backup and sync software for Windows 10/8/7. Don’t hesitate to try it out by yourself!
Related Articles
- Perform Bootable Disk Wipe with Two Easy Ways
- Free Software to Write Zeros to Hard Drive Safely
- 4 Ways to Clean a Hard Drive in Windows 10 (Wipe or Cleanup)
- Best Free Cloning Software for Windows 11 (No Boot Issues)
This tutorial provides you with free Windows 11 clone software and tells you how to clone a hard drive on Windows 11 and boot from it safely.