[Tutorial] Create a Windows 11 Bootable USB
Why create Windows 11 bootable USB?
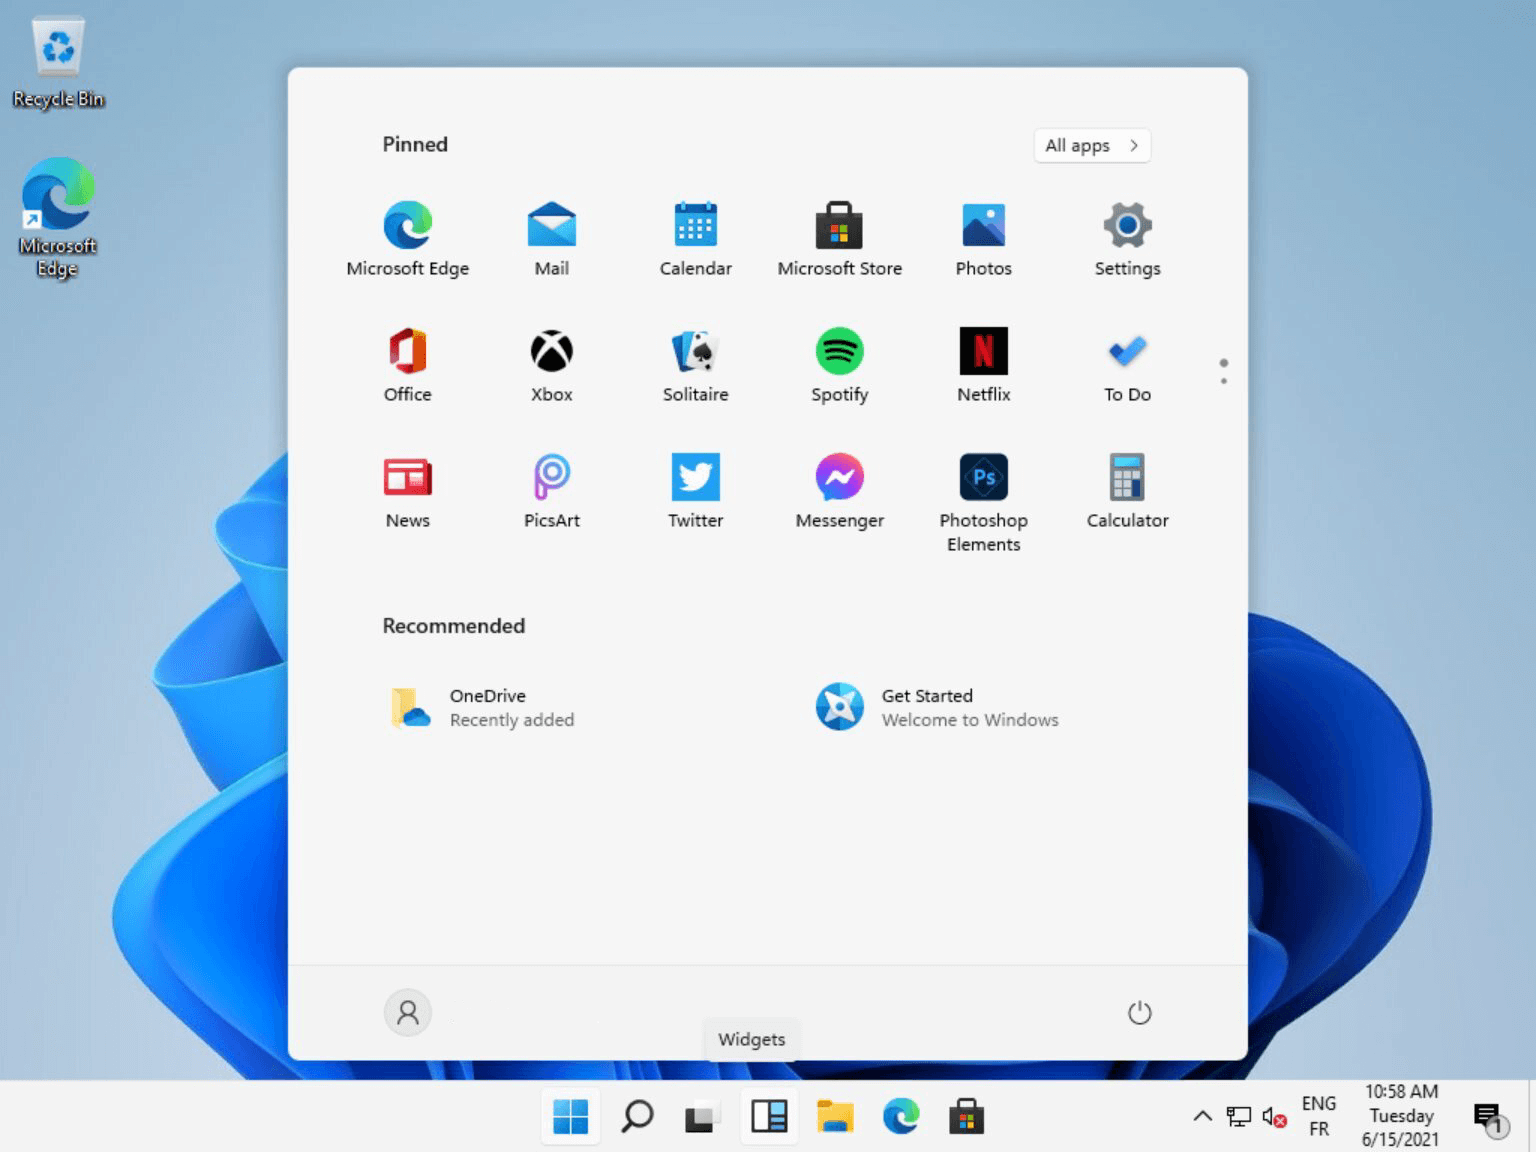
Windows 11 introduces a significant design change for Microsoft, featuring a modern and clean interface with rounded corners and a centered taskbar. This revamped system not only provides a fresh look but also adds numerous new features that exceed user expectations.
Windows 11 has stricter system requirements than previous versions, prioritizing user data safety. Creating a Windows 11 bootable USB allows for portability and compatibility, enabling installation on PCs that don't meet the installation conditions, as most computers have a USB slot.
How to create portable Windows 11 USB
Creating a Windows 11 bootable USB is no longer a task that requires technical expertise, thanks to third-party software. With these tools, you can easily create a bootable USB drive by yourself, eliminating the need to rely on a tech-savvy friend.
Microsoft's Windows To Go feature allows users to create a bootable USB, but it only supports Windows 10 and earlier versions, not Windows 11. For systems that are compatible with Windows To Go, a USB flash drive or external hard drive certified by Microsoft is also required.
Fortunately, the third-A party tool breaks the restriction of not being able to run on all Windows systems, as it can be used on any device.
Create Windows 11 bootable USB step by step
Qiling Disk Master Standard is a powerful disk partition management software compatible with Windows operating systems, including Windows 10/8.1/8/7, XP, and Vista. It allows creating a bootable USB for Windows 10/8/7 and features partition resizing, wiping hard drives, and more.
Please note: Windows 11 only supports UEFI boot mode. To install Windows 11 directly, ensure your system disk is GPT, or convert MBR to GPT without data loss.
What you need to prepare:
1. To prepare for the installation, you'll need a 13 GB or larger USB drive, preferably a USB 3.0 for faster speeds. Please note that all data on this USB will be erased, so make sure to backup any important files beforehand.
2. If you plan to create a brand-new system, you need to download the Windows 11 ISO file.
Further reading: Install Windows 11 from USB
To create a Windows 11 installation media, you'll need to download the Windows 11 installation media creation tool from the official Microsoft website. Once downloaded, run the tool and select the language, edition, and architecture of the Windows 11 installation media you want to create. Then, select the USB drive you want to use as the installation media and follow the prompts to complete the process. This will allow you to use the USB drive to install Windows 11 on other computers.
Note: To prepare for the release of Windows 11, it's crucial to have a 3.0 USB drive ready and download the Windows 11 ISO file from the official Microsoft website.
Step 1.To ensure your computer can detect the USB, simply insert it into the USB port.
Step 2. To open Command Prompt, click on the start bar on the desktop, type "CMD" in the search bar, and then right-click on the Command Prompt icon that appears, selecting "Run as administrator" from the context menu.
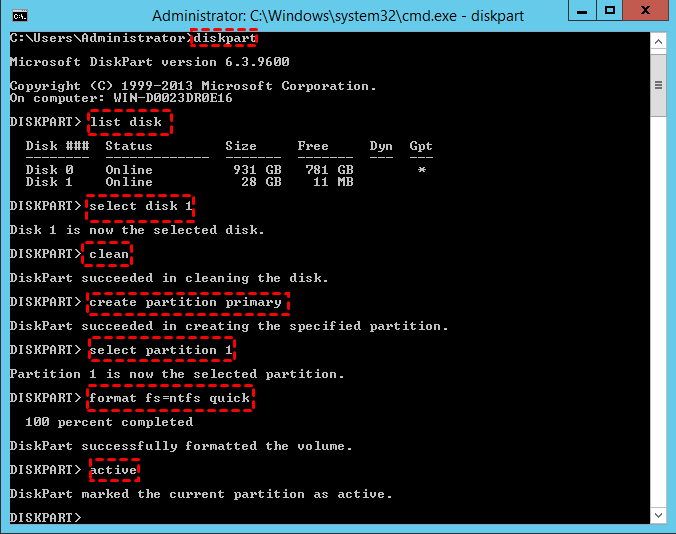
Step 3.1. Type "list disk" and press Enter to list all the disks connected to your computer. 2.
●list disk
●select disk X. (X is your USB drive letter)
●clean
●create partition primary
●select partition 1
●format fs=ntfs quickTo create a UEFI bootable USB, type "format fs=fat32 quick" in the command line, followed by the command "copy /y c:\EFI\Microsoft\Boot\bootmgfw.efi f:\EFI\boot\bootx64.
●active
Step 4. Finally, type "exit" and hit enter to close diskpart.
Step 5. To copy all files from the X1 drive to the X2 drive, type "xcopy X1:\*.* X2: /s/e/f" in the Command Prompt and press Enter.
Step 6. To write the boot loader to your USB drive, type the command "X1:\Boot\Bootsect /NT60 X2: /force /mbr" in one line, where "X1" is the drive letter of your USB drive and "X2" is the drive letter of the drive you want to boot from.
To install Windows 11 on a new PC, you need to insert the Windows 11 USB into the new PC, boot from it, and follow the installation instructions to complete the installation.
Related Articles
- How to Create Windows Server 2019 Windows To Go
If you want to create a Windows Server 2019 Windows To Go but don't know how to do it, this article will provide a professional tool to help you create a Windows Server 2019 bootable USB. - Free Method: Create Windows To Go USB Drive Successfully
If you need to create Windows to go USB drive and take your own OS everywhere, you can turn to Qiling Disk Master Standard. This freeware allows you to create Windows 10, Windows 8 and Windows 7 portable USB stick in simple steps. - How to Run Windows 10 From SD Card?|Step-by-Step Guide
If you want to run Windows 10 or 11 from SD card on a notebook or tablet computer, you can first use Qiling Disk Master software to move Windows 10 or 11 onto SD card, and then boot from it successfully. - [2 Ways]How to Burn ISO File to USB on Windows 11, 10, 8, 7
Here, you can learn how to burn ISO file to USB flash drive to make a bootable USB in Windows 11/10/8/7 step by step.

