[Stepwise] How to Clone Hard Drive to USB Flash Drive in Windows 11, 10, 8, 7
Why need to clone hard drive to USB flash drive?
Cloning a hard drive means to copy its data to another hard drive, effectively creating a duplicate of the original hard drive. This process can be useful for backing up data and preventing loss in case of hardware failure or other issues.
You can clone your hard drive to a USB flash drive using software like Acronis True Image, EaseUS Todo Backup, or Macrium Reflect. These programs create a bit-for-bit copy of your hard drive, including the operating system, programs, and data. This way, you'll have a backup of your entire system on the USB flash drive, and you can still use your original hard drive. This process is often referred to as a "disk image" or "clone" of your hard drive. You can then store the USB flash drive in a safe place as a backup, and continue using your original hard drive.
They want to clone their hard drive to a USB external hard drive for several reasons. This process allows them to create a backup of their important files, ensuring they are safe in case of a system failure or other disaster.
● Upgrade hard drive: Upgrading from a Hard Disk Drive (HDD) to a Solid-State Drive (SSD) may require cloning the HDD to a USB flash drive first, and then copying all data to the SSD from the USB external drive, due to the SSD's faster write-read speed.
● Create a bootable USB: If your Windows fails to boot, you can create a bootable copy of your Windows disk, which can serve as a great backup.
To clone a disk to a USB external drive in Windows, you can use the built-in tool "Backup and Restore (Windows Backup)" or third-party software like Acronis True Image, EaseUS Todo Backup, or AOMEI Backupper. These tools allow you to create a bootable clone of your hard drive or SSD to a USB external drive, which can be used as a backup or to replace a failed drive.
The best clone freeware for cloning hard drive
Since Windows does not offer a built-in tool for cloning a hard disk to a USB drive, we recommend using the Qiling Disk Master Standard, a freeware specifically designed for computer management that can easily clone a whole disk or partition to another storage device.
This tool allows you to copy everything, including programs, files, and the operating system, to a USB drive without any data loss or reinstalling. It can also be used to clone a hard drive before replacing it and create a bootable WinPE bootable disk.
The software allows you to clone a larger hard drive to a smaller one, such as cloning a larger hard drive to a USB flash drive, using its "Clone Disk Quickly" method. This simplifies the cloning process with an easy-to-use interface and several options, enabling you to complete the operation in just a few steps.
If you only plan to clone the Windows operating system, you can try migrating it to an SSD without data loss.
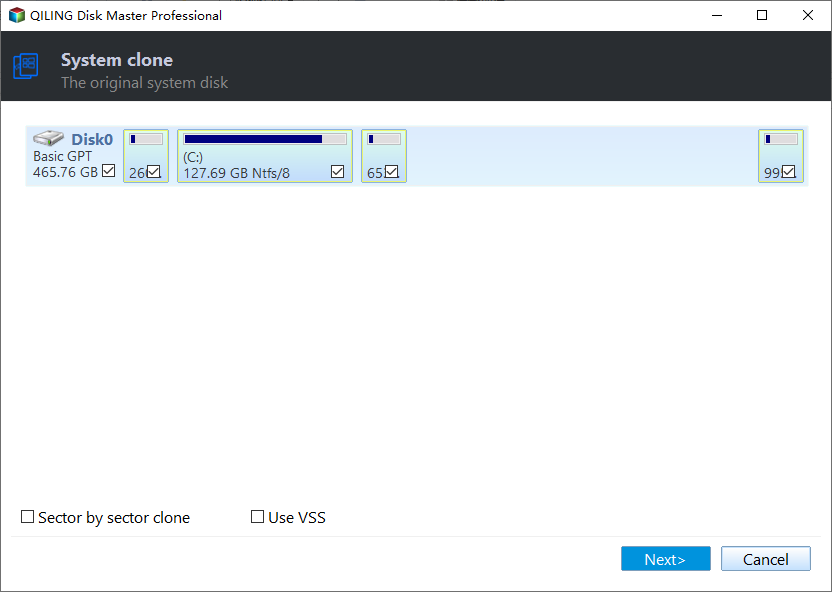
If you want to clone a system disk, you need to upgrade to the Professional edition. However, if you're cloning a data disk, there are no restrictions on partition style.
How to clone hard drive to USB Flash drive in Windows 11/10/8/7?
To clone a hard drive or solid state drive to a USB flash drive, first connect the USB drive to your computer. Then, follow the steps using Qiling Disk Master to complete the cloning process.
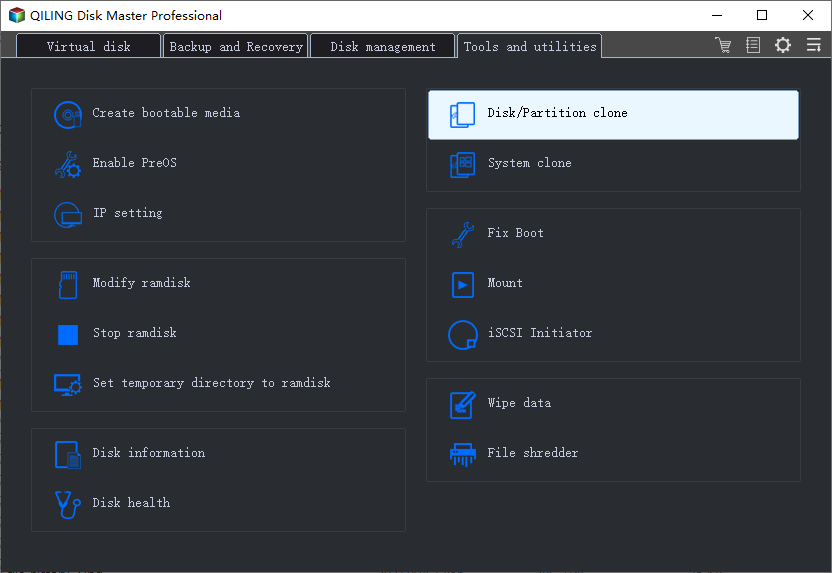
Step 1. To clone a disk, install and launch Qiling Disk Master, then click on the "Tools" tab page and select "Clone Disk".
Step 2. Choose the hard disk that you need to clone as the source disk and click "Next".
Step 3. Select the destination disk to store the data from the source disk, and then click "Next".
Step 4. In the next window, you can check the source and destination disk, or change to "Sector to Sector clone", and click the "Confirm" button to continue if there is no problem.
Here, you can also click the "Settings" button to adjust the partition size on the destination disk, and tick "4k alignment" to improve the reading and writing speed of the SSD if the target disk is an SSD drive.
Step 5. To start cloning the hard drive, click the "Proceed" button after completing the previous steps. This will initiate the cloning process.
Now that you've finished cloning a hard drive using a bootable USB, you can also clone only the system partition or a specific partition to another USB, HDD, or SSD using Qiling Disk Master. The steps are similar, with slight differences.
In the main interface, right-Click on the partition you want to clone, and select "Clone Partition" to start the partition cloning process. Follow the on-screen instructions to complete the cloning of the partition.
To clone the system partition, you can either click on the "Clone" button and select "Migrate OS" from the dropdown menu, or right-click on the system partition and choose "Clone Partition" from the context menu.
Conclusion
Cloning a hard drive to a USB flash drive in Windows 11/10/8/7 involves a series of steps that can also be applied to cloning a disk to an SSD/HDD or other internal or external devices.
With the help of Qiling Disk Master, you can easily complete the clone process. Additionally, this tool offers advanced features that can be unlocked, such as converting MBR to GPT for Windows 11, converting NTFS to FAT32 without data loss, and more.
If you want to use these features in Windows Server, you should choose Qiling Disk Master Server.
Related Articles
- How to Clone Hard Drive from Bootable USB Drive Easily?
Do you have any idea about how to clone hard drive from boot? In this article, you will learn the best practice to clone hard drive without any issue. - Cloned Hard Drive or SSD Won't Boot - How to Fix?
If you find the cloned hard drive/SSD won't boot after you clone your Windows 7/8/10/11 hard drive to another HDD or SSD, you can try the solutions listed in this post to make the cloned hard drive bootable successfully. - Free Bootable USB Clone Tool: Copy Bootable USB in Windows 11, 10, 8, 7
If you are looking for a bootable USB clone tool to make an exact copy of your USB drive, the free Qiling Disk Master is a great choice. It allows you to free clone a bootable USB drive in Windows 11, 10, 8, 7 with easy steps.


