Clone HDD to SSD vs. Clone SSD to HDD in Windows 7
Clone SSD to HDD in Windows 7 with best free disk cloning software:
- Need to clone SSD to HDD in Windows 7
- Why clone Windows 7 hard drive to SSD or clone SSD to HDD?
- How to clone hard drive or SSD easily
- Summary
Need to clone SSD to HDD in Windows 7
Searching "clone SSD to HDD Windows 7"online, you may find an interesting scenario: some users want to clone SSD to HDD while others want to clone hard drive to SSD. Below is an example taken from reddit.
Why did they do the opposite? Which is better for your situation? How to complete the cloning process easily and quickly? Don't worry about it too much, and you will get all the answer in the following.
Why clone Windows 7 hard drive to SSD or clone SSD to HDD?
Before answering this question, you need to get some basic of both HDD and SSD. Both of them are the most popular hard disk in the digital life, but they have obvious advantages and disadvantages. After learning, you may know the causes for their behaviour. Below is a quick chart including all the info.
As you can from the chart, in the case of the same size of the hard disk, HDDs have larger capacity and lower price, while SSDs have higher performance, are more durable and safer.
If you don't have much budget and want to get larger capacity, you will choose to clone SSD to HDD in Windows 7. Also, you may want to make a duplicate copy by cloning, so when something bad happens, you can use the cloned hard drive to boot your computer.
If you are not mind investing more on a hard disk, you are likely to clone HDD to SSD in Windows 7, which will make your computer run faster and smoother, even all the installed programs. If the SSD is smaller, your best choice is to use SSD for OS and HDD for storage.
Thus, as a final result, if you think the capacity is everything, choose to clone SSD to HDD. If you think computer performace is the key factor, choose to clone hard drive to SSD or clone SSD to larger SSD.
How to clone hard drive or SSD easily
As the keywords show, you need a disk cloning software to complete this process. But in most software, Qiling Disk Master Standard, for example, they provides two ways, namely, Disk Clone, Disk Backup and Restore, which can achieve the same effect. Then, which one should you use?
Both ways are ok if you just want to make a disk backup for disaster recovery. Only consider this, an exact copy of backup will be better, because it allows you to schedule backup disk to keep all the changes made later.
If you want an easy and convenient way, it's better to directly do a hard drive or SSD clone. It does not require restoration when your computer crashes or original disk is damaged.
Stepwise guide: Clone SSD to HDD in Windows 7
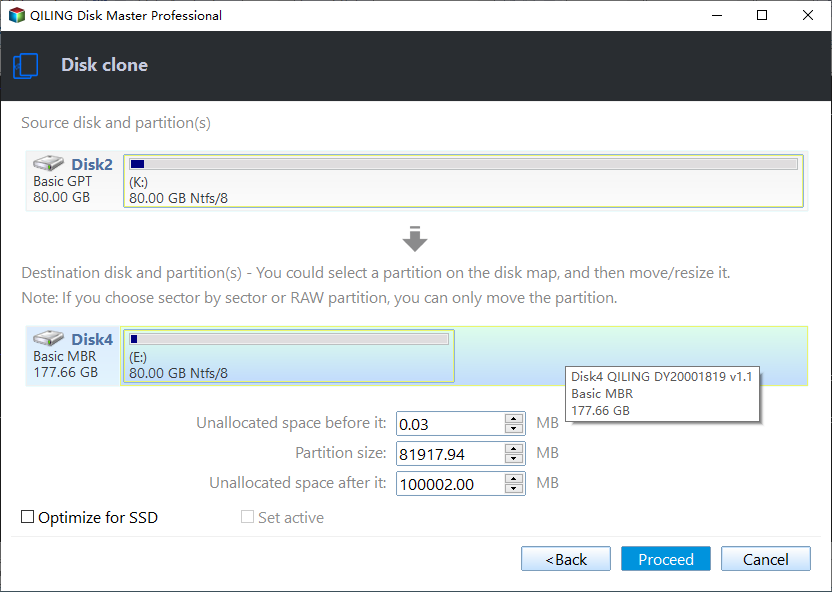
Here we will use the "Disk Clone" feature in Qiling Disk Master Standard to clone hard drive to SSD in Windows 7 or clone SSD to HDD. All the steps are exactly the same, the only difference is to add HDD or SSD first.
This software has a clean interface and user friendly design, so all users can easily understand and use it quickly. Besides, it still has some obvious advantages in the following.
- Free clone hard drive or SSD in Windows 11/10/8/7/XP/Vista. Thus, this guide also applies to free clone SSD to HDD in Windows 10/8 and clone HDD to SSD in Windows 10.
- Clone hard drive with different size. You can clone clone SSD to larger HDD for bigger capacity or clone large HDD to smaller SSD to gain better performance, etc.
- Clone all branded hard drive or SSD, such as, Samsung, SanDisk, WD, Seagate, Hitachi, Intel etc.
- Clone all sectors of the disk with "Sector by sector clone", whether used or not. Note that this feature requires the destination disk size is equal to or larger than the source disk.
- Support multiple backup options. You can backup only changed files in the disk by daily incremental backup. Also, you can change the backup interval to weekly or monthly.
- Support restoring Windows backup to new computer with different hardware.
In addition, this software is one of the best SSD cloning freeware, you can use it to clone Windows 7 hard drive to SSD, and speed up the reading and writting speed of the SSD disk and extend its lifespan with "SSD Alignment". It makes full use of 4k technology for alignment.
Then, before starting, you need to make some preparations. Below will take clone SSD to HDD as an example.
- Prepare a lager hard drive, connect it to your computer and be sure it's detected. If the new hard drive is not initialzed, please intialize it in disk management first.
- Plug out extra devices, which may cause potential boot issues, system reserved partition on wrong drive, for example.
- Download and install the best free disk cloning software - Qiling Disk Master Standard.
- Go to Backup and Disk Backup to create a disk image with Qiling Disk Master. Because the target drive will be overwritten finally.
- Note:✎...
- The Standard version of Qiling Disk Master only support cloning data disk and MBR system disk, so please check the disk partition style in its Properties window. If one of them is GPT disk, you could consider converting GPT disk to MBR in the Disk Management first or upgrading the professional version.
Step 1. Launch this software, and select "Disk Clone" under the Tools tab.
Step 2. In the Source disk window, select the SSD disk you want to clone (here is disk0). Then, click "Next".
Step 3. In the Destination Disk window, select the larger hard drive to receive all the data on the SSD disk (here is disk1). Then, click "Next" to continue.
Step 4. Tick "Sector by Sector Clone" if you want to clone all sectors of SSD disk to HDD. Then, click "Proceed" to clone SSD to HDD in Windows 7.
You may find the cloned hard drive shows wrong size after cloning SSD to HDD if it's larger. You could adjust the partition size of HDD using Add unused space to all partitions or Manually adjust partition size in Edit Partitions(supported by the professional version). Also, you can use "Extend Volume" in the Disk Management to solve this problem.
The cloning process will take a while to complete, and it depends on how many data you have and the reading & writting speed of both disk.
When it ends, you need to switch hard drive to SSD and boot computer from it. If it not boot from the cloned HDD automatically, you need to change boot order in the BIOS and then try again.
Free clone SSD to HDD step by step for backup purpose
As a matter of fact, cloning is easier than imaging, but some users want to backup all the changes made later. At this time, Backup and Restore will be a better choice, thus I will show you the imaging process as well.
During the process, you can set more options, such as, daily/weekly/monthly schedule backup or full/incremental/differential backup, normal or high compression level, enable email notification, etc. With further ado, let's get started to image SSD disk.
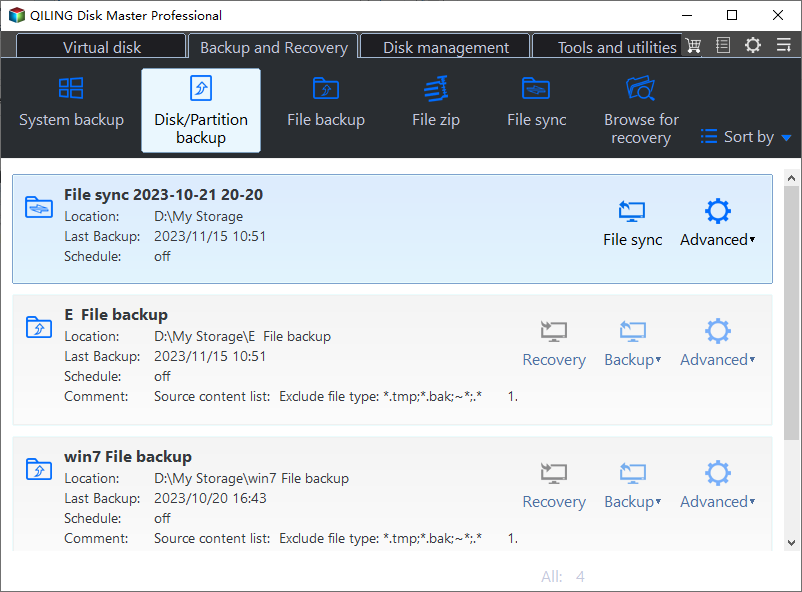
Launch Qiling Disk Master Standard, click "Backup" > "Disk Backup". Then, select SSD as source disk and HDD as destination disk. After that, set backup options if necessary, confirm the operation is correct and click Proceed.
When the backup task finishes, you have a copy of your original disk. It's suggested to create Windows 7 recovery USB, so you can restore your computer even if it's not bootable.Then, oneday, you have problem with your computer and you need to restore it to a previous good state. Please continue to see steps below.
Step 1. Connect the disk containing backup image and new HDD to your computer.
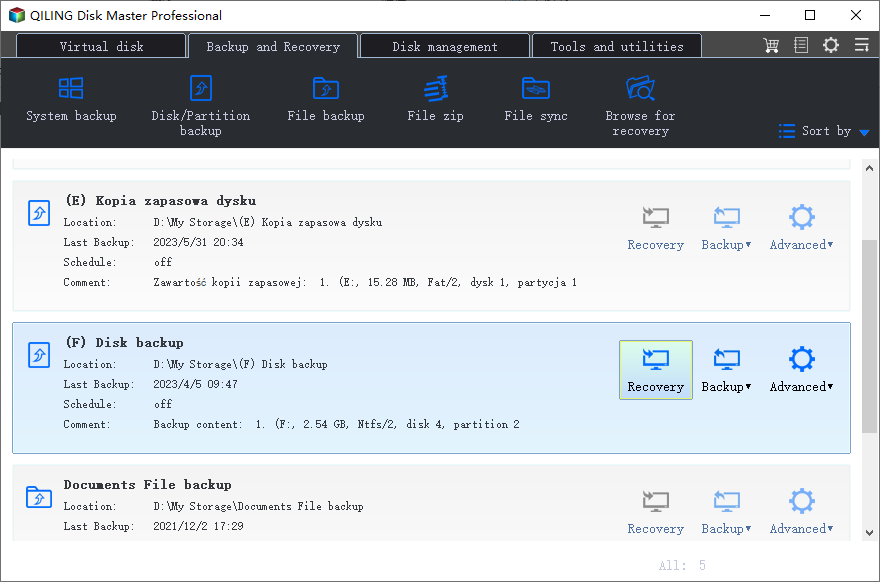
Step 2. In the main page of this software, go to the Restore tab and click "Select Task".
Step 3. Then, you will be asked to select the previous created disk backup by Qiling Disk Master. Select the disk backup and click Next.
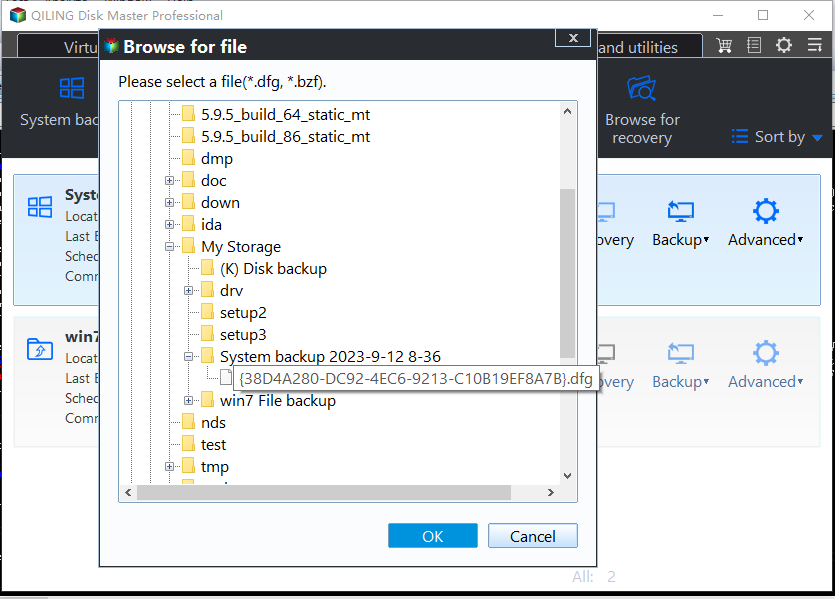
Sometimes, you will not see your disk backup, because it is not detected by this software. You need to select it manually by clicking Back and then choosing Select Image File.
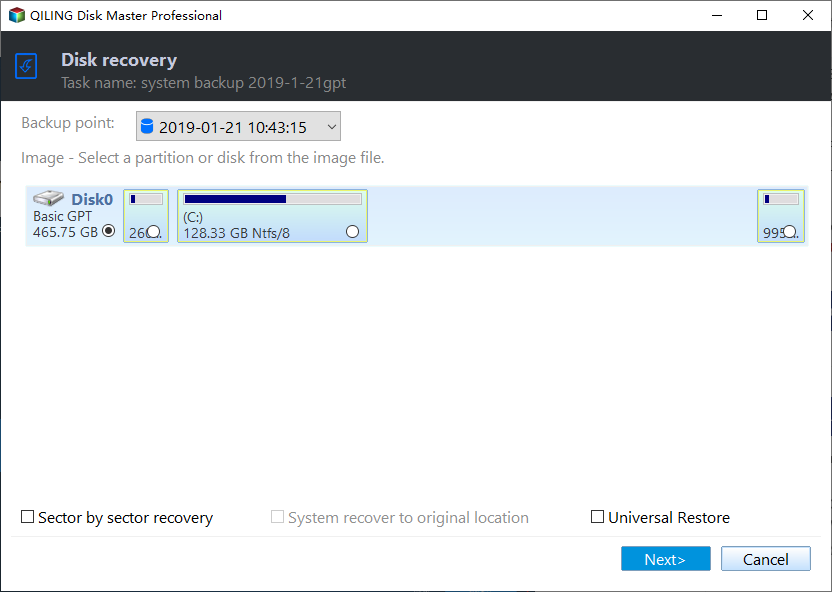
Step 4. Tick "Restore the entire disk" and then,click Next.
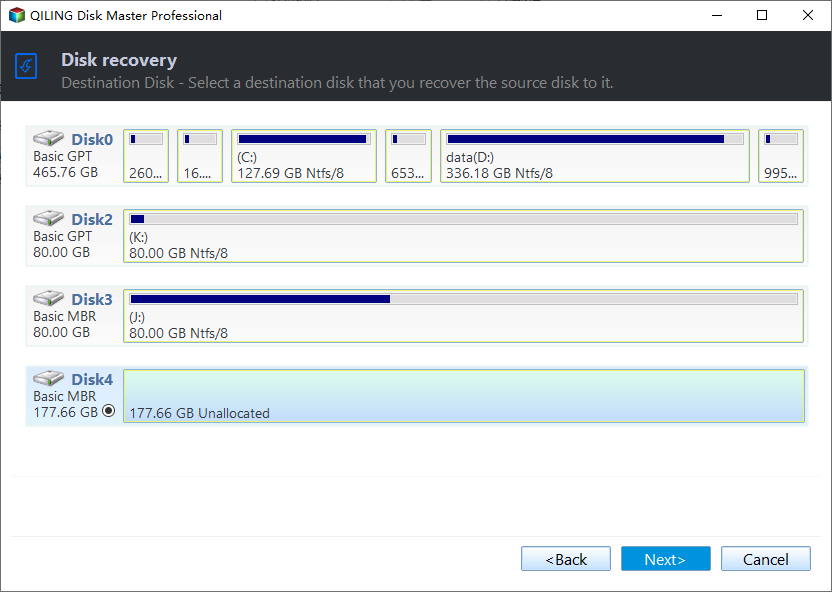
Step 5. Select the new hard drive you prepare as restore destination and click Next.
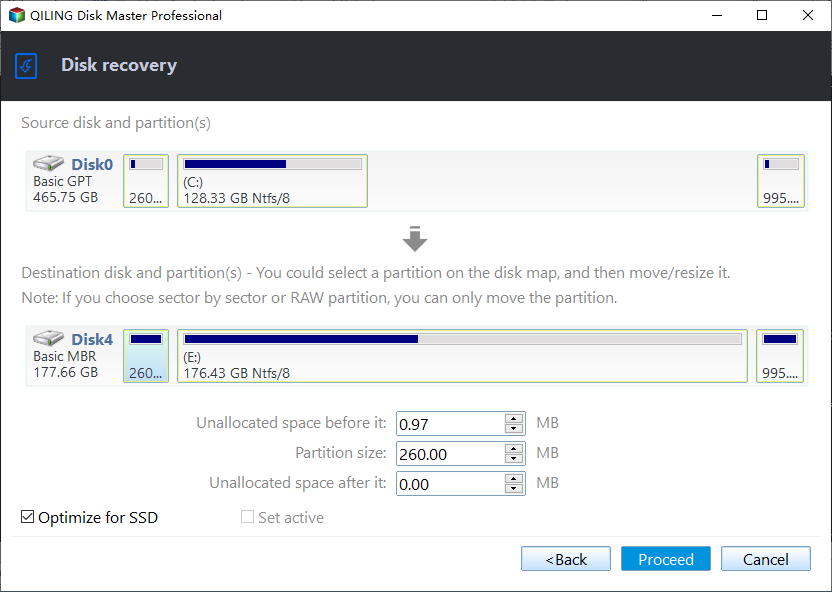
Step 6. In the Operation Summary window, confirm both disk info and click "Proceed".
Summary
Whether you want to clone SSD to HDD in Windows 7 or clone Win 7 HDD to SSD, you could use the best free disk cloning software - Qiling Disk Master Standard to make it. It supports "Disk Clone" feature, which allows you to clone hard drive in Windows 10/8/7 and the latest Windows 11 to new hard drive or SSD in simple steps. Also, it still provide "Disk Backup and Restore", which can help you continously protect your disk and all the data on it. Just select one method per your needs.
Related Articles
- Safely Clone Windows 7 Hard Drive to HDD or SSD for Free
No matter why you want to clone a hard drive in Windows 7, with the best disk cloning software Qiling Disk Master, you can easily clone hard drives to HDD or SSD without reinstalling OS and applications. - Migrate Windows 7 from HDD to SSD Without Reinstalling | 2 Ways
You will learn how to migrate Windows 7 from HDD to SSD with built-in Backup and Restore or Qiling Disk Master Professional. It will greatly enhance your computer without reinstalling Windows. - Easily Transfer/Clone Windows 7 to New Hard Drive (3 Ways Included)
Want to transfer Windows 7 to a new hard drive? This page introduces 3 simple ways to migrate Windows 7 to new HDD or SSD without reinstalling OS. Find the best solution for you. - Clone MBR Disk to SSD Drive without Windows 10/8/7 Reinstallation
Want to clone MBR disk to SSD drive to upgrade Windows 11/10/8/7 hard drive without reinstalling? This article tells how to replace MBR disk with GPT SSD without worrying about missing MBR partition table after the clone. - How to Clone SSD to Larger SSD in Windows 10/8/7 with Freeware
Upgrade your disk capacity by effortlessly cloning a smaller SSD to a larger one in Windows 11/10/8/7 with the help of Qiling Disk Master, the best cloning software.


