Two Ways to Create Data Backup Using CMD in Windows 10/8/7
Why do data backup?
Data backup involves various types, including system, partition, file, and folder backups, to protect against data loss caused by system corruption, disk crashes, viruses, and unforeseen events like floods, earthquakes, or theft.
Backing up important data is crucial, as losing business or personal files can have severe consequences, including financial, customer, and company data loss, as well as irreplaceable personal items like family photos and expensive music. To prevent such disasters, it's essential to backup precious data in advance. This passage will introduce two ways of data backup using the command line (cmd).
Create data backups with Wbadmin command
The Wbadmin Proceed command creates a backup using specified parameters, applicable to Windows Vista, Windows Server 2008, Windows Server 2008 R2, Windows Server 2012 R2, Windows Server 2012, and Windows 8.
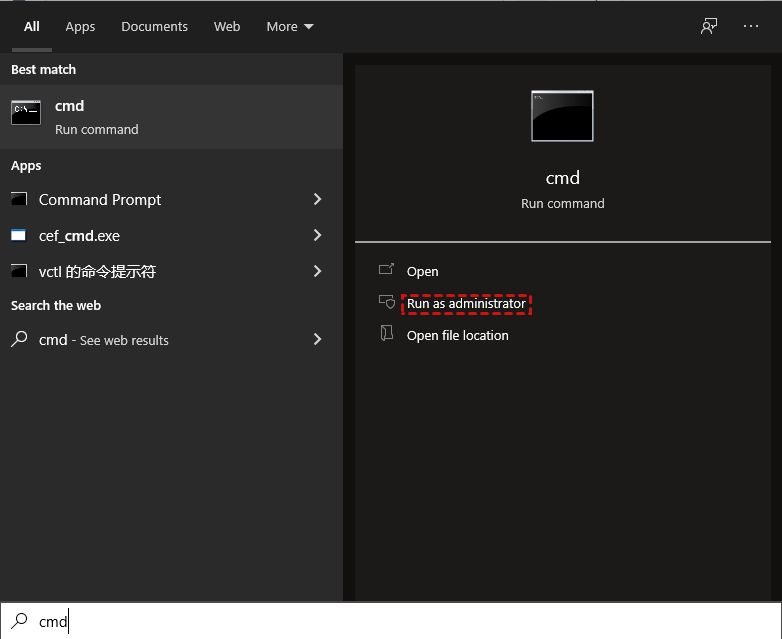
- To start the command prompt as an administrator, click the "Start" button, type "cmd" in the search box, and then right-click on the "cmd" result, selecting "Run as administrator".
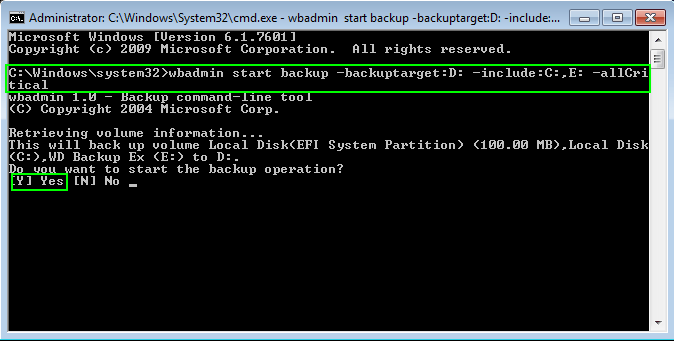
- To create a backup of your data using the command prompt, you can use the command "wbadmin start backup -backuptarget:D: -include:C:,E: -allCritical" to backup C: and E: to an external hard drive (D: drive).
There are many alternative syntax options for Windows PCs, but specifying multiple partitions, including hidden ones, can be cumbersome, especially when dealing with a large number of partitions on a single disk.
You can use the built-in Windows command-line tool, Robocopy, to backup your hard drive from the command line. Robocopy is a powerful command-line utility that can copy files and folders from one location to another, and it's included with Windows. You can use it to back up your entire hard drive, or specific files and folders, by using a simple command like "robocopy C:\Source D:\Destination /mir" (where C:\Source is the source drive and D:\Destination is the destination drive).
Easier way to backup data with CMD in Windows 10/8/7
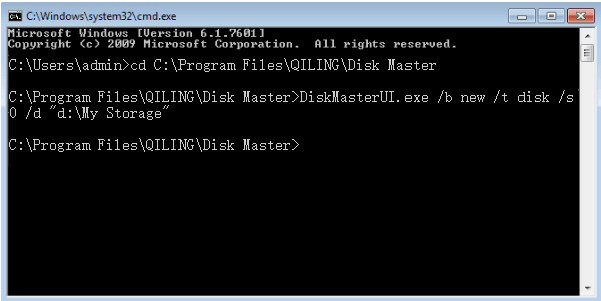
Qiling Disk Master provides a utility called DiskMasterUI.exe that allows users to make backups from a command line interface or by creating a batch file. This feature is also useful for unattended and multi-task backups, and can be used even when not within Windows, by utilizing the command line.
The DiskMasterUI.exe command line utility allows you to perform various backup operations, similar to the Qiling Disk Master GUI. For instance, to take a disk backup, you can use the command line utility to backup files from the command prompt, and if you're a Windows Server user, you can refer to the Qiling Disk Master Server instructions.
Step 1. Download and install Qiling Disk Master Professional.
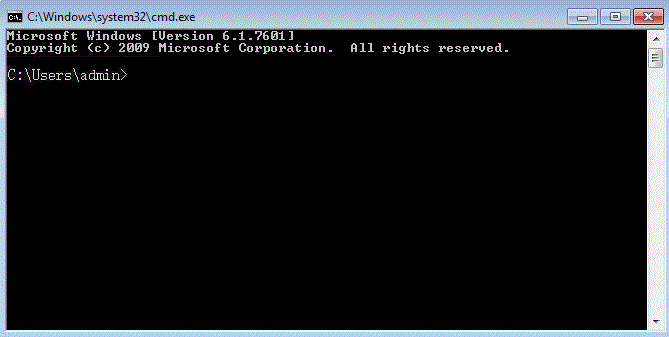
Step 2. To start the process, click on the "Start" button in the lower left corner, then type "cmd" in the search box or press Win + R and type "CMD". Run the Command Prompt with administrator privileges. Once open, close the Qiling Disk Master GUI and proceed with the next steps.
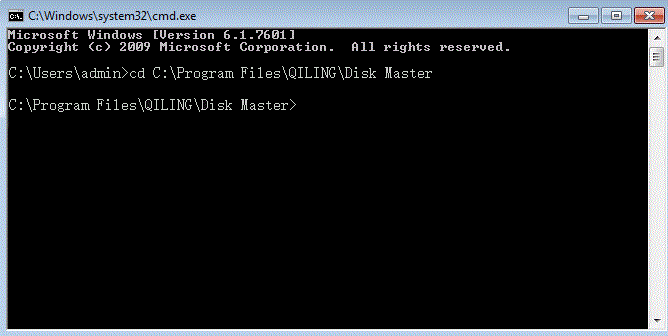
Step 3. Open the Installation directory of Qiling Disk Master by running the command `cd C:\Program Files (x86)\Qiling Disk Master` and pressing Enter.
Step 4. To perform a command line backup, type "DiskMasterUI.exe /b new /t disk /s 0 /d "e:\disk"" and press Enter.
As for the required parameters:
>> Please specify the type of backup you want to perform, which can be one of the following: new, incremental (inc), differential (dif), or full.
>> The user requested to rewrite the text in one paragraph, but the input was incomplete. The user should specify the type of source, which could be either a system, disk, or part.
>> *s: source for the backup.
>> The destination path for saving the backup image is the location where the backup will be saved, specified in the format /d drive_letter:\path. For example, /d D:\disk.
Qiling Disk Master's command line interface offers various options beyond the required parameters, allowing users to customize their backups. These options include incremental backups, hard drive cloning, and system restores, all of which can be performed on Windows operating systems from XP to Windows 10, in addition to the data backup feature.
Bonus Tip: backup data to the cloud
Besides using the command line, you can also back up files to the cloud, which also protects your disk from physical damage and natural disasters, further safeguarding your data.
Qiling Disk Master provides users with their own cloud disk, Qiling Cloud, which is more cost-effective than other cloud backup devices, offering lower prices and more storage space. Upon signing up for an Qiling account, users receive 1TB of free storage space for 15 days. This eliminates the need to register other cloud devices.
Final Words
You can backup your data using two methods via CMD: the first method uses the built-in Wbadmin command in Windows, and the second method uses the DiskMasterUI.exe command. Alternatively, you can use Qiling Backup Software, which provides a user-friendly graphical interface to simplify the backup process, allowing you to select the backup source and destination location with just a few clicks.
Related Articles
- How to Clone Hard Drive via Command Prompt in Windows 10/8/7 Simply
- How to Install Windows 10 from Command Prompt (2 Methods)
- Safely Backup Hard Drive from Command Prompt | 4 Ways
- How to Run System Restore from Command Prompt Windows 7
