Solved: "File History Service Is Not Accessible" Error
📖 Quick Navigation:
- User Case
- How to Fix "File History Service Is Not Accessible" Error
- Safer and Faster File Backup Tool—Qiling Disk Master
- Final Words
User Case
File History Service is not accessible
You've been using File History to back up your Windows 10 data, but it hasn't been working since November 19th, despite being set to run hourly backups. When you tried to force a backup, you got an error message saying "File History Service is not accessible." Your external hard drive, which holds the backups, is working fine and accessible through File Explorer. You're unsure what this message means or how to resolve the issue. I'd be happy to help you troubleshoot!
- Question from Microsoft Community
The File History function on Windows 10 allows you to back up your data and operating system files to a designated location, providing a safety net in case something goes wrong. These backup files can be used to restore the operating system to its previous state, essentially reverting it back to the point when the backup was made.
Users report that Windows 10 File History is not working after updating Windows 10, despite setting it to back up files regularly. This issue is a common error that prevents Windows 10 File History from functioning properly. Users can resolve this error by checking the File History settings, ensuring the drive is not full, and verifying the backup location. Additionally, users can check for any issues with the backup drive, such as disk errors or hardware issues. If the issue persists, users can try resetting the File History service or seeking further assistance from Microsoft support. Users can also try running the built-in System File Checker tool to scan and replace any corrupted system files.
How to Fix "File History Service Is Not Accessible" Error
You haven't mentioned any error yet. Please provide the error you're encountering so I can assist you in solving it.
Solution 1. Enable File History and Windows Search Services
The "File History service is not accessible" error means the File History Service is not running. To fix this, you can try restarting the service or checking the service status in Services.msc.
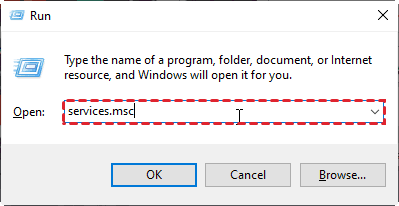
- Press Win + R together to open the Run dialog.
- Type services.msc and press Enter.
- Double-To enable the File History Service, click on the Start menu, type "services.msc" in the search bar, and press Enter. This will open the Services window. Scroll down and find the "File History" service, then right-click on it and select "Properties".
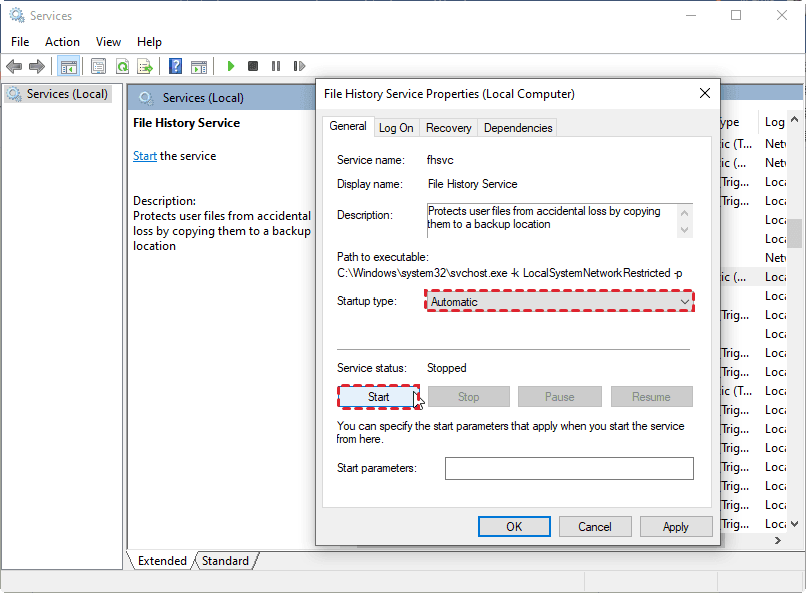
- To resolve the issue, find the Windows Search Service, change its Startup type to Automatic, and click Start.
Solution 2. Disable and Enable System Protection
Some users reported that disabling and re-enabling system protection fixed the Windows 10 File History not backing up problem.
- Type "Control Panel" in the search box and open it, then click on "System and Security" in all Control Panel items.
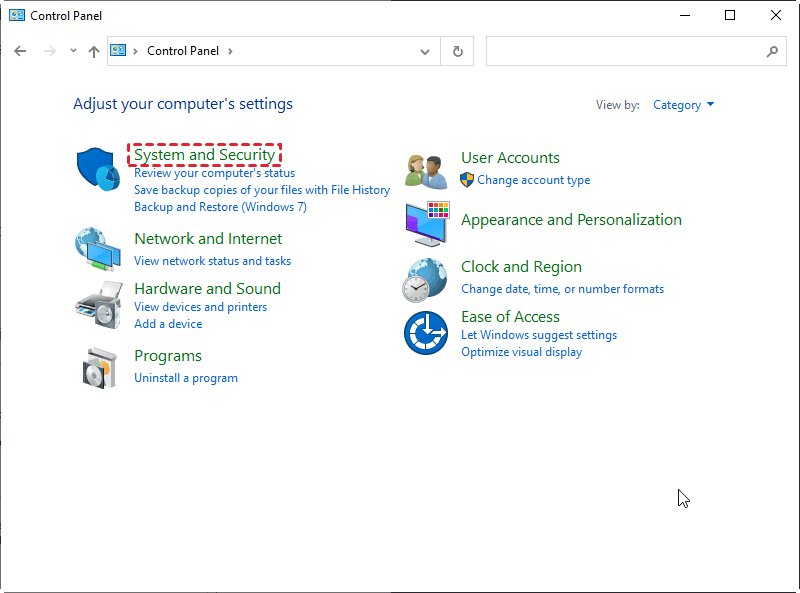
- Then navigate to System -> System Protection.
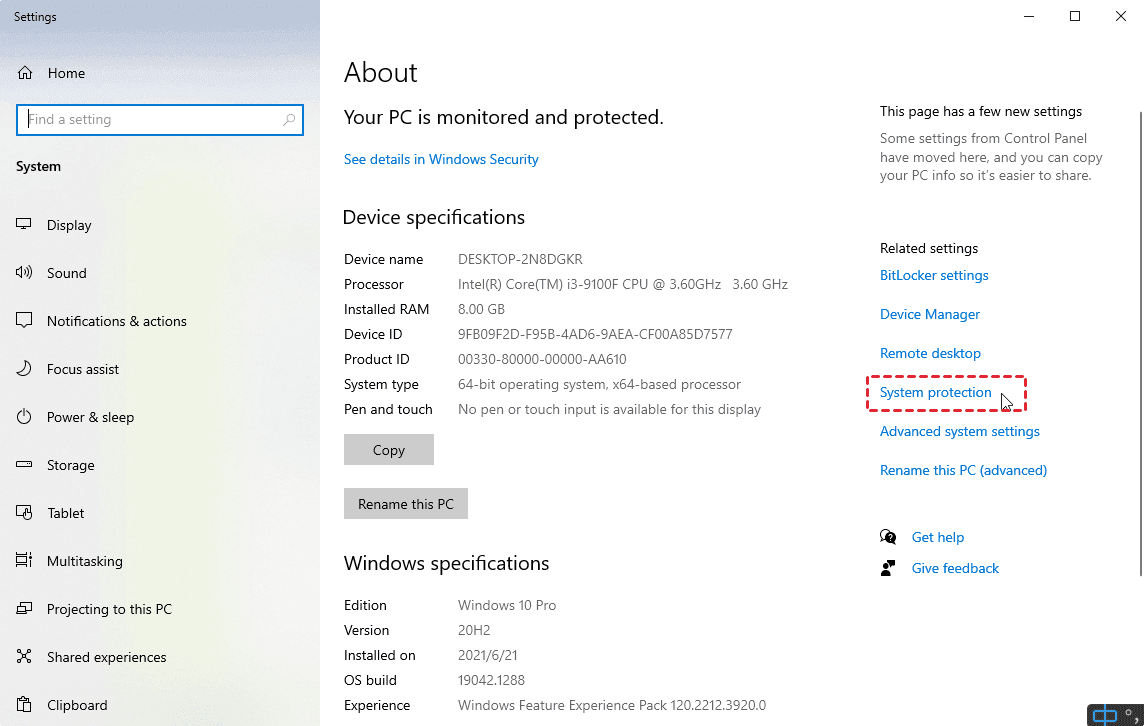
- In the System Properties window, select a drive and click on the Configure button.
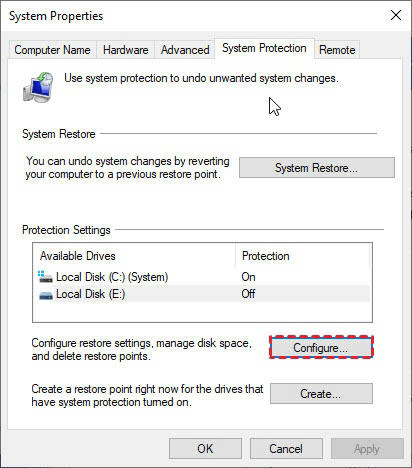
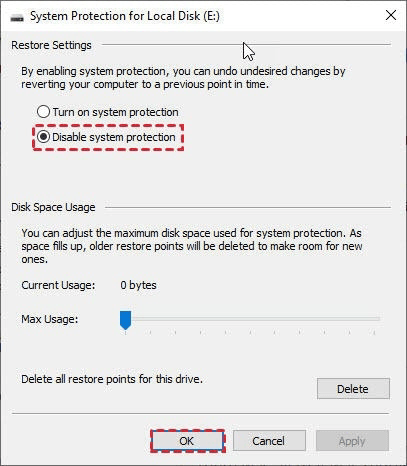
- Disable system protection, apply the change, and then turn it back on.
Safer and Faster File Backup Tool—Qiling Disk Master
Despite the built-in File History tool provided by Microsoft, users often encounter issues, including the "File History Service is not accessible" error and the problem of File History not recognizing a drive.
I recommend using Qiling Disk Master as an alternative to File History for Windows 11/10/8.1/8/7/Vista/XP, as it offers a more comprehensive backup solution and avoids the problems associated with File History. With Qiling Disk Master, you can easily backup files, system, partitions, and disks on your computer, making it a reliable option for protecting your files and system.
✩ Different backup destinations: You can create a backup to various locations, including a local disk, an external device (such as a USB, HDD, or SSD), a cloud disk, a NAS, or a network shared folder.
✩ 3 backup methods: The software offers various backup methods, including full backup, incremental, and differential backup (available after upgrade). It also allows scheduling automatic backups with 5 modes: daily, weekly, monthly, event trigger, and USB plug-in, with the last two options available in advanced editions.
✩ More than just Backup: The software has advanced features beyond backup, including cloning, syncing, and restoring functions, as well as tools for migrating data or systems to external hard drives and wiping hard drives for reuse.
Stepwise Guide to Backing Up Files using Qiling Disk Master
Before creating a backup, please download and install the freeware. To back up files to an external hard drive, follow these steps: [insert steps here].
Step 1. Connect an external hard drive to your computer and ensure it's accessible by the computer.
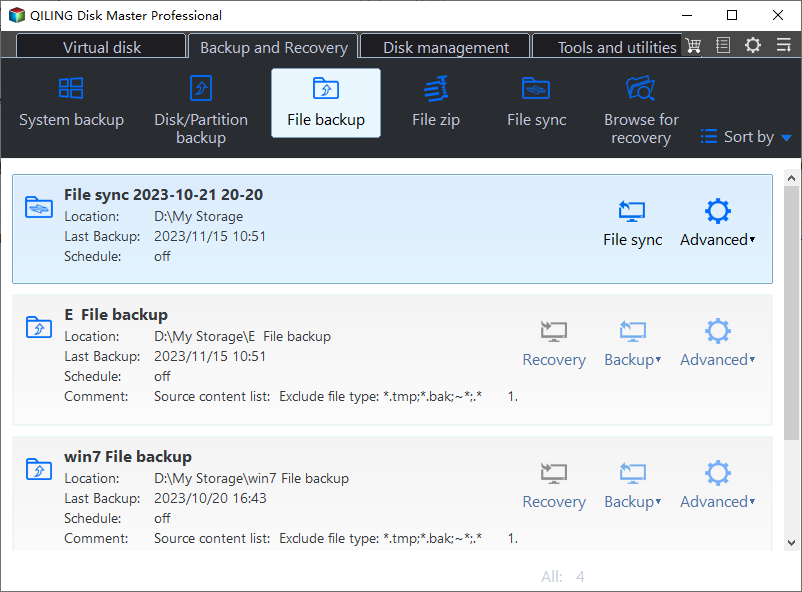
Step 2. Launch Qiling Backuper, click Backup in the left menu and select File Backup.
Tip: If you have a Qiling account, you can use the Cloud Backup feature to back up your files to Qiling Cloud, which offers 1TB of free cloud storage for 15 days.
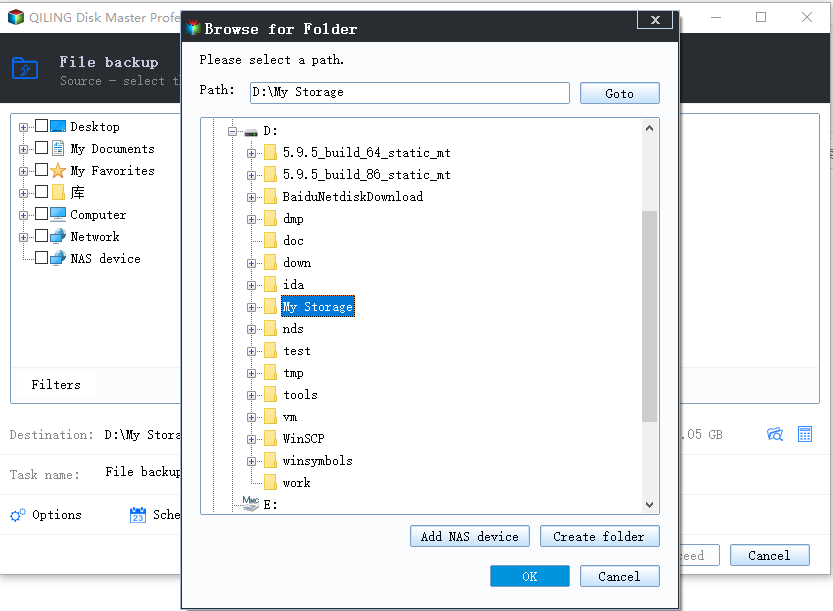
Step 3. Select the files you want to back up by clicking on the "Files" or "Folders" option, allowing you to choose multiple folders/files for a simultaneous backup.

Step 4. To back up your data, click on the box below the arrow to select the external hard drive as the destination path to store the backup.
Step 5. You can set special settings for your backup by clicking on the 3 options in the lower-left corner of this program.
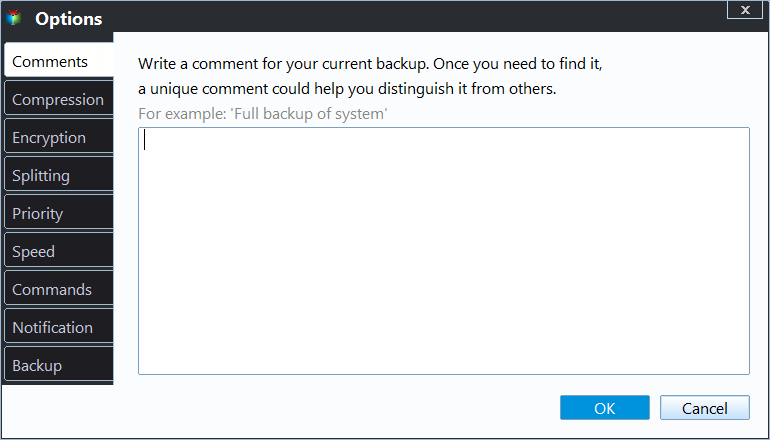
▶ Options: The backup image file can be modified by compressing and splitting the image, adding comments, and enabling email notification for alerts, with advanced editions also offering backup encryption.
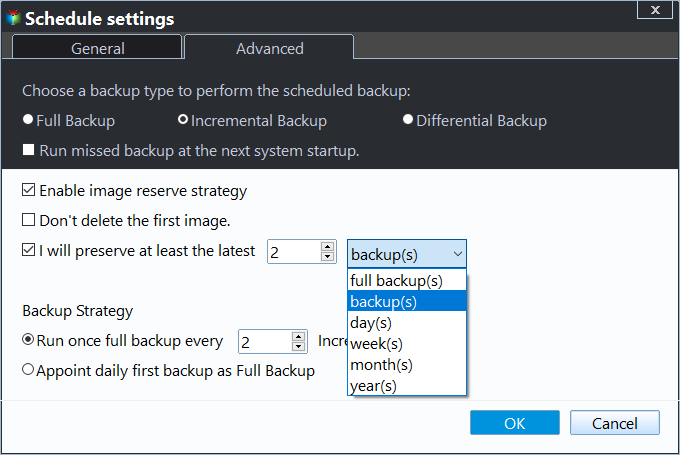
▶ Schedule Backup: It allows you to automatically back up data on a regular basis, which can improve data security to a large extent.

▶ Backup Scheme: 3 backup methods are supported, allowing users to delete old backups and free up disk space while keeping the latest backup versions, a feature available in Qiling Disk Master Professional.
Step 6. After confirm all your settings, click Proceed.

Final Words
If you're experiencing the "File History Service is not accessible" error, there are two potential solutions. However, to avoid encountering this issue and ensure that your files and system are properly backed up, it's recommended to use a tool like Qiling Disk Master, which can also be used to backup only new files to an external hard drive. This can save you time and energy, and provide a hassle-free backup experience. You can download and try it now!
Related Articles
- Solved: Windows 10 Backup Tools Not Working
Find Windows 10 File History or Backup and Restore Windows 7 not working? Don't worry! Scroll down to get quick fixes and the best free alternative software. - Windows 10 Sync Center Not Working - Fix or Replace It
You will learn to fix "Windows 10 Sync Center not working" in 7 different solutions, or use one more flexible software to sync network files to a local drive. - Fixed: Encrypt Contents to Secure Data Greyed Out Windows 10
If you find "Encrypt contents to secure data" option greyed out and therefore can't secure folders via EFS technology in Windows 10/8/7, try following solutions to fix it. - Top 3 Ways to Fix Invalid Partition Table in Windows 7/8/10 Dell PC
An error message "Invalid Partition Table" occurs to your Windows 11/10/8/7 Dell computer without any signs? This article will give you the best 3 ways to fix Dell invalid partition table.