How to Reimage a Lenovo Laptop (ThinkPad, IdeaPad)
When to reimage a Lenovo laptop?
You may need to reimage your Lenovo laptop if you're in a situation where you want to completely start over with a clean slate, such as removing all data and reinstalling everything from scratch. This process involves wiping out all existing data and reinstalling the operating system, applications, and settings, essentially restoring your laptop to its original factory settings.
- The Windows system is experiencing slow performance and uninstalling programs is not enough to speed it up.
- Windows has a built-in tool called System File Checker (SFC) that can scan and replace corrupted system files. You can try running the SFC tool in Command Prompt as an administrator to see if it resolves the issue. If the issue persists, you may need to try other methods such as running the DISM tool or using a third-party system file repair tool.
- There's an irreparable virus or stubborn malware.
Before reimaging a Lenovo laptop, ensure you have the correct recovery media, such as a USB drive or CD/DVD, and that you've backed up any important files or data. To reimage, insert the recovery media, follow the on-screen instructions to boot from it, and select the option to restore the laptop to its factory settings. The reimaging process will erase all data on the laptop, so be sure to have any necessary files or drivers downloaded and saved beforehand.
How to reimage a Lenovo laptop in Windows 10
To perform a factory reset on your Lenovo laptop in Windows 10, it's essential to back up your crucial data first, as the reset process will erase all data. Once you've backed up your files, you can follow these steps: go to Settings, then Update & Security, and finally Recovery. From there, select "Get started" under Reset this PC, choose whether to keep your files or remove them, and follow the on-screen instructions to complete the factory reset. This will restore your laptop to its original factory settings.
1. To start the process of resetting your Windows 10 PC, click Start and select Settings, then navigate to Update & Security and click on Recovery. From there, click Get started under the "Reset this PC" heading.
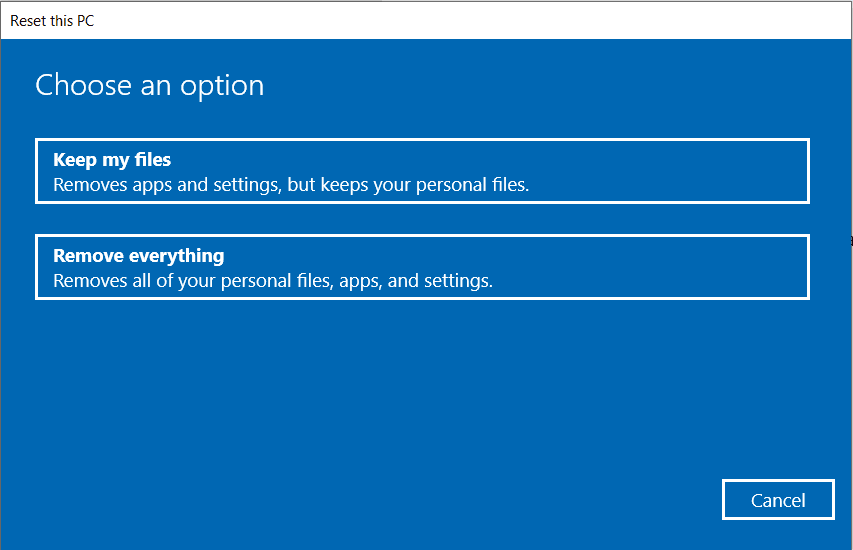
2. Click Remove everything.
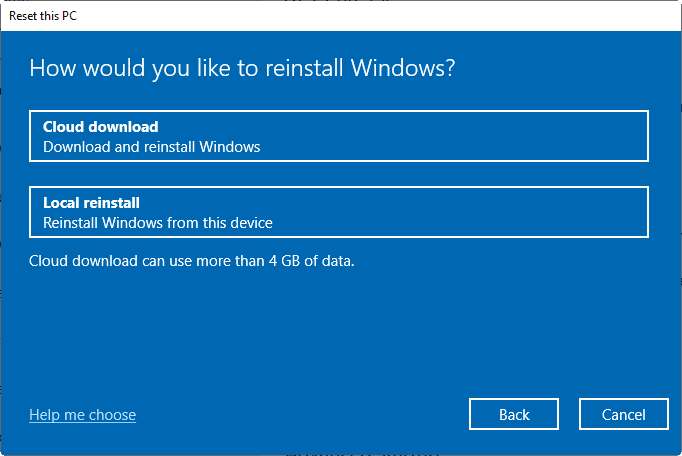
3. I will choose to reinstall Windows 10 using the local reinstall option after resetting.
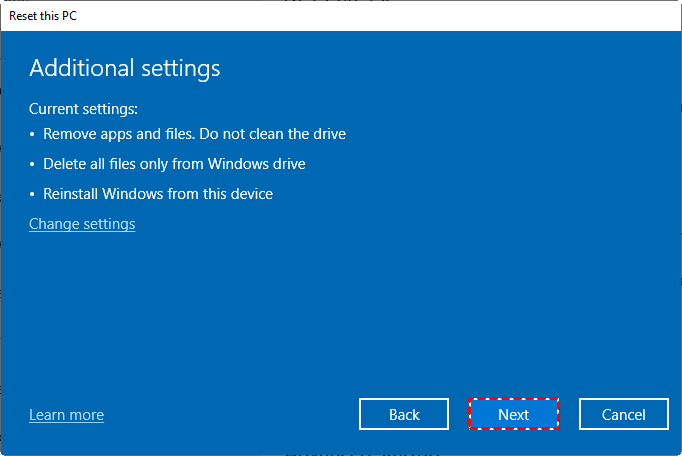
4. Decide whether to do additional settings.
- If you want to keep the default setting, click Next. This setting only removes files from the drive where Windows is installed, and does not clean the drive or remove files from other drives.
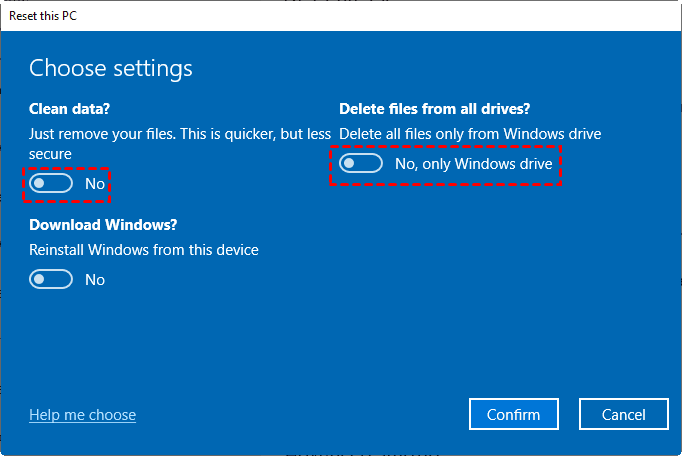
- Click on "Change settings" and select the option to clean the drive and remove all files from all drives by toggling the corresponding switch on. Click "Confirm" to save your settings, then click "Next".
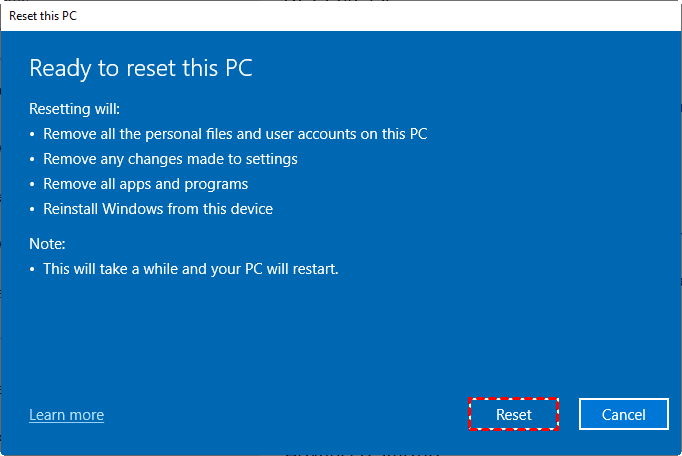
5. Click Reset when prompted. Your computer will begin resetting itself.
6. Wait for Windows to finish resetting. This process can take several hours, so ensure the computer has enough power.
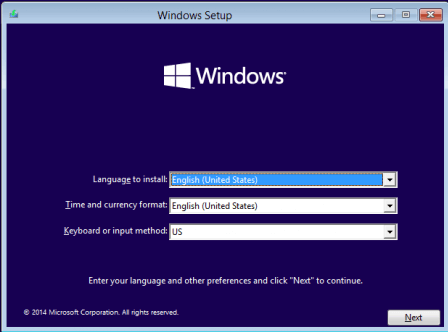
7. To continue, click Continue when prompted, which will take you to the setup page.
8. Follow the on-screen prompts to complete the Windows 10 reinstallation.
To factory reset a Lenovo laptop in Windows 10, go to Settings, then Update & Security, and click on Recovery. From there, you can choose to reset your PC and follow the prompts. If your laptop is experiencing serious problems and can't boot, you may need to use Windows installation media or a Windows 10 recovery drive to complete the system recovery. If you're using Windows 7, you can refer to System Recovery Options Command Prompt for instructions.
Repair Lenovo laptop without reinstalling Windows
Reimaging a Lenovo laptop can be a viable solution when it's not running well, but it has its drawbacks. The process can be time-consuming, requiring you to reinstall everything from scratch. To avoid this hassle, it's recommended to regularly backup your laptop and then restore the system when needed, which saves you from reinstalling Windows and all applications on the system partition.
Qiling Disk Master Standard, a top-rated free backup software, offers Lenovo laptop backup & recovery capabilities.
✩ This tool allows you to create image backups for the entire system, a specific disk, partition, or even individual files, giving you flexibility and control over your data.
✩ It allows backing up to an external hard drive, mapped network drive, or cloud drive, among other options.
✩ You can perform block-level incremental or differential backups to enhance backup efficiency.
Download this freeware to try it out. Note that Qiling Disk Master can only restore images created by itself, so run System Backup before recovery.
To perform system restore on your Lenovo laptop, first ensure that it is running on the original operating system and that you have created a system restore point. Then, go to the Start menu, type "system restore" in the search bar, and select the "System Restore" option from the results.
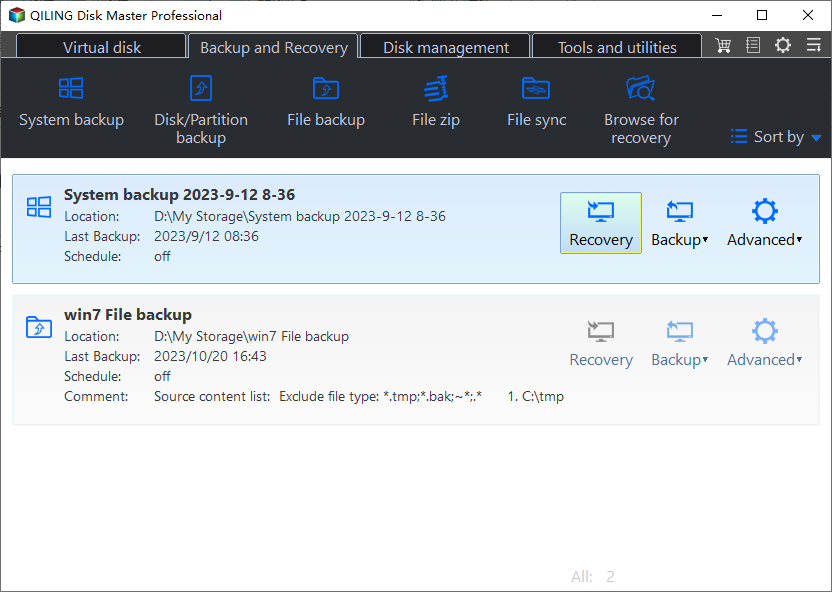
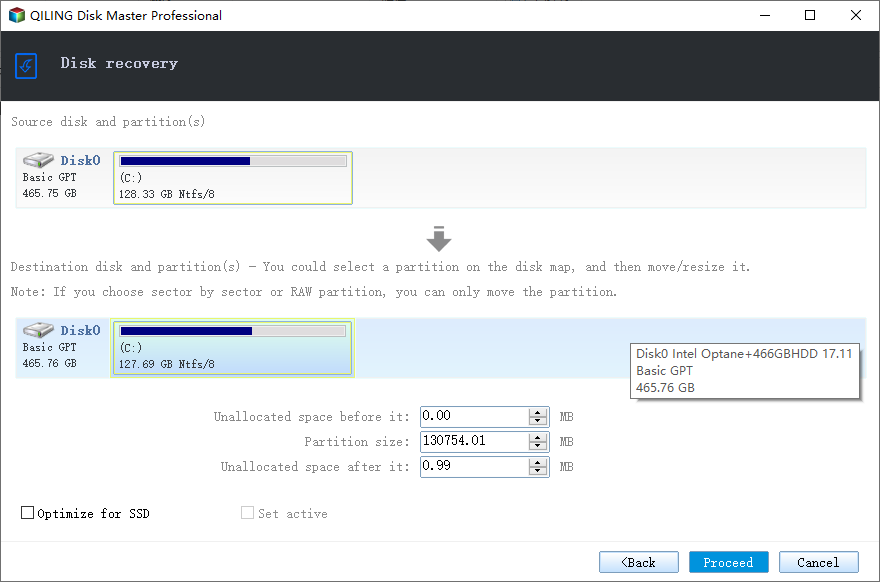
Step 1. Launch Qiling Disk Master. Under the "Backup and recovery" tab, click "Recovery" next to the system backup task created with Qiling Disk Master.
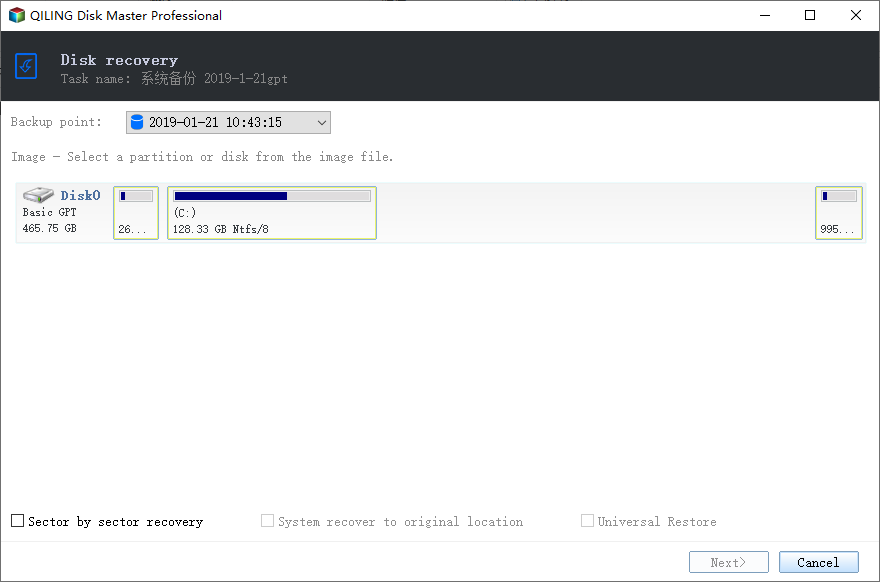
Step 2. Select "Restore this system backup" and click "Next".
Step 3. Confirm operations on the "Operation Summary" page and click on the "Proceed" button.
Step 4. A prompt will remind you to restart your computer. Click "Yes" to proceed with the operations under the Restart Mode.
Notes:
- The program automatically selects the current system partition (usually C drive) as the destination drive, but you can change the default destination drive by checking "Restore system to other location" in Step 2.
- If the Lenovo laptop suffers a boot failure, you can create bootable media with Qiling Disk Master and perform system restore under Windows PE.
- To ensure system bootability after recovery, select "Universal Restore" in Step 3, but this feature is only available in the upgraded Qiling Disk Master Professional.
Verdict
With Qiling Disk Master, you can repair Lenovo laptops without reinstalling Windows 10, and even clone features like Dell XPS 8910 SSD upgrades, making it a valuable tool for maintaining and upgrading your devices.
Related Articles
- How to Restore Lenovo G50 to Factory Settings?
Restore Lenovo g50 to factory settings with recovery partition under the help of Lenovo OneKey Recovery or Qiling Disk Master. - How to Use Lenovo One Key Recovery?
You will learn how to use Lenovo one key recovery to protect system and data on it and recreate partition or image when Lenovo OneKey Recovery not working. - Why Lenovo F11 Not Working and How to Solve It?
You will learn how to fix Lenovo F11 not working in Windows 7/8/10/11 and reduce the impact of this issue. - Backup Lenovo Laptop Windows 10 with 3 Free Ways
Backing up Lenovo laptop in Windows 10 is necessary to prevent data loss and system crash. Get 4 methods below and backup your computer with one of them.


