How to Wipe an SSD with Windows 10 for Selling
Scenario: How do I wipe my SSD with Windows on it before selling?
To wipe your SSD to a like-new state, you can try a few methods. One option is to use the built-in Disk Cleanup and Disk Defragmenter tools in Windows, but since you're using an SSD, defragmentation isn't necessary. You can also use a third-party tool like CCleaner to securely erase your personal files and wipe the drive. If you want to completely reset Windows 10, you can do a clean install, which will erase all data on the SSD. Just make sure to back up any important files to the HDD or an external drive before doing so.
When selling your SSD, start by ensuring you've deleted all personal data files stored on it. Due to the nature of SSDs, deleting files might not be as straightforward as with traditional hard drives, so take the necessary steps to securely erase your data. This will give you peace of mind and protect your sensitive information.
Why do you need a secure erase SSD?
Due to the distinct read and write methods of Solid-State Drives (SSDs) compared to Hard Disk Drives (HDDs), deleting data from an SSD cannot be done in the same way as wiping data from an HDD.
The lifespan of an SSD is limited by the number of program-erase (P/E) cycles it can handle. It's not the number of writes that's the issue, but rather the number of times the data can be erased and rewritten. Each block on the SSD has a limited number of erase cycles before it needs to be replaced, which ultimately determines the overall lifespan of the drive.
Writing data to an SSD is like writing on a blank piece of paper with a pencil. To write new information, you must first erase the old text, just like using an eraser to remove unwanted marks. However, when you delete data on an SSD, it's not a clean process like erasing pencil marks. The deletion procedure can actually harm your SSD, making it less reliable over time.
How to wipe an SSD with Windows 10 on it for selling
To sell your SSD, it's essential to clean all data to minimize potential harm. To achieve this, "SSD Secure Erase" was developed. This process involves using professional tools to overwrite your data with meaningless information, followed by a complete erase. If you have sensitive data stored on your SSD, running the secure erase process two or three times can provide an added layer of security. With a reliable SSD secure erase tool, you can sell your SSD with confidence, knowing your data is thoroughly protected.
Here, we recommend using Qiling Disk Master Professional, a powerful disk & partition manager for Windows 11/10/8/8.1/7/XP system, which features a professional "SSD Secure Erase" function to safely and quickly clean all brands' SSDs.
- ★SSD secure erase has some requirements:
- The device performs better when connected directly to a SATA port, and a Secure Erase operation via a USB port may cause issues.
- You will need a Windows 7 computer.
Step 1. To erase a Secure Boot-enabled SSD, connect it to a Windows 7 computer via a SATA port, as the Secure Erase feature only works in Windows. Then, install and run Qiling Disk Master Professional on the Windows 7 computer, allowing you to access and erase the SSD.
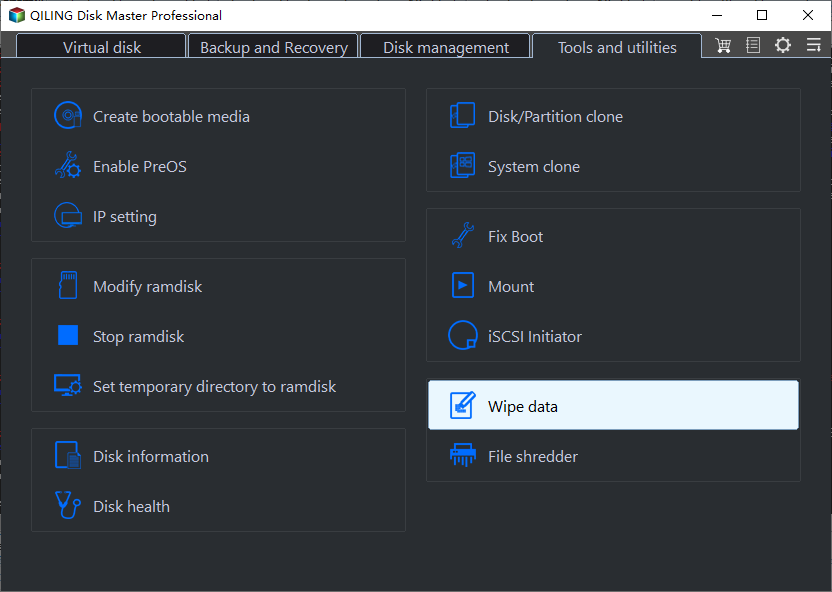
Step 2. In the main interface of Qiling Disk Master, click "Wipe" > "SSD Secure Erase Wizard" and click "Next".
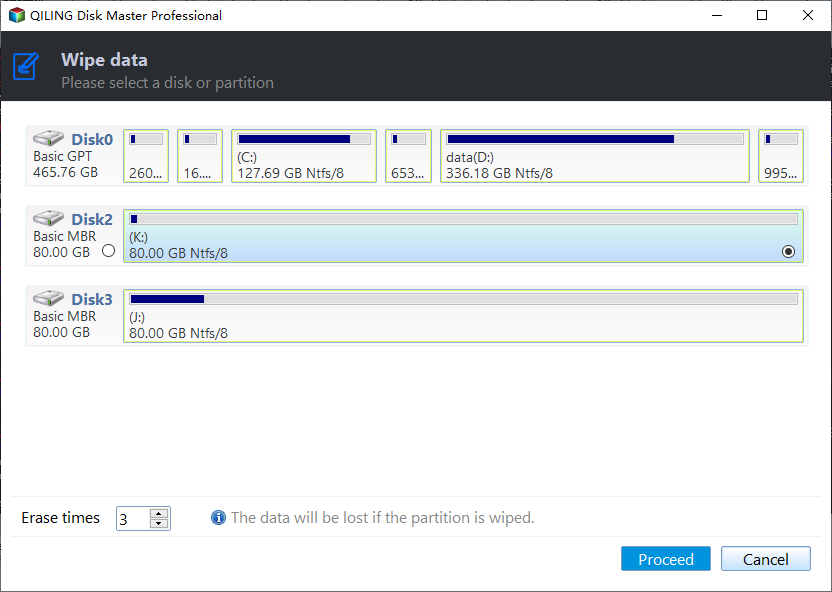
Step 3. Select the SSD that you want to securely erase and click "Proceed".
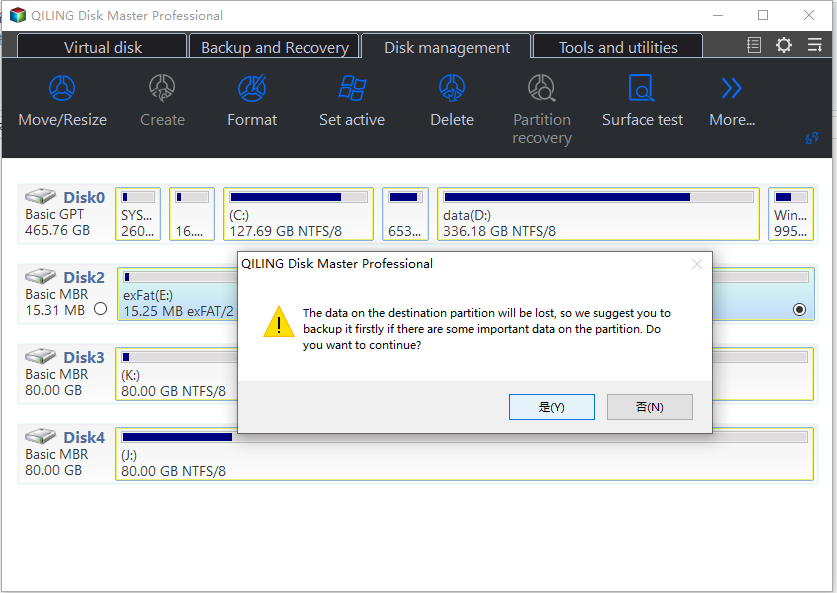
Step 4. To avoid erasing the wrong SSD and losing your data, double-check the identification information of the SSD you want to erase. If you accidentally erase the wrong SSD, the data will be unrecoverable. After erasing the SSD, it will be in a frozen state. To proceed, you need to perform a hot-swap, which involves safely removing the SSD from the system without powering it down.
▶ Secure Erase on an SSD can be performed by hot-swapping the drive, which involves physically removing the drive from the system while it is powered on, to unlock it from a frozen state. This allows the drive to be securely erased, ensuring that all data is completely deleted and the drive is ready for reuse.
1. If you have a desktop computer, open the case by removing the screws that hold it together. For a laptop, you'll need to remove the screws that hold the rear cover or drive shell in place. This will give you access to the internal components.
2. Locate the SSD that needs to be securely erased.
3. Unplug the power cable from the SSD.
4. Disconnect the SATA data cable from the SSD.
5. Reconnect the SATA cable to the SATA port on the SSD.
6. To complete the hot-swap, simply plug the power cable back into the SSD's power connector.
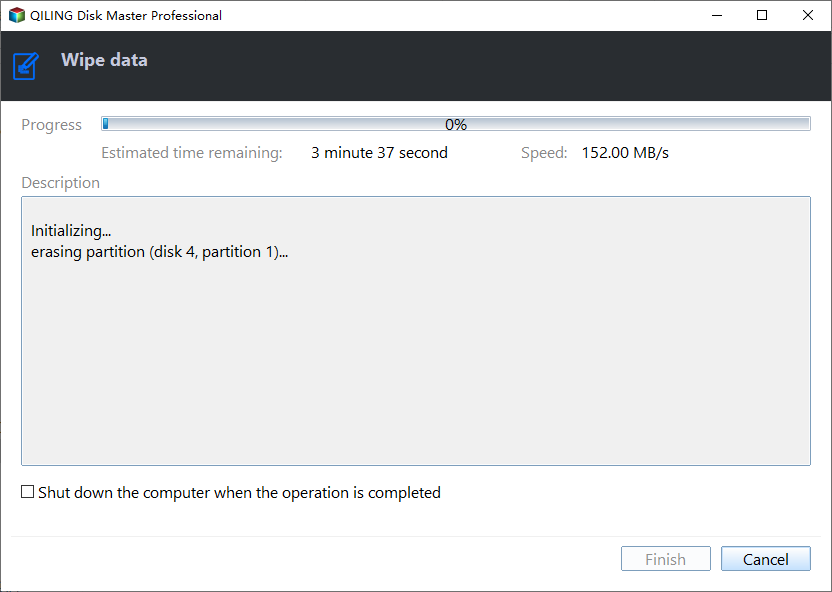
Step 5. click "Next" to start the SSD Secure Erase.
When the task is finished, your SSD will show as unallocated space.
Further knowledge: Wipe HDD with Windows OS
Qiling Disk Master also has a "Wipe Hard Drive" function, which is different from the SSD, as we mentioned in the second part, allowing you to erase the data on your HDD.
• Fill sectors with Zeros: This method overwrites all sectors with zeros, effectively wiping a hard drive, often used for personal hard drive wipe.
• Fill sectors with random data: The first method of wiping a hard drive is to use a tool that overwrites the drive with zeros. This method is not safe because it can be recovered using data recovery software.
• DoD 5220.22-M: The DoD standard is more secure than zero-filling and random data filling, and faster than the Guttman method, making it a popular choice for companies and organizations.
• Gutmann: The safest way for disk wiping is to overwrite a hard drive with 35 passes, which is the most secure method but also takes the longest time.
You have several options to fully wipe your HDD, and the best one for you depends on your specific needs and preferences. If you want a quick and easy solution, you can use a disk wiping tool like DBAN, which can erase all data on your HDD in a matter of minutes.
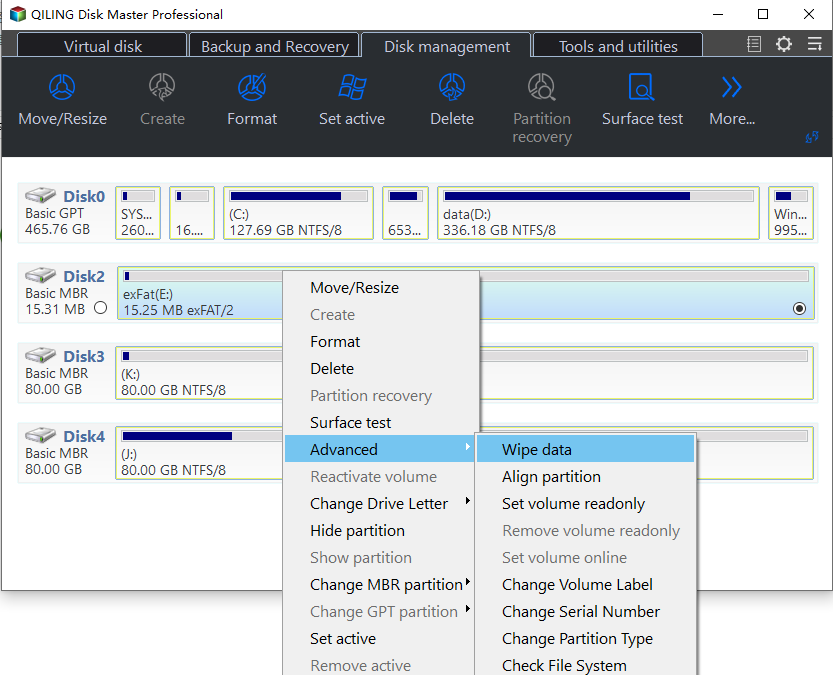
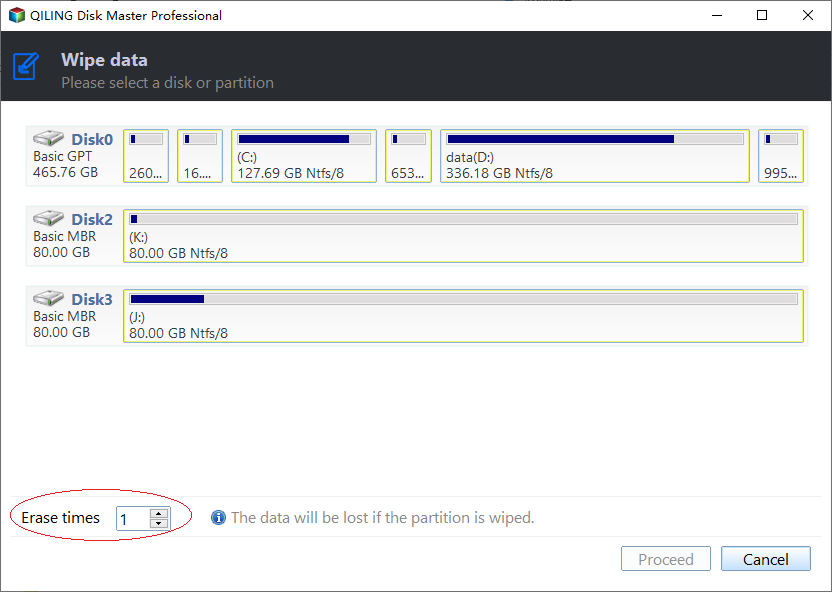
Step 1. You can select a hard drive that you want to wipe, right-click on it and choose the "Wipe Hard Drive" option.
Step 2. Choose a wiping method to wipe the selected hard drive according to your requirements and click "OK".
Step 3. Click "Apply" in the toolbar to execute the operation.
Wait for a while, your HDD will be clean.
Ending words
To wipe an SSD with Windows 10 for selling, use Qiling Disk Master to erase all personal information, saving time and energy for other preparations. This tool also offers functions like resizing, moving, or deleting partitions, converting between GPT and MBR, and App Mover, making it a helpful companion for selling your disk.
Related Articles
- How to Erase C Drive completely in Windows 10, 8, 7?
To erase C drive totally and effectively, you can employ a great partition manager, Qiling Disk Master Professional.
