How to Move the System Reserved Partition Safely to Another Drive
- When do you need to move system reserved partition?
- How to move system reserved partition to a different disk?
- Clone system reserved partition to SSD
- Further reading: About EFI partition
- FAQs
- Can you move system reserved partition to another drive?
- Is it OK to delete system reserved partition?
- Can I change system reserved drive letter?
- Conclusion
When do you need to move system reserved partition?
After cloning a hard drive to a solid state drive, in rare cases, the system reserved partition may still be on the old hard drive, preventing booting from the SSD unless the old HDD is plugged in.
When you need to wipe an old hard drive or it's on the verge of breaking, you may want to transfer the system reserved partition to a new SSD as soon as possible, especially if you plan to use the old HDD for file storage.
How to move system reserved partition to a different disk?
Moving the system reserved partition can be a bit tricky, especially when it comes to getting Windows 11/10 to detect its new location. To avoid any errors, it's essential to carefully follow a step-by-step guide, taking into account that this partition contains the boot files for your computer.
♦To create a system repair disc, insert a blank CD or DVD into your computer's disc drive, then go to the Start menu and search for "Create a system repair disc". Follow the prompts to complete the process.
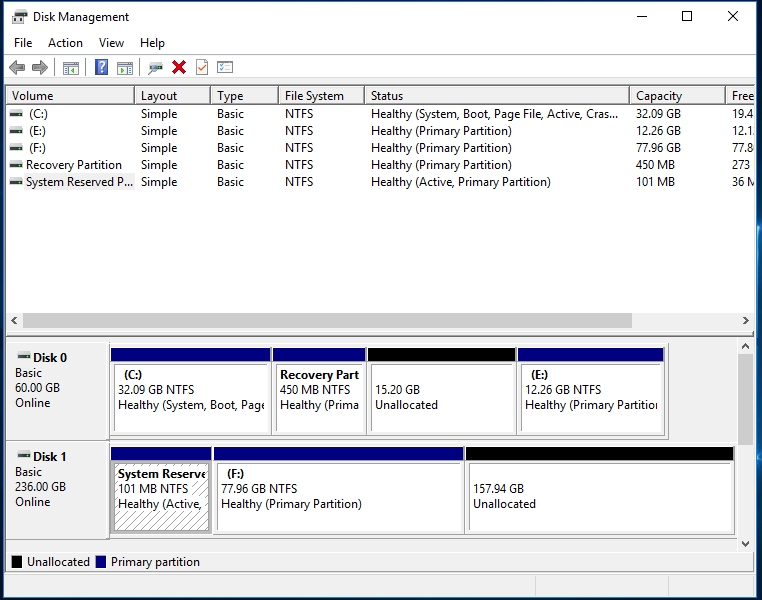
♦To create a new partition on the SSD drive, open Disk Management by pressing the Windows + R keys and typing "diskmgmt.msc". Then, create a new partition with at least 100MBs of space.
♦To make the system reserved partition accessible in Windows File Explorer, assign a drive letter to it. For example, you can assign the letter Z: to the partition.
♦To copy everything from the system reserved partition to the newly created partition, you need to include the Boot folder, bootmgr, and BOOTSECT.BAK files. This involves copying these essential files to the newly created partition to ensure it can boot and function properly. This step is crucial in the process of creating a new partition to serve as the system reserved partition.
♦Mark the new partition as "System Reserved".
♦Remove the drive letter from the new system reserved partition and mark it as Active.
♦Now restart your computer to see it successfully boots.
♦If Windows fails to boot, you can use the Windows system repair disc to perform a Startup repair, which will force Windows to detect the new system reserved partition. This allows the system to boot normally.
♦Once the computer has successfully booted, you can safely remove the old system reserved partition, which was previously occupied by the old Windows installation.
The current method of cloning a system reserved partition in Windows is complex and involves multiple steps, making it difficult for users unfamiliar with Windows Disk Management and Startup repair. However, there is a simpler way to clone this partition, which will be explained below.
Clone system reserved partition to SSD
Using a manual file copy of important partitions, especially system-related ones, can lead to problems on your computer. To avoid this, consider using a free Partition manager software like Qiling Disk Master Standard to clone the partition instead. This allows you to easily move your system reserved partition to a different disk, minimizing potential issues.
To clone a system reserved partition:
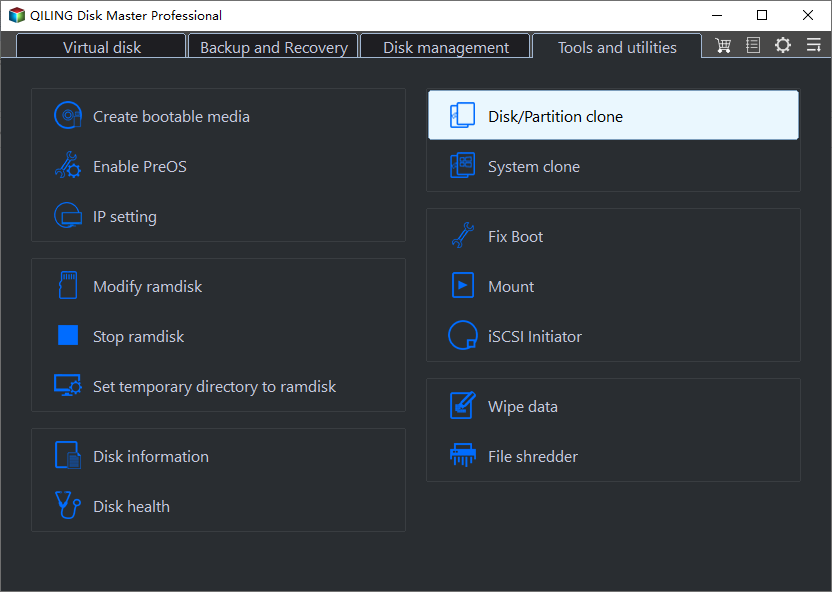
1. Download Qiling Disk Master Standard (free edition) and launch it.
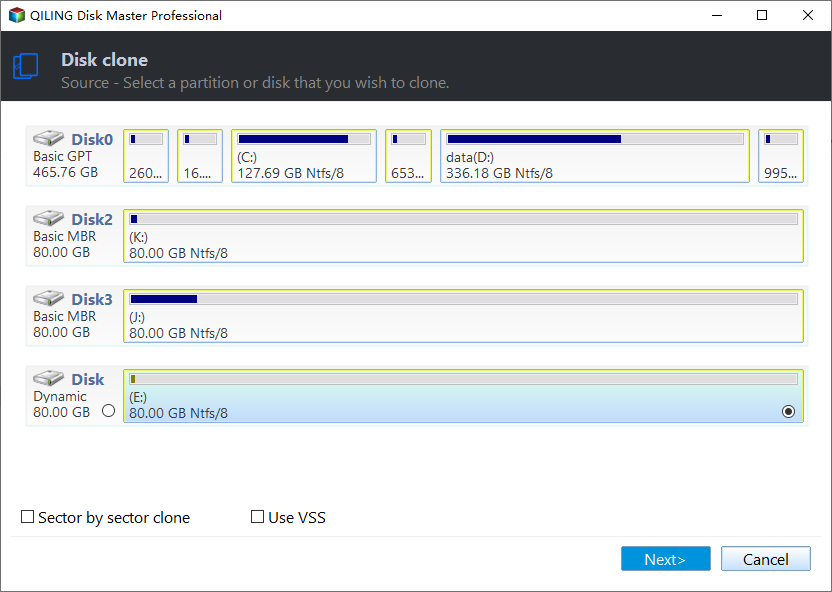
2. Right-click on the old system reserved partition and select Clone Partition.
3. Select Sector by Sector Copy and click Next.
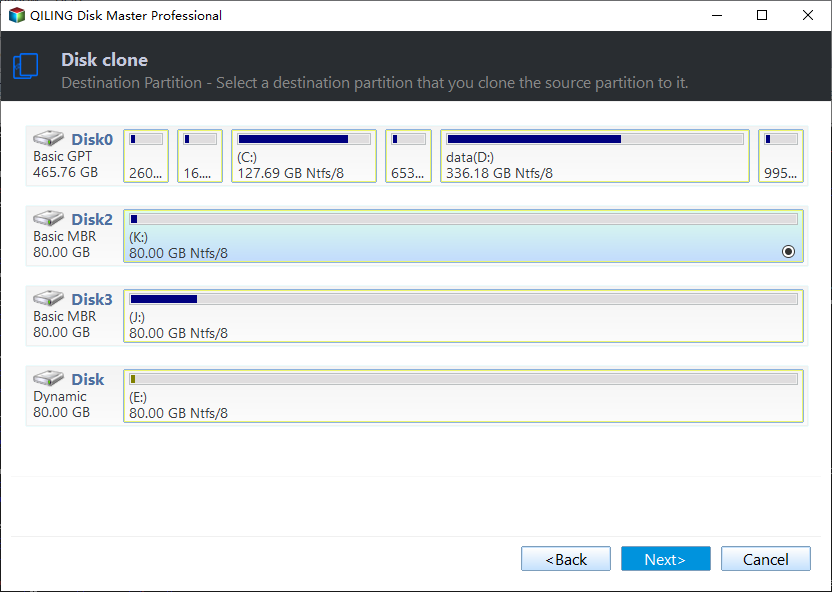
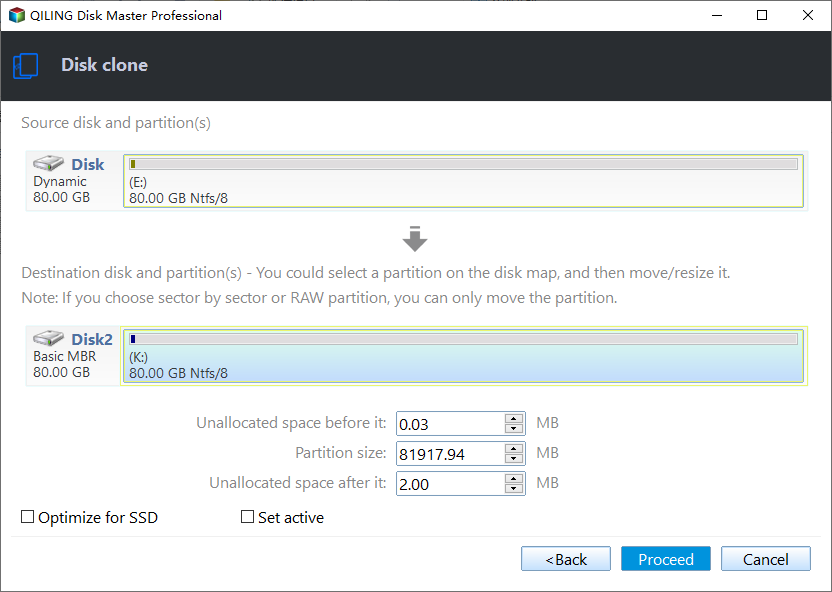
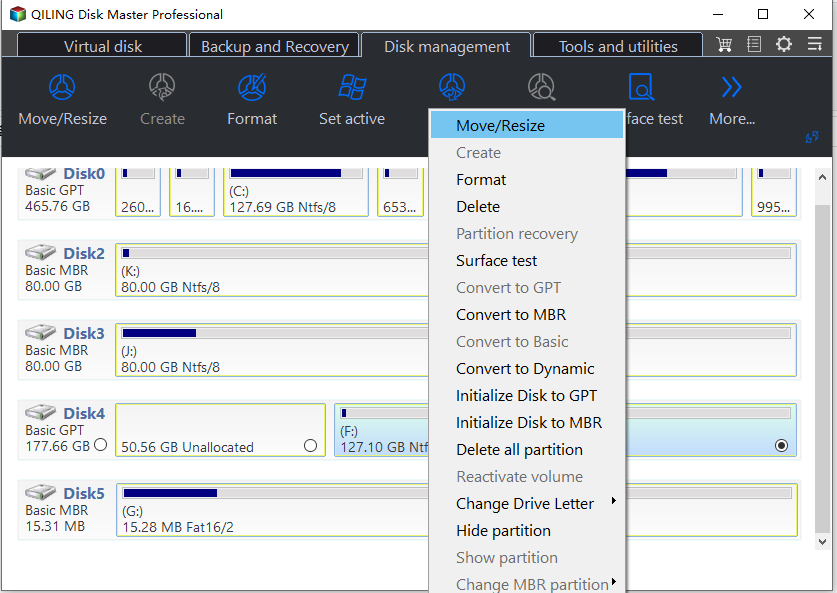
4. To create a system reserved partition on a new SSD, select the unallocated space on the SSD as the destination location where the system reserved partition will be placed. If there's no unallocated space, you can shrink an existing partition by clicking the Resize Partition option.
5. In the next screen, you can adjust the size of the new system reserved partition and other parameters, setting the drive letter to None.
6. Click Proceed to apply these changes.
After the conversion, you can change the partition label to "System Reserved" and set the partition as 'Active'.
✍ To move the system reserved partition to a different drive, you need to convert it from a logical drive to a primary partition without losing data. This will give you a new system reserved partition that can be placed on a different drive, allowing you to merge the unallocated space with any partition you want to extend.
Further reading: About EFI partition
If you're using a GPT disk as a system disk, you'll find a partition called the EFI partition, not a system reserved partition.
The EFI partition is used to lead the PC boot process, carrying boot loaders or kernel images for all installed operating systems, device driver files for hardware devices, system utility applications, and data files like error logs.
In some cases, the EFI partition may be located between unallocated space and the target drive, making it difficult to extend the drive. To resolve this, you can move the EFI partition to the left or right on the disk. This allows the target drive to be extended without the EFI partition obstructing it. (Note: This response is a rewritten version of the original text in a single paragraph, as requested)
FAQs
Can you move system reserved partition to another drive?
It is possible to move the System Reserved partition to another drive, as it contains essential system files required for booting the operating system, and relocating it can prevent boot issues if the original partition is missing.
Is it OK to delete system reserved partition?
It is strongly advised not to tamper with or modify the System Reserved partition, as deleting it can result in an inability to boot into Windows.
Windows hides the System Reserved partition by default to ensure its stability and protect it from accidental changes, making it essential to exercise caution and avoid modifying it to prevent potential booting complications.
Can I change system reserved drive letter?
Changing the drive letter assigned to the System Reserved partition is possible, but requires caution and following the proper steps. Typically, the System Reserved partition is assigned a drive letter, such as "C:" or "D:", by default. However, altering the drive letter of this partition demands careful consideration and adherence to specific procedures to avoid any potential issues.
Conclusion
Moving the system reserved partition to another drive is possible regardless of the Windows version, including Windows 11, 10, 8, 7, XP, and Vista. However, it's essential to proceed with caution and follow the recommended steps carefully to ensure a successful transition.
Related Articles
- How to Increase System Reserved Partition Windows 7/8/10?
When you try upgrading operating system, you might fail for there is not enough space on system reserved partition. So here we list the best method to help extend System Reserved partition in Windows 11/10/8/7 easily and securely. - Hide System Reserved Partition with A Simple Way
System reserved partition contains boot configuration data and other essential data. It is a good idea to hide them to protect information. Refer to this post, it will demonstrate 3 methods helping you perform this operation. - The Best Free Crucial SSD Data Transfer Software
The best free Crucial SSD data transfer software can transfer data to Crucial SSD and ensure the cloned disk boot securely. Please keep reading.
