Restoring MBR System Image to GPT/UEFI (Safe Boot)
Why we need to restore MBR system image to GPT/UEFI?
The system restore feature can help resolve unexpected problems, and backing up the operating system is a good precaution. However, with the advancement of operating systems, files and images have become larger, making traditional MBR disks inadequate. To address this, it's possible to restore an MBR image to a GPT disk, allowing users to transition from an old MBR computer to a new GPT computer while maintaining a familiar working environment. This requires a basic understanding of MBR, GPT, and UEFI.
- The Master Boot Record (MBR) is a small sector at the beginning of a hard drive that has limitations. It can only support partitions up to 2TB in size and can only have four primary partitions.
- GPT-GUID (Globally Unique Identifier) Partition Table, a new disk partition table standard, supports partitions over 2 TB in size and allows for multiple partitions, outperforming MBR in terms of volume and primary partition capacity.
- UEFI (Unified Extensible Firmware Interface) is an interface between a PC's firmware and operating system, addressing the limitations of BIOS (Basic Input/Output System). It can support both MBR (Master Boot Record) and GPT (GUID Partition Table) disks, making it a more versatile option.
The decision to convert a disk from MBR to GPT or vice versa is often based on specific needs, with each format offering its own advantages and disadvantages.
How to restore MBR system image to GPT/UEFI
To accommodate larger files or images, you can use a GPT disk, which supports larger partition sizes, including up to 18 exabytes. This allows you to work with files or images that are much larger than what a traditional MBR disk can handle.
Considering the large partition size and flexible partition management, restoring an MBR system image to a GPT/UEFI system is no longer a good idea.
To perform this operation, which is beyond Windows disk management, we can use third-party software like Qiling Disk Master. This software can make system restoration easy and quick, and ensure the system remains bootable after restoration. You can download Qiling Disk Master using the provided download button.
Restore MBR system image to another GPT disk on the same PC
Before you do:
● Please ensure that you have already backed up your MBR system image, which can be done using third-party software like Qiling Disk Master for convenience and data safety.
● To ensure your operating system works with a UEFI motherboard and can boot from a GPT disk, make sure your OS is compatible with UEFI and you have prepared a GPT disk for booting in UEFI mode. This typically involves checking your OS's specifications and having a GPT-formatted disk that supports UEFI booting.
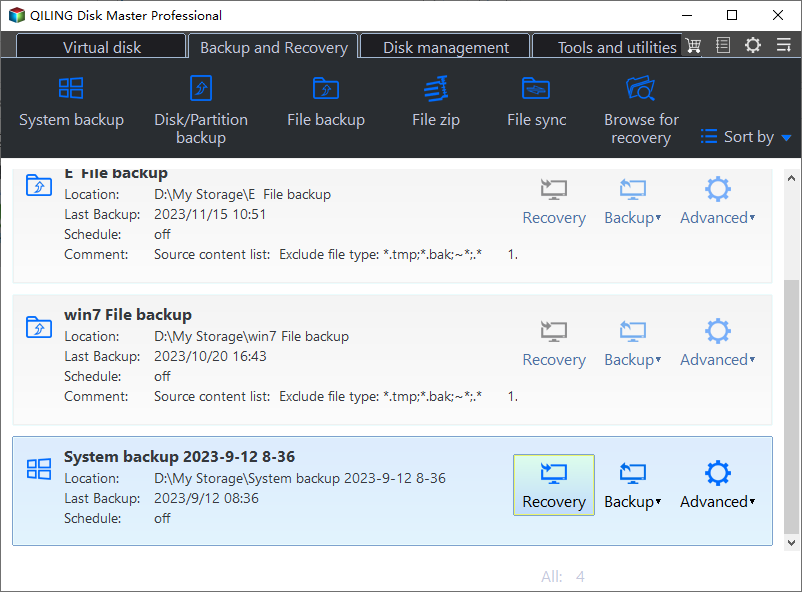
Step 1. Launch Qiling Disk Master Standard and click the "Restore" under the system image in "Home" page, or click "Select Image File" under the "Restore" tab to locate the MBR image manually.
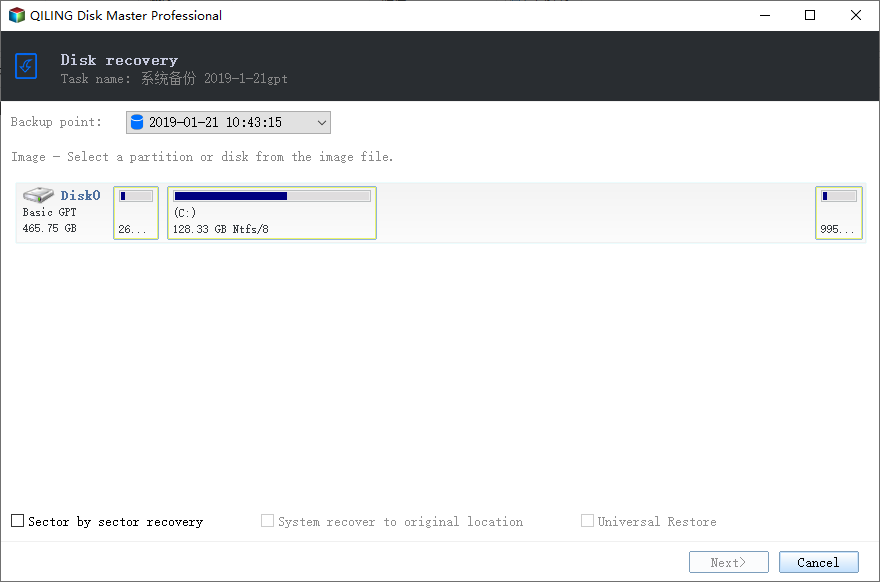
Step 2. Check "Restore this system backup" and then "Restore system to other location", then click "Next".
Step 3. I'm happy to help! However, I don't see a specific text that needs rewriting.
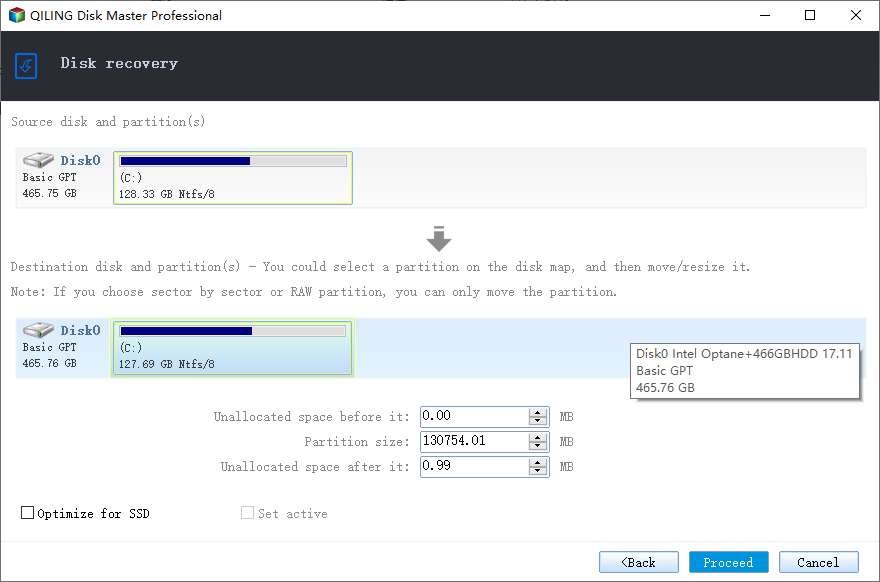
Step 4. There is another pop box to remind you that whether you are sure to do, click "Yes" and it will show the following picture. Confirm the information and click "Proceed".
Step 5. Once the progress reaches 100%, click "Finish" to exit the operation, and you will have successfully restored the MBR to a GPT disk.
If you need to restore an old system or switch to a new motherboard, Universal Restore can help you restore the MBR system image to GPT/UEFI on another computer, ensuring a secure boot even with different hardware.
This article aims to provide a helpful guide on restoring a Master Boot Record (MBR) system image to a GUID Partition Table (GPT) or Unified Extensible Firmware Interface (UEFI) system successfully. The article provides steps and tips to ensure a smooth transition from MBR to GPT/UEFI, allowing users to restore their system image and get back to work quickly and efficiently.
Related Articles
- How to Perform UEFI System Restore on GPT Disk?
- Fix System Image Restore Fails Because of EFI/BIOS (3 Solutions)
- How to Clone MBR to GPT Disk in Windows 10/8/7 Directly
- Solved: "File History Service Is Not Accessible" Error
This article tells you how to fix the “File History Service is not accessible” error and provides you with a more reliable backup software.


