Sanitize or Secure Erase SSD? What's the Difference?
Wiping SSD is different from wiping HDD
Wiping a hard drive is necessary in situations where you want to reuse or resell an old hard drive, as it prevents the recovery of old data by any tools.
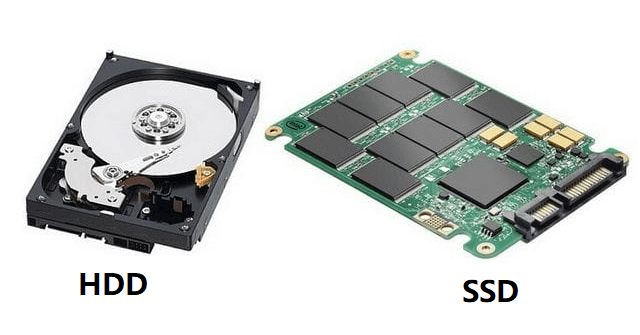
Wiping a solid-state drive (SSD) is distinct from wiping a hard disk drive (HDD) due to their different data storage mechanisms. HDDs store data on a magnetic coating on a metal platter, whereas SSDs store data on interconnected flash memory chips. Using the same wiping method for HDDs on SSDs can potentially damage the SSD and shorten its lifespan. To safely wipe an SSD, sanitizing or secure erasing is recommended, but the choice between these options depends on the specific situation.
Sanitize VS. Secure Erase SSD: What's the Difference?
Secure Erase and Sanitize both securely erase the data on the SSD, but Sanitize also resets the SSD to factory settings, making it impossible to recover any data. This is different from Secure Erase, which only erases data. Both methods permanently remove data on the solid-state drive.
Secure Erase only deletes the mapping table, leaving behind written blocks, whereas Sanitize erases both the mapping table and all written blocks. As a result, Secure Erase is faster to complete, but not all SSDs support Sanitize, and users must check their specific model's capabilities, such as the SanDisk SSD Dashboard, to confirm.
How to Sanitize SSD or Secure Erase SSD?
To sanitize an SSD, first check if it supports the Sanitize feature. If it does, you can follow these steps: check your SSD's documentation or manufacturer's website for instructions on how to sanitize or secure erase your SSD. This process will completely erase all data on the drive, rendering it unusable until you reinstall an operating system and set it up from scratch.
Part 1. Sanitize SSD drive
Sanitizing removes sensitive data from a system or storage device, making it unrecoverable. The most effective method is using ATA Secure Erase on an SSD, which resets the entire drive to its factory default settings, restoring performance. However, different SSDs may have varying methods for sanitization or Secure Erase.
To sanitize an SSD, you can check if your SanDisk SSD supports this feature through the SanDisk SSD Dashboard. If it does, you can proceed with the process, which is typically available within the dashboard. This is a way to securely erase the SSD, making it suitable for reuse or resale.
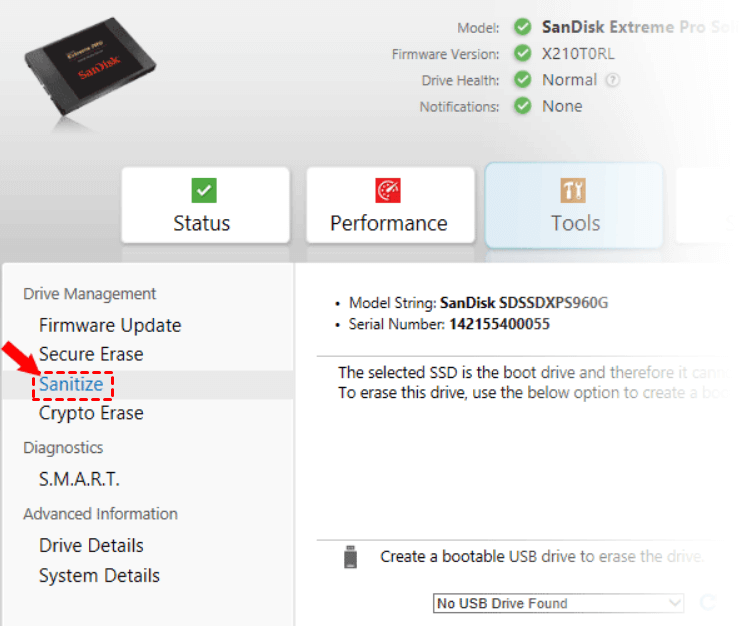
1. Get into the SSD Dashboard, select Tools tab.
2. In the Tools Tab, select Sanitize.
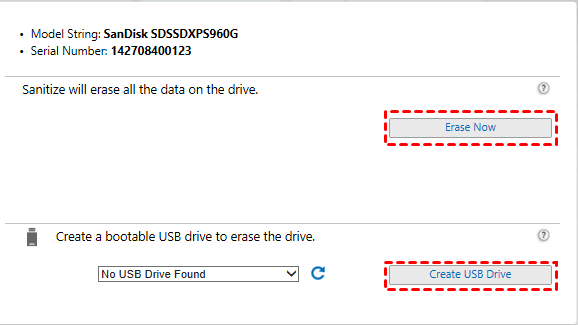
3. 1). If you're planning to sanitize a non-system SSD, select "Erase" and follow the prompts to sanitize the SSD.
3. 2). If the SSD you're planning to sanitize is a system drive, you'll need to create a bootable USB drive to sanitize the boot SSD.
To sanitize your SSD, restart your computer with the bootable USB you created, and follow the prompts to complete the sanitization process. This will securely erase all data on the drive.
Part 2. Secure Erase SSD
If your SSD doesn't support Sanitize or you don't want to use it, you can use Secure Erase SSD instead. The SanDisk SSD Dashboard provides this feature, which can be accessed by going to the Tools section, selecting Secure Erase SSD, and following the prompts. You may be prompted that the selected SSD is in a Security Frozen state, but you can continue with the Secure Erase. To unfreeze the SSD, you can follow the steps provided.
1. Disconnect the power cable to the SSD.
2. Re-connect the power cable to the SSD.
3. Click the Select Drive Refresh button and then perform Secure Erase again.
The system is unable to erase the selected drive because it is currently in use. Please restart the operations and try again. If the issue persists, the drive may be damaged and unable to be erased.
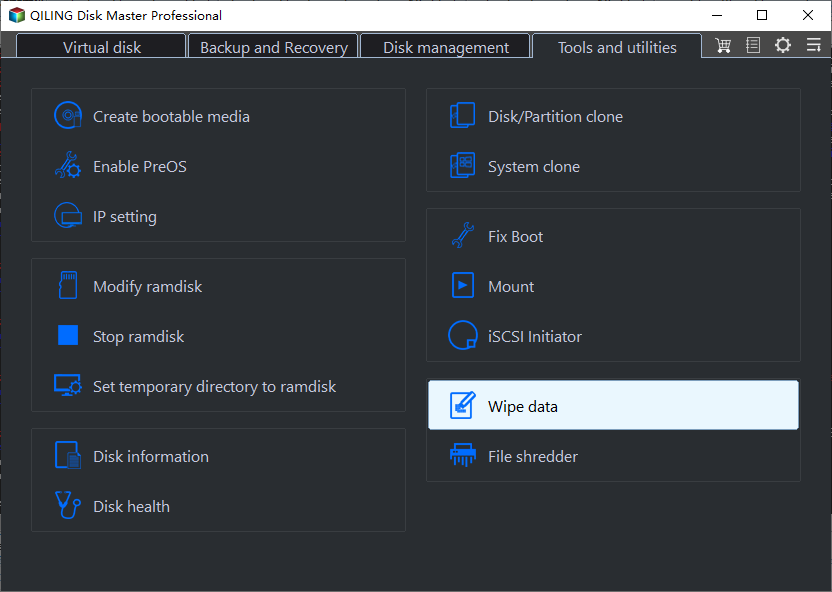
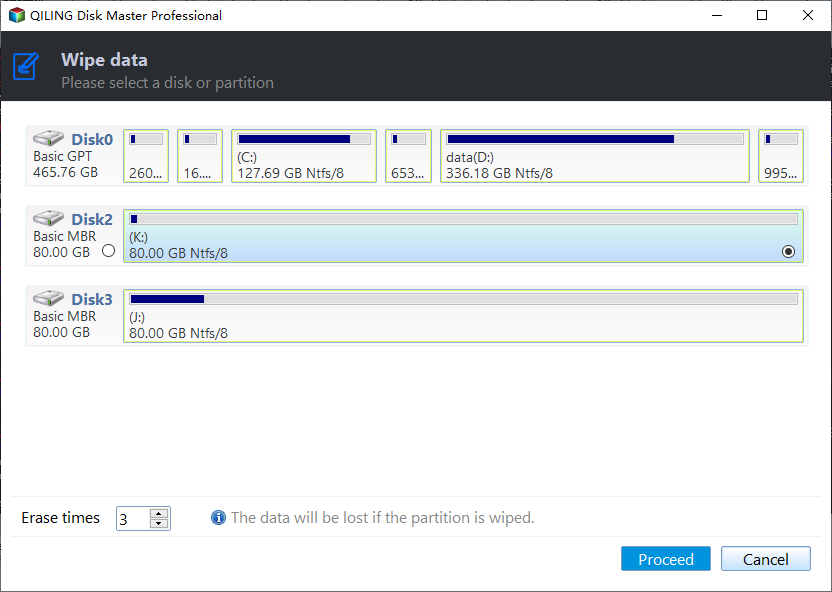
To sanitize or securely erase a SanDisk SSD, you can use the methods mentioned earlier. However, if you're using a different brand of SSD, such as Kingston, Samsung, or Toshiba, you'll need to use alternative methods. To manage all brands of SSDs, we highly recommend using Qiling Disk Master Professional, a hard drive manager that can securely erase SSDs and restore their peak performance, regardless of the brand. With Qiling Disk Master, you can follow the steps to securely erase your SSD, and the Demo Version is available for free download and trial.
Step 1. To prepare a Windows 7 computer, connect your SSD to it, install and launch it, and then right-click the SSD to select Secure Erase SSD.
Note: To erase all data on the solid-state drive, you will first receive a notice about the operation. If you have important data on the hard drive, it's recommended to back it up to the cloud or an external device before proceeding. Once you've taken this precaution, you can click the "Next" button to continue with the erasure process.
Step 2. Here you need to choose the SSD that needed to be securely erased. Click Next.
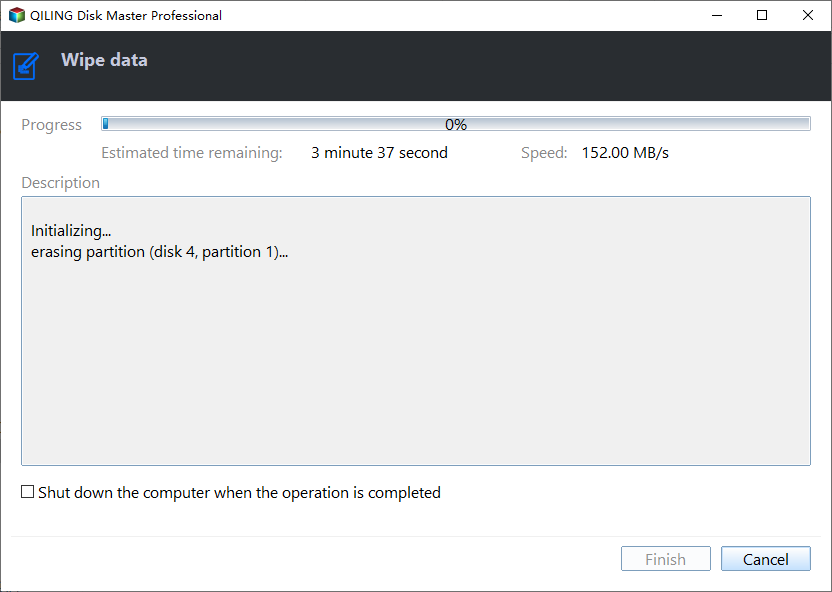
Step 3. After thawing the SSD from a frozen state, you can proceed with the secure erase process using Qiling Disk Master. Once completed, the software will notify you that the SSD has been successfully erased, prompting you to click Finish.
To securely erase an SSD, you can use Qiling Disk Master, a user-friendly tool that offers a "Wipe Hard Drive" feature to sanitize SSDs, as well as other features to manage hard drives, such as repartitioning, upgrading without reinstallation, cloning SSD drives, aligning SSD partitions, and wiping other storage devices like HDDs, USB flash drives, and SD cards.
Related Articles
- Best Strategy of Using SSD for OS and HDD for Storage in Windows 10, 8, 7
Do you know how to use SSD for OS and HDD for storage on Windows? You can find a way here to set SSD as boot drive and HDD as storage with Qiling Disk Master. - Easily Transfer Windows 10, 8, and 7 OS to SSD without Reinstalling
To upgrade to new or larger SSD, like Samsung EVO, Intel 600P, etc. without reinstalling Windows 11/10, you can easily transfer OS to SSD via OS migration software. - HDD to SSD Cloning Freeware Download [Windows 10, 8,7]
You may need HDD to SSD cloning freeware to migrate data when upgrading the disk. Luckily, Qiling Disk Master Standard can clone HDD to SSD on Windows 11, 10, 8, and 7 without losing data. - Secure Methods to Erase SSD Disk on Windows and Mac
This article examine how to securely erase an SSD disk in Windows and Mac.
