How to Successfully Zero Fill Hard Drive from Bootable USB for Free?
Content
- Necessary to zero-fill hard drive via bootable USB
- 1. Create a bootable USB
- 2. Boot from the bootable USB
- 3. Start zero filling hard drive from bootable USB
- Conclusion
Necessary to zero-fill hard drive via bootable USB
Yes, low-level formatting can't completely delete data on a hard drive, and zero filling is a more efficient method to wipe data completely and permanently. However, if you can't boot into Windows, you can still achieve this by using a Linux live CD or USB drive to zero fill the hard drive. This way, you can bypass the need for a Windows installation and still securely erase the data on your hard drive.
Actually, you can zero-You can fill your hard drive with data from a bootable USB flash drive using the disk wiping freeware Qiling Disk Master Standard. This tool allows you to create a bootable USB drive that can boot your PC and zero-fill your HDD/SSD with ease, and it is compatible with most Windows systems, including Windows 10/8/7, Windows XP, and Vista.
To zero-fill a hard drive from a bootable USB stick, you'll need to create a bootable USB drive with a Linux distribution, such as Ubuntu, and then use the `dd` command to write zeros to the target drive. First, download the Linux ISO file and create a bootable USB drive using a tool like Rufus or Etcher.
1. Create a bootable USB
To create a bootable USB drive, first, you'll need a USB stick that doesn't have any important data on it, as it will be formatted. Alternatively, you can back up any files on the USB beforehand.
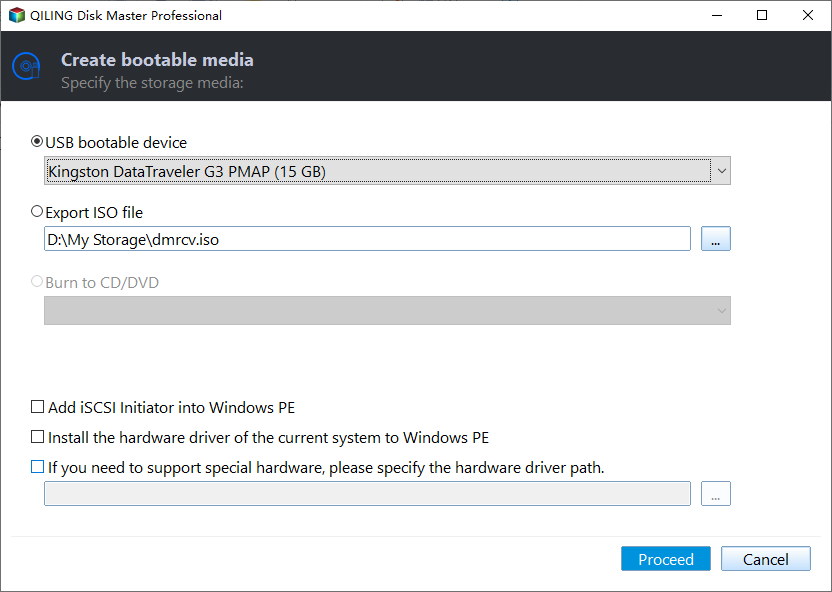
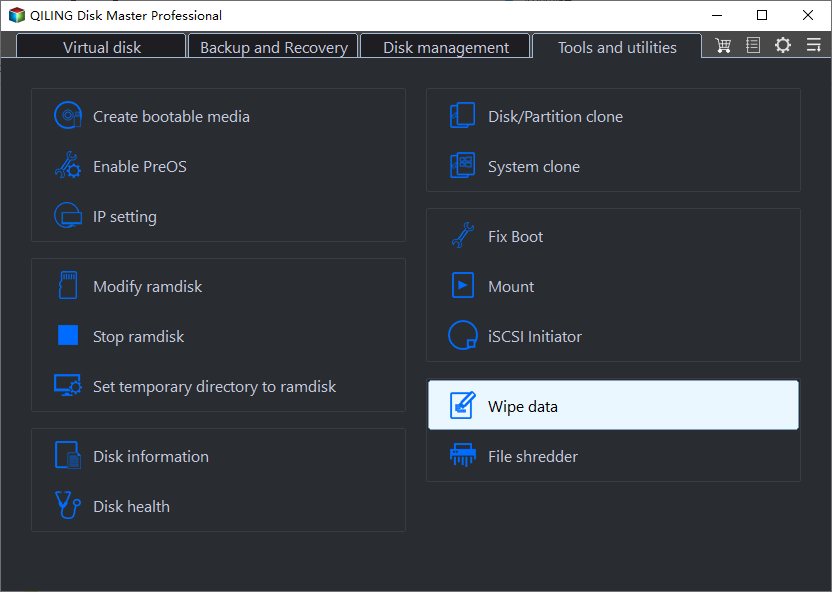
Step 1. Insert a working USB into another Windows computer, download and open Qiling Disk Master, then go to Tools and select Make Bootable Media.
Step 2. Here choose "USB Boot Device" as bootable media. And click "Proceed".
✍Note:
- Add drivers: The software allows you to manually add additional drivers to the bootable media.
- Burn to CD/DVD: If you have a CD or DVD, you can also choose "Burn to CD/DVD" to make a bootable CD.
- Export ISO File: Using this method, you can make bootable ISO file.
Step 3. Then click "Proceed" to create bootable USB stick.
Step 4. When the operation is finished successfully, then click "Finish".
The Qiling Disk Master is installed on a bootable USB drive, allowing you to zero-fill a hard drive using it.
2. Boot from the bootable USB
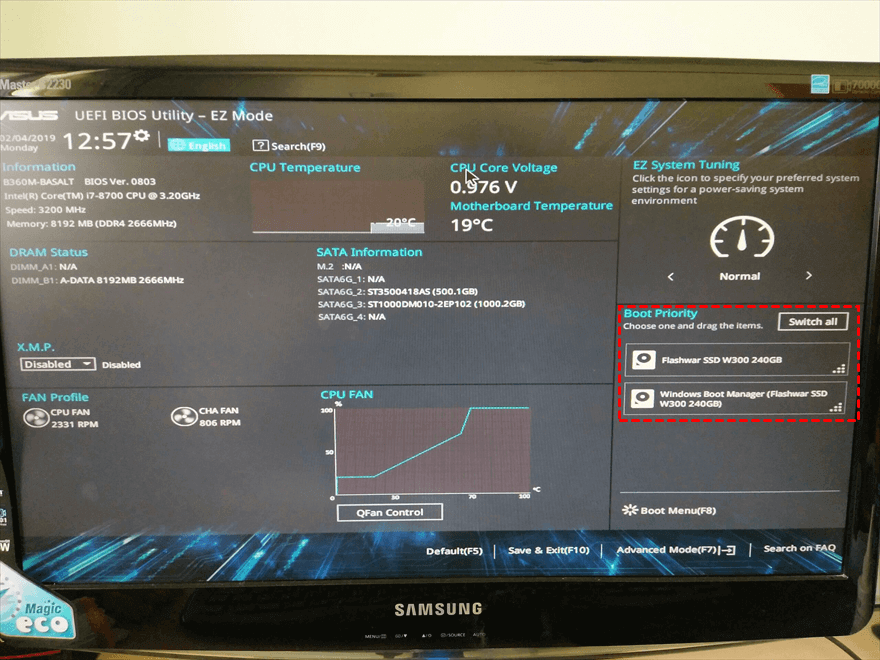
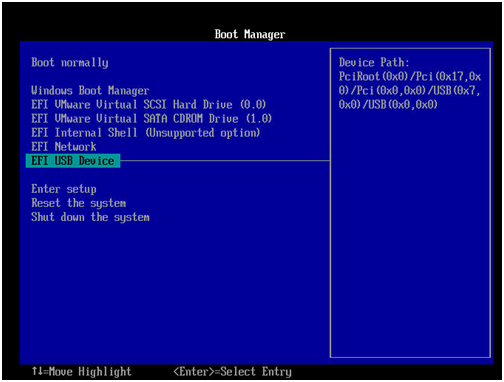
To create a bootable USB, insert the USB drive into your computer, then set the USB drive as the boot device in your computer's BIOS or UEFI settings. This will allow your computer to boot from the USB drive instead of its internal hard drive or solid-state drive.
1. When turning on the computer, press and hold F1, F2, F3, or Esc to enter the BIOS setup, as the key to enter BIOS may vary depending on the system. If unsure, consult the computer's manual.
2. To enter the BIOS, you can select the bootable USB as the boot drive using the arrow keys and press Enter to boot from it.
3. Start zero filling hard drive from bootable USB
Now, follow the steps below to wipe your hard drive by zero-filling from the bootable USB.
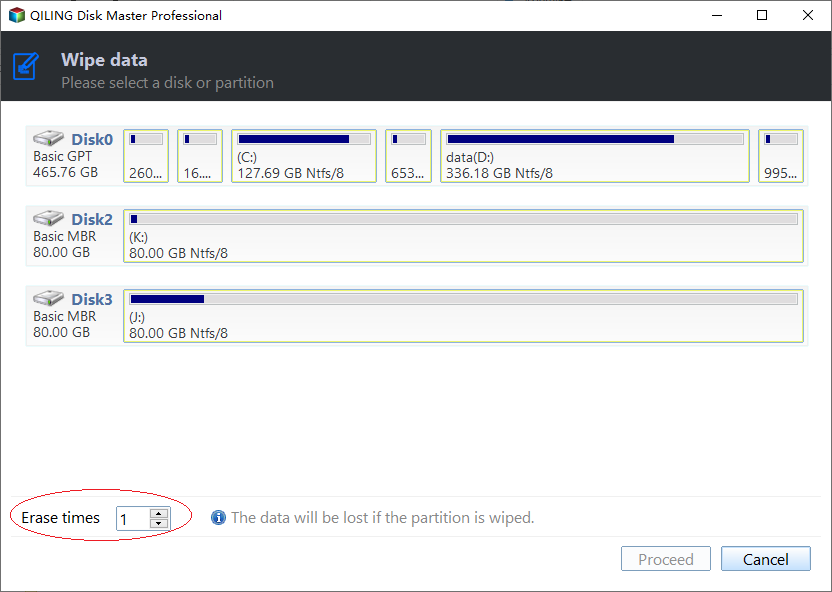
Step 1. When your computer starts up, you will see the main interface of Qiling Disk Master. Right-click the system disk and select "Wipe Hard Drive" from the options.
Step 2. In the window, select "Fill sectors with zero", and every sector on your hard drive will be overwritten with zeros.
✍Note: You can also upgrade to the Professional edition to choose from three additional methods, which involve writing complex patterns to your hard drive with more passes, making them safer than writing zeros to a hard drive.
Step 3. Click "Proceed" to wipe hard drive from USB stick.
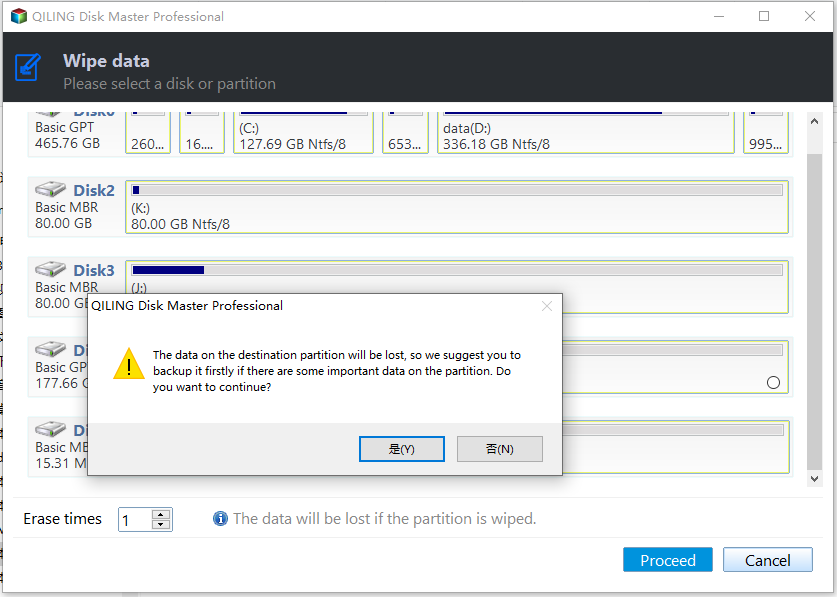
Step 4. In the pop-up window, click "Yes" to ensure the operation.
Conclusion
This is about how to zero-You can use Qiling Disk Master to create a bootable USB and boot your computer from it to wipe your hard drive. This allows you to access your computer even when it's unable to boot into Windows, making it easier to reset or reformat your hard drive.
Upgrading to the professional edition unlocks additional features, including Windows to Go, and the ability to migrate the operating system from a Master Boot Record (MBR) disk to a GUID Partition Table (GPT) disk or vice versa, as well as SSD secure erase.
Related Articles
- Best Zero Fill Hard Drive Utility Free Download for Windows 10/8/7
In this post, we will introduce you 2 free zero fill hard drive utility. Both of them can help you write zeros to hard drive and completely wipe the original data on the disk. - Easiest Free Bootable Hard Drive Eraser in Windows
If you want to erase or format the bootable hard drive, you can try the freeware: Qiling Disk Master Standard. It is a reliable bootable hard drive eraser freeware and allows you to securely wipe boot drive in Windows 10, 8, 7. - How to Clone SSD to New SSD Without Losing (OS Included)
Cloning an SSD to a new SSD is an excellent approach to improve computer performance and enhance storage capacity. Do you wish to know how to clone an SSD to a new one? There is no need to look any further. This Qiling tutorial leads you through the entire process with step-by-step instructions. - Is Clonezilla Safe? | Here Is the Answer & Its Alternative
Clonezilla is a free disk imaging and cloning program. But is Clonezilla safe? Do you want to know the answer? This article will describe whether Clonezilla is safe to use and offer you a better cloning utility called Qiling Disk Copy.

