The Best Way to Backup Raspberry Pi SD Card in Windows
The case: need to backup Raspberry Pi SD card in Windows
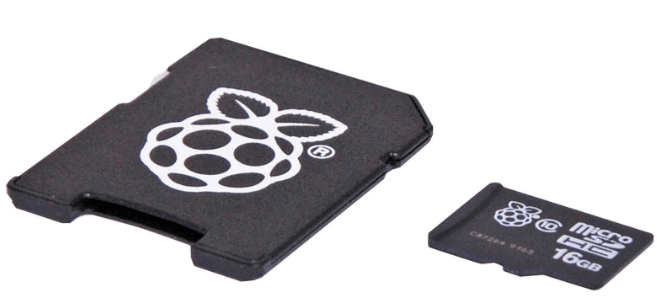
Raspberry Pi SD cards are popular among users due to their affordable price and good performance, often used to store large amounts of data.
You can create a single-step image of your Pi setup by using a tool called Etcher. It allows you to create a bootable image that can be written directly to an SD card, eliminating the need for manual installation and configuration. This means you can simply run Etcher, select your Pi image, and it will write it to the SD card, making the process much simpler and faster. Etcher is available for Windows, macOS, and Linux, so you can use it regardless of your operating system. Just download and run Etcher, select your image, and let it do the rest. It's a great tool for creating a bootable image of your Pi setup, and it's free to use.
This real case comes from Reddit. Backing up Raspberry Pi SD card is a crucial task that you should do it frequently, especially if your data change often. Why need to do a disk backup of Raspberry Pi SD card? There are two main reasons.
- The Raspberry Pi SD card may suddenly stop working due to various reasons, including overheating, faulty cable connections, and energy supply issues.
- If you're running out of space on your Raspberry Pi's SD card, consider upgrading to a larger one to ensure you have enough storage for your projects and files.
Image Raspberry Pi SD card with the best freeware
To create a Raspberry Pi SD card backup, use the freeware Qiling Disk Master Standard, which supports all SD card brands and works with Windows 10/8/7, Vista, and XP.
With this software, you can backup your SD card to a computer, network, cloud drives, or external hard drives, and even backup multiple SD cards at the same time.
This freeware allows for advanced settings and supports features such as email notification to confirm successful operations. It also enables scheduled backups at various intervals, including daily, weekly, and monthly.
It's worth noting that the backup process won't interrupt your work, allowing you to continue without concern. The easy steps and user-friendly interface have also been praised by many users. You can download this freeware to try it out for yourself.
How to Backup Raspberry Pi SD card in Windows step by step
To connect the Raspberry Pi SD card to the PC, you will need to use an SD card reader or a USB adapter that can read the SD card. This will allow you to transfer the files from the SD card to your computer.
Step 1. Install and launch this freeware.
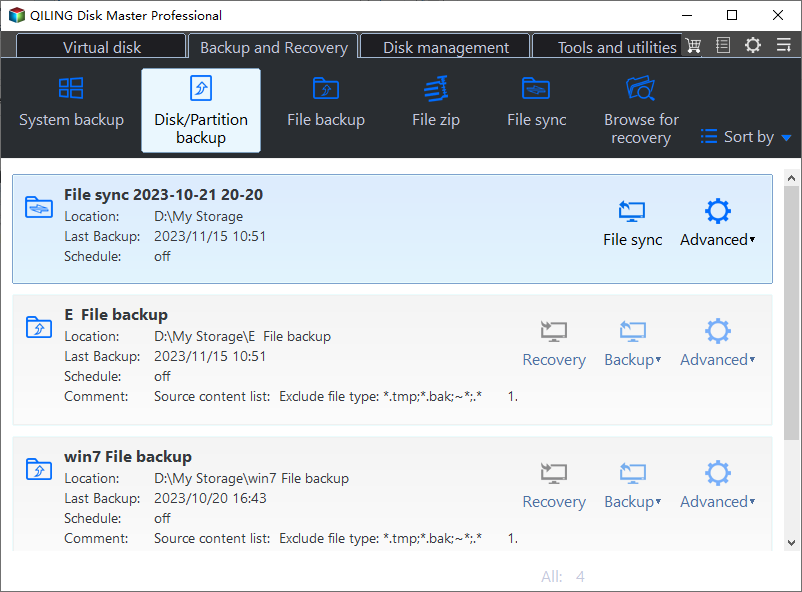
Step 2. Click Backup and Disk Backup subsequently.
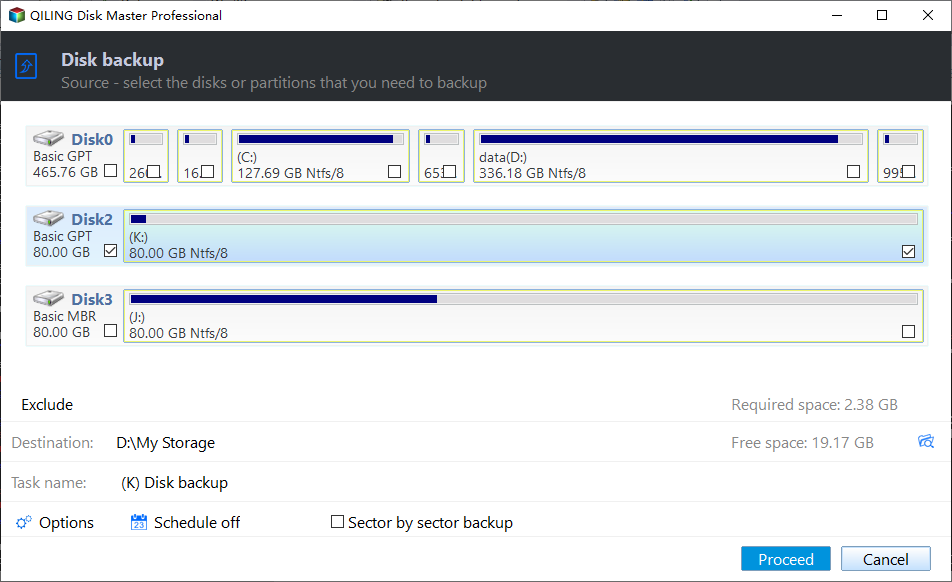
Step 3. The Task Name can be modified by your needs. Select the Raspberry Pi SD card as source disk.
Step 4. Select the destination path. Then click Proceed.
Notes:
- In Step 4, you can click "Options" to choose "General", "Compression", "Splitting", "Intelligent Sector", "VSS", and "Other". This allows you to customize the backup settings, including the ability to create an encrypted backup using Qiling Disk Master Professional.
- The software allows for automatic backup of the Raspberry Pi SD card by clicking "Schedule" in Step 4, with options for daily, weekly, or monthly backups, as well as event triggers, USB plug-in, or file sync, with the latter three features available in the paid version. Upgrading to the advanced version unlocks these additional features.
- In Step 4, you can click on Scheme to automatically delete older backups (available in the paid version).
- To restore a disk, go Home > Disk Backup > Restore. This will allow you to do a disk restore later.
- To backup your Raspberry Pi data, it's recommended to use file sync instead of creating an image file, especially if the SD card is only used for storing files or folders. This approach allows for real-time access to your contents without the need to create a snapshot image.
- Qiling Disk Master Standard also allows you to clone Raspberry SD card safely.
Summary
Qiling Disk Master Standard is a freeware that allows you to easily and efficiently backup your Raspberry Pi SD card in Windows 10. It's recommended to frequently backup your data using this tool. Additionally, the software enables you to transfer files from your PC to the SD card, clone the SD card to a larger one, and even recover files from a formatted SD card.
Related Articles
- Backup Your Memory Card with Free Software
This article will show you the best free Memory card backup software to backup memory card safely and easily. And help you to troubleshoot the memory card locked or corrupted issues. - Solved: Kingston SSD Toolbox Not Detecting SSD
How to deal with the problem of Kingston SSD Toolbox not detecting SSD? Find the solution from this page. You can also protect your Kingston SSD with the best free backup software – Qiling Disk Master Standard. - Clone Bootable SD Card via Best Free Tool in Windows
Want to clone your bootable SD card in Windows 10 or 11? Get a free bootable SD card copier to clone SD card with multiple partitions in simple steps here! - How to Backup Data on SD Card to Google Drive (5 Ways)
This article is written for users who want to backup SD card to Google Drive for security or multiple access. Here are 5 ways to help you.


