Clonezilla Disk to Disk Clone for Windows 11, 10, 8, 7
About Clonezilla disk to disk clone
Clonezilla is an open-source cloning and imaging software that comes in three versions: Clonezilla live, Clonezilla lite server, and Clonezilla SE. Clonezilla live is suitable for single machine backup and restore, while Clonezilla lite server and SE are designed for massive deployment.
Clonezilla is a versatile tool that supports a wide range of systems, including Linux, Mac OS, Windows, and various Unix-based systems like FreeBSD, NetBSD, and OpenBSD. Its capabilities extend to system backup, full drive cloning, and system deployment, making it a valuable resource for users seeking to manage and maintain their systems.
When upgrading your old hard drive for better performance, consider using Clonezilla to clone your entire drive to the new drive directly. This efficient process utilizes used blocks to save and restore files, increasing the clone efficiency.
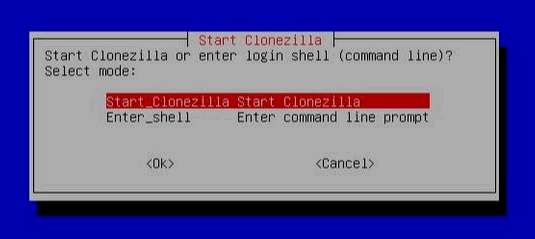
While Clonezilla is a powerful tool for disk imaging and cloning, its lack of a user-friendly graphical user interface (GUI) can make it difficult for some users to navigate. Additionally, there are certain limitations to be aware of when using Clonezilla, which may impact its effectiveness in certain situations.
- The destination partition must be equal to or larger than the source one, meaning Clonezilla cannot clone a larger drive to a smaller drive. This may be disappointing for users who want to clone to a different size disk.
- Many users have reported the Clonezilla failed to clone issue, which is often caused by a bad sector on the disk, a tiny cluster of storage space that cannot be used to read or write data.
In the next part, we will show you how to use Clonezilla to clone your hard drive using the disk to disk clone feature. If you need to clone a larger drive to a smaller one, please refer to Part 2 for the solution.
- Part 1. How to clone disk to disk with Clonezilla
- You can use Clonezilla to clone a smaller drive to a larger drive, but if you want to clone a larger drive to a smaller drive, you can use a different tool called Redo Backup and Recovery or Redo. It's an open-source, command-line-based tool that can clone a larger drive to a smaller one, making it a good alternative to Clonezilla for this specific use case.
Part 1. How to clone disk to disk with Clonezilla
To use Clonezilla's disk-to-disk clone feature, ensure the destination partition is equal to or larger than the source one. This will allow you to successfully clone the source disk to the destination disk using Clonezilla.
Step 1. Prepare Clonezilla live.
To use Clonezilla, first download the Clonezilla live image from the official website. Then, create a bootable partition on your hard drive or put the Clonezilla live image on a bootable CD or USB drive. Finally, use the bootable device to boot up Clonezilla and follow the on-screen instructions to complete the cloning process.
Step 2. Boot the Clonezilla.
Insert the new hard drive that is bootable with Clonezilla live into your computer and boot up the Clonezilla live system.
Step 3. Choose "ToRAM" option in the boot menu.
To use Clonezilla live without occupying the SSD partition, select "Other modes of Clonezilla live" in the boot menu and choose "Clonezilla live (TO RAM, Boot media can be removed later)". This will copy all the Clonezilla live files from the SSD to RAM, freeing up the SSD partition.
Step 4. Select language.
Step 5. Choose keyboard layout.
Step 6. Choose "Proceedzilla".
To proceed with the task, select "Proceedzilla" and choose the option "device-device work directly from a disk or partition to a disk or partition". For a beginner-friendly approach, select "Beginner mode: Accept the default options".
Step 7. Choose "Disk-to-local-disk".
Step 8. Select source disk.
Step 9. Select target disk.
You can either check the source file system or choose to skip checking/repairing it.
Step 10. Start cloning.
Clonezilla will ask for confirmation multiple times, such as cloning the boot loader to the target disk and confirming the cloning of data from the source disk.
Step 11. Disk is cloning.
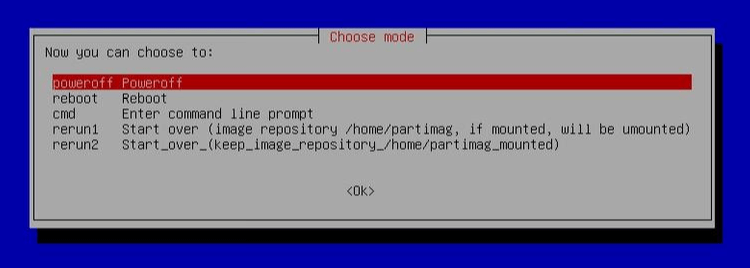
Select "Poweroff" and then your machine will be halted. Your new hard drive is now ready to be used.
Cloning a disk with Clonezilla can be a complex and time-consuming process, especially for those new to the task. The process requires multiple steps, which can be confusing and overwhelming. Furthermore, it is not possible to clone a larger drive to a smaller one using Clonezilla. Fortunately, there is a simpler alternative available that can make the task much easier.
Part 2. Clonezilla alternative - available to clone larger drive to smaller drive
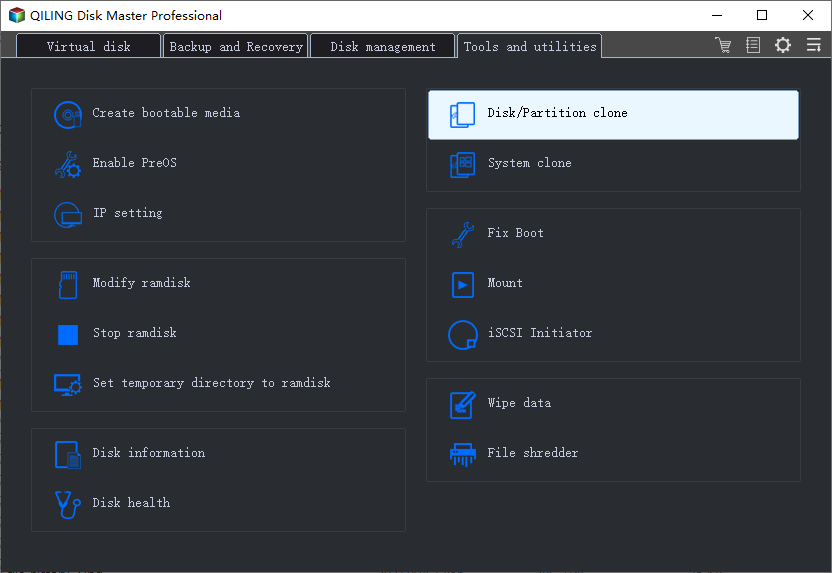
Qiling Disk Master Standard is a free backup, clone, sync, and recovery software for Windows users, supporting all Windows OS, including Windows 10/8/7. It offers a user-friendly Disk Clone feature, allowing for easy hard drive cloning, outperforming Clonezilla's disk to disk clone functionality.
1. It allows cloning a larger drive to a smaller drive, like cloning a 500GB hard drive disk to a 250GB solid state drive.
2. This cloning software offers two cloning solutions: disk clone and partition clone. You can choose to clone the entire hard drive or select specific partitions, giving you flexibility in your cloning needs.
3. It will ignore bad sectors while cloning to ensure a successful clone, making the process smoother and more reliable.
Qiling Disk Master offers an easy-to-use interface that sets it apart from Clonezilla's text-based interface. This friendly GUI allows for a seamless cloning experience, making it easy to achieve a clone job. To clone a hard disk with Qiling Disk Master, simply follow the steps outlined by the tool, which guides you through the process with ease.
This software clones used sectors from the source disk to the target disk, allowing you to clone Windows 10 to a new hard drive, even if it's smaller, as long as the target disk has enough space to hold all the data from the source disk.
Step 1. Download, install and launch Qiling Disk Master.
Step 2. Click Clone and then choose Disk Clone.
Step 3. Select the source disk and click Next.
Step 4. Select the new hard drive as the destination to clone the source drive to, then click Next to continue.
Step 5. Check the operation summary and click Proceed. If cloning a hard drive to an SSD, check SSD Alignment to improve reading and writing speed and prolong SSD service life.
Notes:
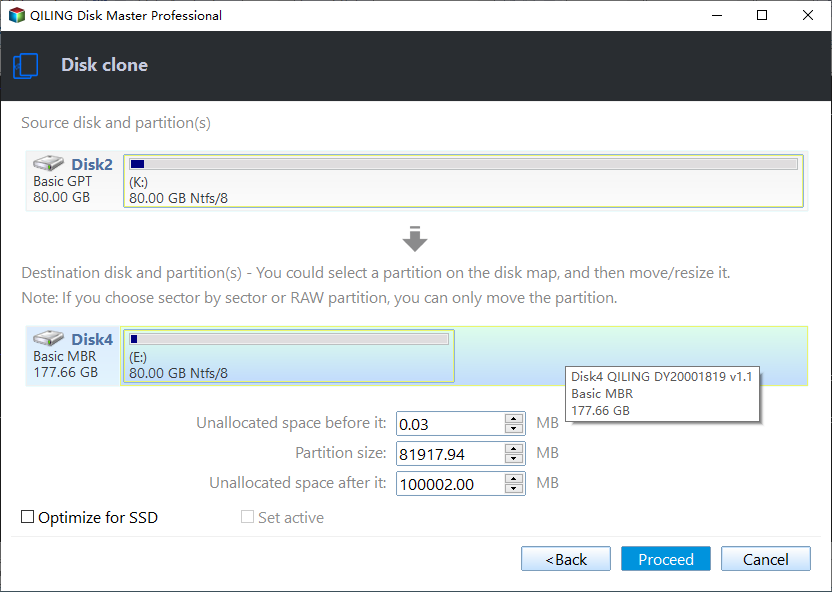
👉 In the Professional edition, "Edit partitions" enables the resizing of partitions on the larger destination disk and the conversion of disk types if necessary.
- Copy without resizing partitions: It will not resize the partition size.
- Add unused space to all partitions: It will reallocate the unallocated space to each partition of the target disk, appropriate for the disk size.
- Manually adjust partition size: This feature allows you to increase the size of any partition on the destination disk by extending unallocated space to it.
- Convert the destination disk from MBR to GPT: It helps to convert the partition style of the destination disk if it is different from the source disk.
👉 If you want to clone every sector, including blank or bad ones, select "Sector by sector clone" regardless of usage.
👉 The free version of Qiling Disk Master only supports cloning MBR system disks and data disks, but not GPT to GPT, GPT to MBR, or MBR to GPT, which requires an upgrade to the professional version.
MBR and GPT are two different disk types for data storage, and you can check their disk properties in Disk Management.
- To open the Run window, press the Windows key + R. Then, type "diskmgmt.msc" and click OK to open the Disk Management utility.
- Then, right-Click the disk you want to clone and select Properties in the pop-up window.
- The Properties window should be used to select the Volume tab and confirm the partition style, which can be either MBR (Master Boot Record) or GPT (GUID Partition Table).
- If the destination disk is still using the MBR partition style, you can clone the hard drive to an SSD for free.
Conclusion
Compared to Clonezilla, Qiling Disk Master is a better choice when it comes to cloning hard drive. It can help you easily clone larger hard drive to smaller hard drive. Now you know how to use Clonezilla disk to disk clone feature.
Besides being an alternative to Clonezilla, Redo Backup & Restore is also considered an exceptional free backup and restore software. It offers various backup and restore options to safeguard your data, including the ability to restore your computer to an earlier date when needed.
Related Articles
- How to Use Clonezilla to Clone Windows 10 to SSD/HDD?
- How to Clone a GPT Disk via Clonezilla Step by Step?
- What to Do When Clonezilla Failed to Clone?
- Clonezilla Clone Larger Disk to Smaller Disk - Workaround
