Sector-by-Sector Clone or Not? Get Clear Ideas Here!
Quick Navigation:
- Sector-by-sector clone or not?
- Best free sector-by-sector clone software
- How to sector by sector clone an SSD/HDD in Windows 11/10/8/7
- Before cloning
- Steps to perform sector-by-sector copy
- Verdict
Sector-by-sector clone or not?
Most advanced cloning software includes an option called “sector by sector clone”. However, there are a number of users who are confused about this option and don’t know whether to use sector-by-sector clone or not. Understanding what sector-by-sector clone is can help you make the decision.
Sector-by-sector clone, also known as bit-by-bit copy, means to clone all the sectors on a hard drive, even if the sector is blank or it is a logically bad sector. Thus, the cloned drive will keep exactly the same as the source drive. You may need sector-by-sector clone in following occasions:
✔ Switch HDD to SSD without reinstalling the operating system and all your applications, especially when the target and source drives are equal in size.
✔ Prepare a cloned drive for replacement in case that your main drive crashes all of a sudden.
Nevertheless, you may not use sector-by-sector clone if:
✖ The destination drive is smaller than the source drive, or the cloning process will fail.
✖ There are bad sectors detected on the source drive. Otherwise, the bad sectors will be brought to the destination drive as well.
Now you know whether to use sector-by-sector copy or not. What you need is reliable bit copy software to help you.
Best free sector-by-sector clone software
Want to run sector-by-sector clone for free? Qiling Disk Master Standard can meet your demands. It’s the best free sector-by-sector clone software which supports all Windows PC operating systems like Windows 11, 10, 8.1/8, 7, Vista, XP.
🌟 It offers you the features of “Disk Clone” and “Partition Clone”. You can use them to clone either an entire disk or a particular partition.
🌟 By default, it performs intelligent clone, which enables you to clone hard drive with bad sectors by skipping those bad sectors. If you want to clone a disk sector by sector, just tick the “Sector by sector clone” option.
🌟 Nearly all common hard drive brands are supported in Qiling Disk Master. You can use it to clone HDDs or SSDs of different brands, like Samsung, SanDisk, WD, Crucial and Kingston.
🌟 The cloning process will run in the background, so you can continue your work on the computer during the process.
Then, how to use Qiling Disk Master for sector-by-sector clone on SSD/HDD? Please move on to the next part.
How to sector by sector clone an SSD/HDD in Windows 11/10/8/7
Before cloning
- Prepare a destination disk that is at least as big as the source disk.
- Connect the destination disk to your PC. To connect it, you may need a screwdriver, a power cable, a SATA cable, or a USB-to-SATA adapter.
- Backup files on the destination drive, because all the data in the destination will be deleted in the cloning process.
Steps to perform sector-by-sector copy
Step 1. Download Qiling Disk Master and follow the wizard to finish installation. It will be installed in a short time.
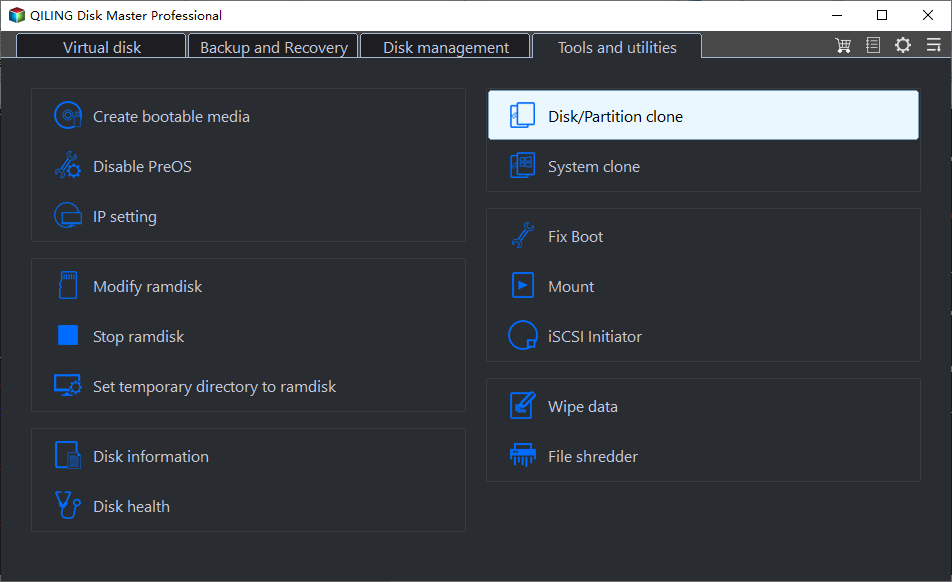
Step 2. Launch Qiling Disk Master. Click “Clone” on the left pane and select the clone type. Take “Disk Clone” as an example.
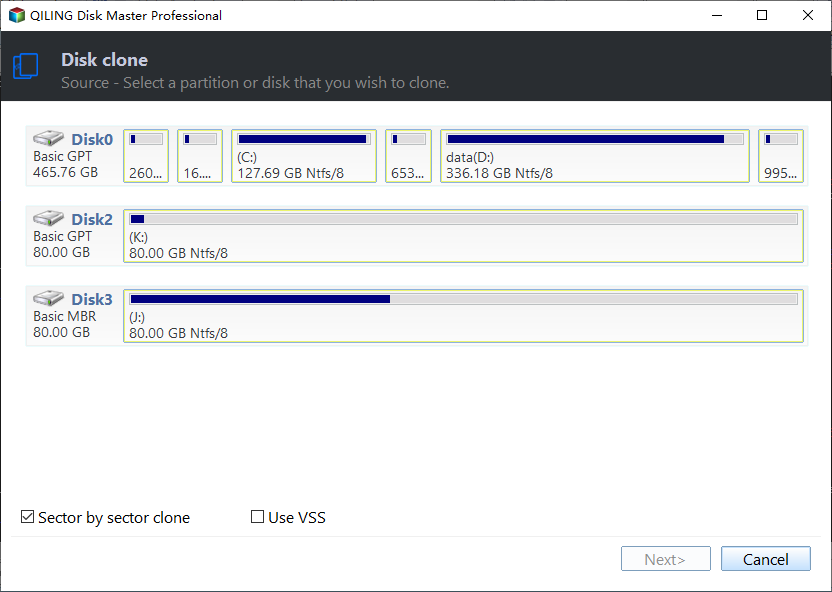
Step 3. Select the source disk that you want to clone, tick “Sector by sector clone”. and click “Next”.
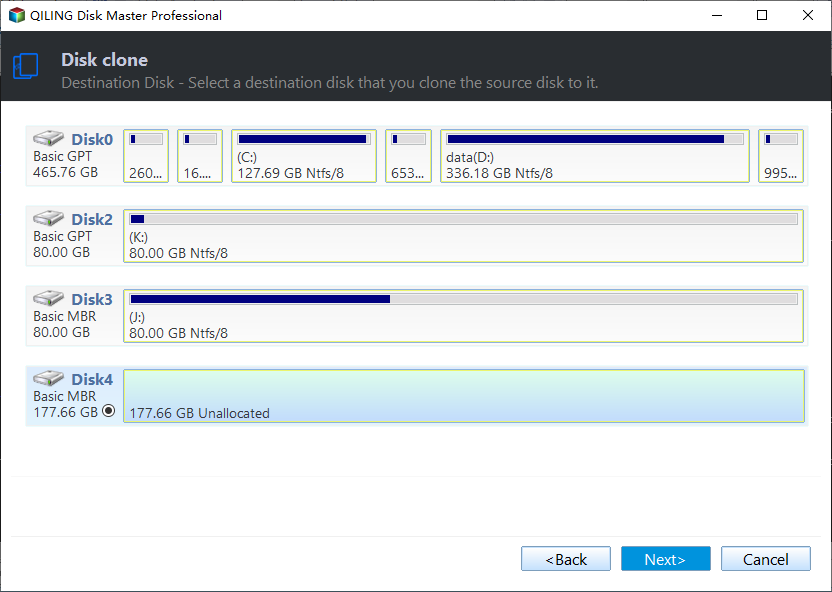
Step 4. Select the destination disk to store the cloned data and click “Next”.
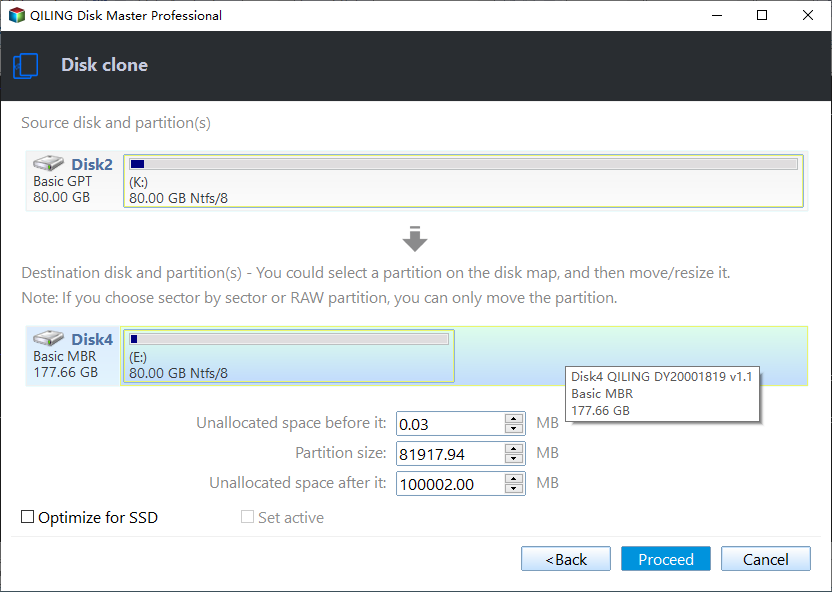
Step 5. Confirm the operation and click “Proceed”. If you are cloning disk to SSD, tick “SSD Alignment” to improve its reading and writing speed.
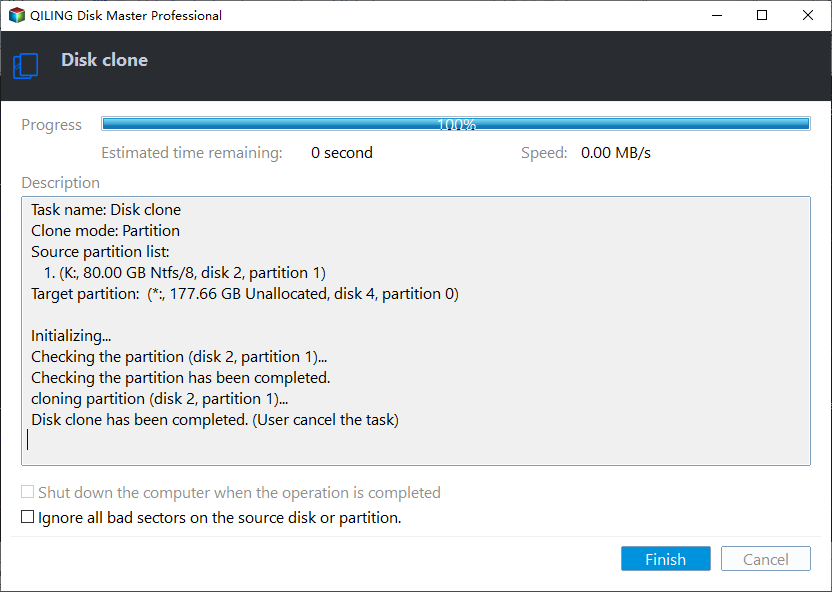
Step 6. When the cloning process is done, click "Finish". Please note a sector-by-sector clone definitely would take a longer time than the default intelligent clone (which skips blank and bad sectors). Just be patient.
Notes:
- The Standard edition only supports cloning a data disk. To clone a system disk, please upgrade to Qiling Disk Master Professional. You can also clone only OS with the System Clone feature in Pro version.
- If the source disk is the system disk, you need to change boot order in BIOS or replace the source drive with the cloned one to boot from it after cloning.
- To get the best performance from a disk after cloning, it's suggested to transfer Windows 10 to NVMe. Because it has the fastest transfer speed.
- This software is still an M.2 SSD cloner, thus you can use it to migrate Windows 10 to M.2 SSD, clone M.2 SSD to M.2 SSD, etc.
Verdict
Whether to choose sector-by-sector clone or not? This article have given you a clear guide. In addition to cloning hard drives sector by sector, you can also enjoy the backup & recovery feature brought by Qiling Disk Master. After you figure out what to backup before reinstalling Windows 10, you can use it to finish the backup task. It also enables you to make Windows 10 manage backups automatically. Don’t hesitate to give it a try!
Related Articles
- Best Way to Copy Disk to SSD in Windows 10 (Secure Boot)
Want to copy disk to SSD in Windows 10 without reinstalling everything? Click this article and learn how to clone your disk to SSD, even a smaller one in simple way. - Best Way to Migrate Hard Drive to SSD in Windows 10/8/7
Want to migrate hard drive to SSD, even to a smaller one? You'll find a free and easy way in this article to clone HDD to new SSD with secure boot. - Fix SSD Slow Boot on Windows 10 with 8 Effective Methods
This article tells you how to fix SSD slow boot on Windows 10. 8 methods are provided. Try them individually and get your computer back to normal. - Best Free Windows 11 Migration Tool
You will know the best Windows 11 migration tool and learn how to migrate the operating system, files or data to a new drive easily using this tool.
