How to Recover Data from VMware Disk [2023 Updated Guide]
A virtual machine (VM) is a computer system that mimics a physical computer, offering all its features. VMware, being widely used, often leads to issues like "VMware disk file not found" and "VMware data recovery". Users seek safe ways to recover data from the VMware disk.
To recover data from a VMware disk, you'll need to use a tool that can read and extract data from the disk image. One such tool is Main Reasons for the VMware Disk File Not Found
If you encounter the issue "VMware Disk File Not Found", �ard disk data recovery should be your top priority, as hard disk data recovery should be your top priority, as virtual machine disc files are vulnerable to damage. The most common reasons for VMware file loss include: (list the reasons here).
Failed to start the VMware
If a virtual machine experiences a power loss, VMware will fail to start and display the error message "Error during powering on: Failed to start the virtual machine". Restarting VMware may result in the loss of files within the virtual machine.
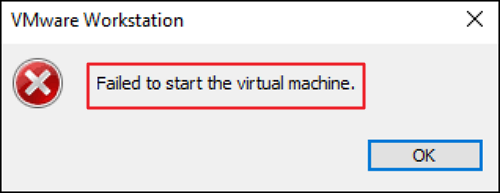
Power on a VMware failed
The VMware Authorization service is not running or does not have Administrator rights, resulting in the error. This can be resolved by checking the service status and ensuring it has the necessary privileges.
The VMware Authorization Service not running can cause issues with accessing data and files on the VMware disk, leading to problems.
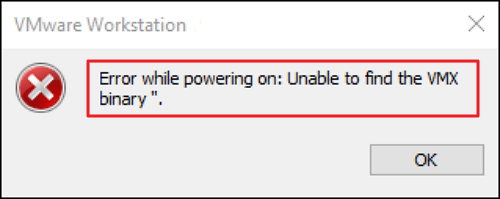
A hardware failure has occurred
A hardware failure can cause the loss of VMware files due to a fault with the computer system's electrical circuitry or mechanical parts.
VMware Data Recovery via Software: Recover VMware File(s)
VMware files created using VMware and stored on the local hard disk may become damaged or missing, potentially leading to loss of information on the virtual hard drive. This situation may prompt the need to recover the VMware file.
Deep Data Recovery can be used to recover data from VMware.
Qiling VMware Data Recovery Software
- Recover lost or deleted files, including VMware files, pictures, music, and emails, with effective recovery solutions that can restore your valuable data.
- Recover files from formatted hard drives, emptied Recycle Bins, memory sticks, flash drives, hard drives, and VMware disks with a reliable data recovery software.
- Data recovery services can help recover lost data due to sudden deletion, formatting, hard drive failures, power errors, or system crashes, providing a safety net for individuals and businesses in case of unexpected data loss.
To recover your lost data, first acquire Deep Data Recovery, then install it on the PC and follow the steps below.
- Warning
- Don't save the VMware files to the same partition where deleted files are stored, or the software might occupy that partition and prevent recovery of the deleted VMware files.
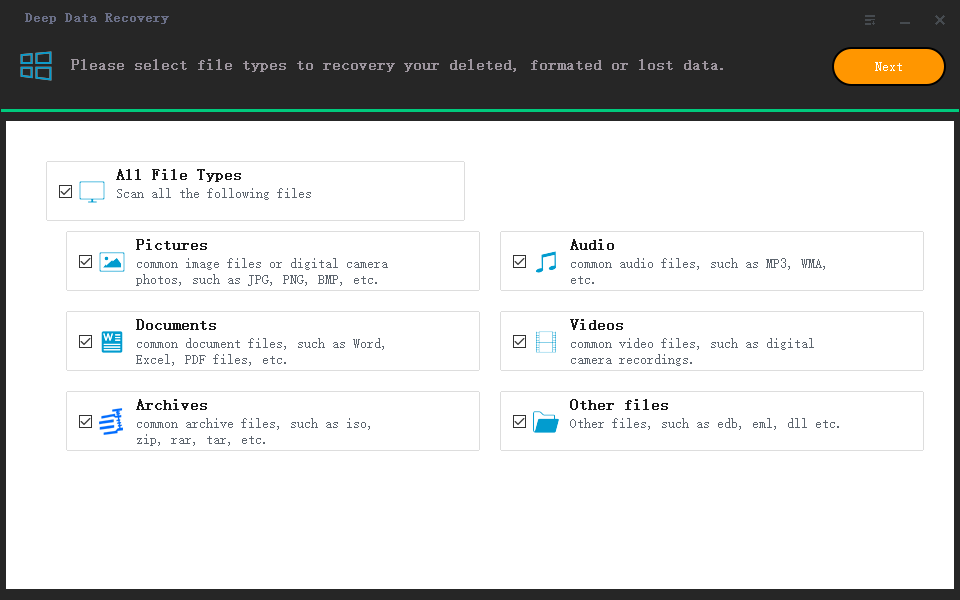
Step 1. Choose file types and click "Next" to start
Launch Qiling file recovery software on your Windows computer. Choose file types and click "Next" to start the recovery process.
Step 2. Select a drive to scan
To start recovering DiskPart deleted files, you must determine where the files were kept before deletion, then select the correct drive to scan using Deep Data Recovery. This will list all the loaded drives on your PC, allowing you to hover the mouse pointer to the drive and click "Scan".

Step 3. Check for scanned results
After the scan process, select the "Deleted Files" and "Other Lost Files" folders in the left panel. Then, click "Filter" to display only the specified file types, such as pictures, videos, Word documents, PDF files, etc. in the left panel.

Step 4. Preview and recover
Once you've located the files deleted by DiskPart, you can either double-click each file for a preview or use the "Preview" button to check its integrity. If they're recoverable, click "Recover" and choose a different drive to save the files to, avoiding any potential data overwriting.
VMware Data Recovery: Recover Missing VMware Partitions
In some cases, a VMware file might be damaged due to missing disk volumes. To recover it, use Qiling Partition Recovery to search for deleted partitions on the mounted disk and recover the lost partition.
As soon as Qiling Partition Recovery locates and recovers the missing partitions, they are immediately shown in the Disk Explorer window, where you can launch them for further VMware Partitions recovery.
To recover lost partitions containing VMware files, follow these steps. First, download and install a partition recovery software such as EaseUS Partition Recovery or Disk Drill.
Step 1. Run Qiling Partition Recovery on your PC.
This step involves selecting the disk or device where the lost partition(s) are located, and then clicking the "Scan" button to proceed with the scanning process.
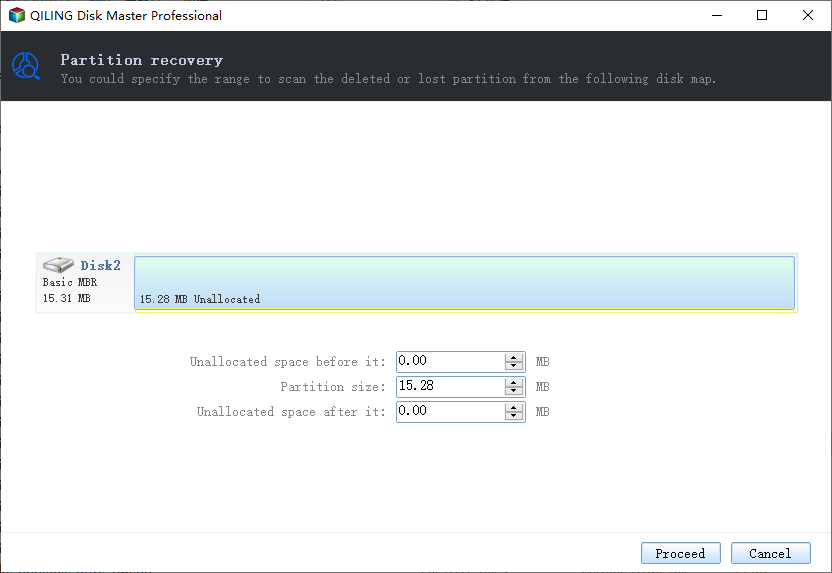
Step 2. Wait for the scanning process to complete.
The program will then scan the selected disk and find the lost partition(s) on it.
Step 3. Preview and restore the lost partition(s).
Double-click on the partition which is marked as "Lost" with "Good" recoverability.
To recover a lost partition, follow these steps: Preview the lost partition's content, then click "OK" and "Proceed" to initiate the recovery process.
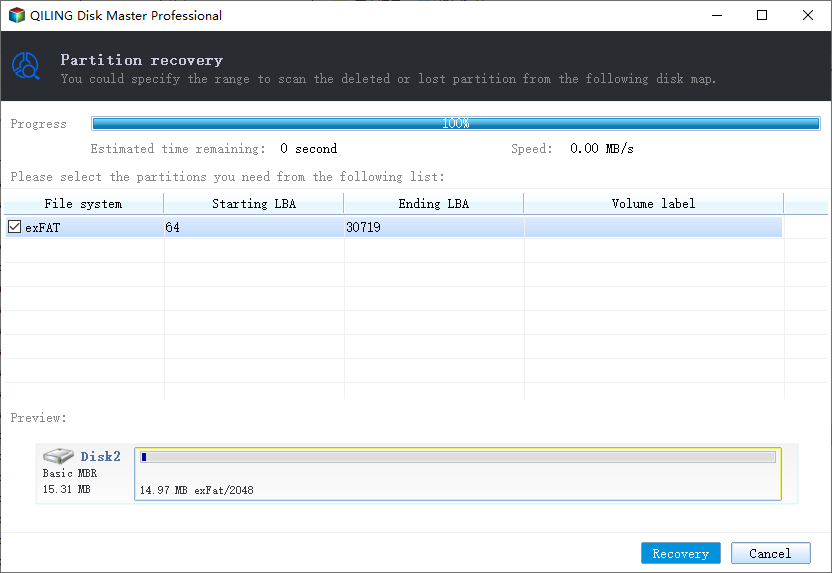
Step 4. Click "Recover Now" to finish the partition recovery process.
If the program warns you that there is a conflict, back up the listed partition with essential data to an external hard drive first, then execute the final operation to restore your lost partition. If you're unsure about any step, consider consulting a professional for assistance. This will ensure the safety of your data and prevent any potential loss.
- Notice:
- To determine which partition contains VMware files, check the drive letter, capacity, and other details. If you're still unsure, look for the partition in Windows Explorer or Disk Management.
How to Recover Data from VMware Disk Manually
Besides the two methods mentioned earlier, there's a manual way to recover data from VMware, which is suitable for experienced users. This method involves a more detailed and technical approach, requiring a deeper understanding of VMware's inner workings and data storage mechanisms.
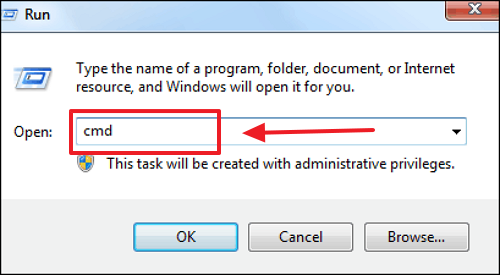
Step 1. Press Windows + R, open the "Run" box, type "CMD" to launch the command line.
Step 2. Then browse the local installation of the VMware Development Kit.
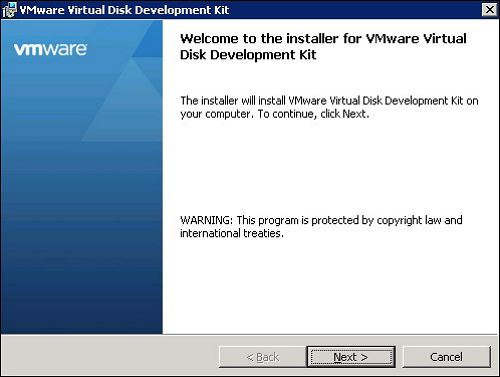
Step 3. The Virtual Disc Development Kit is located in the following directory: C: Program Files - VMware - Virtual Disc Development Kit.
Step 4. Put the VMware-vsdiskmanager.exe into the command prompt.
Step 5. Enter the code.
VMware Data Recovery FAQs
VMware data recovery involves restoring data from a VMware virtual machine (VM) in case of data loss or corruption. This can be done using various tools and techniques, including VMware's own tools like vSphere Data Protection and vCenter Server, as well as third-party software like Veeam Backup & Replication.
1. What are VMware files?
VMware files, with the VDMK format, are virtual disk image files used by VMware and other virtual machines to store data on virtual hard disks.
2. Why is the VMDK file corrupted?
Among the most common reasons are following:
- There has been a viral outbreak.
- There has been a hardware malfunction.
- Software corruption
- Errors committed by users.
- The guest operating system was improperly shut down.
3. How do I recover a VMware from a snapshot?
- Step 1. Select by the path: Virtual Machine - Snapshots.
- Step 2. Choose the snapshot you want to restore.
- Step 3. Before restoring the virtual machine to the chosen snapshot state, click Save to save a snapshot, or simply do not save a snapshot.
4. How to save recovered data from VMware?
You can save recovered data and files to a chosen location, such as CDs or DVDs, a virtual ISO image, or an FTP server, as specified in the 'File Saving' window.
Related Articles
- Run Deep Data Recovery from WinPE Bootable Disk
- Fix Corrupted Data and Recover Files from PSP Memory Stick
- How to Recover Files from USB Flash Drive with or Without Software
- Fix Corrupt Master File Table. CHKDSK Aborted Error in Windows 10/8/7