How to Permanently Delete Files on HP Laptop
If you own an HP laptop, you join millions of others who rely on it daily to store their data. This can include personal photos and videos as well as work-related files. Whatever the reason, there are times when you need to permanently delete files from your hp device. Whether it's to free up space or erase sensitive records for security purposes, knowing how to do so is essential.
For peace of mind and data protection, it's crucial to know how to securely erase files if your goal is to prevent unauthorized access. Below, we'll outline some effective methods for permanently deleting files on an HP laptop.
- Quick Navigation
- Method #1. Common Ways of Deleting Files Permanently from HP Laptop
- Method #2. How to Permanently Delete Files on HP Laptop Without Recovery
Method #1. Common Ways of Deleting Files Permanently from HP Laptop
Before we dive into the various methods for deleting files, it's essential that you commit each step to memory. Mastering all possible techniques will prove invaluable in case one method fails or becomes necessary under specific circumstances.
- Keyboard Shortcut
- Emptying Recycle Bin
- Deleting Files Using Windows PowerShell
- File Explorer Ribbon
The quickest method for permanently erasing files on an HP laptop involves just two steps. Firstly, navigate to and select the file or folder that you wish to delete by clicking on it. Next, simultaneously press the 'Shift + Delete' keys. A confirmation prompt will appear; click 'Yes' or press 'Y' on your keyboard to proceed with the deletion.
For most users, deleting files involves right-clicking on the item and selecting 'Delete'. This action moves the file to the Recycle Bin rather than erasing it permanently from the system.
To permanently erase files moved to the Recycle Bin, locate the bin icon on your computer, right-click on it, and select 'Empty Recycle Bin'. Note that this action will delete all items currently stored within. If you need to recover any previously deleted files, consider an alternative approach rather than using this method.
In situations where conventional methods fail or your system becomes unresponsive, utilizing PowerShell can provide an alternative means for permanently deleting files on HP laptop PCs. To access PowerShell, navigate to the Start Menu and search for 'PowerShell'. Selecting this option will prompt you to run it as Administrator; ensure you do so in order to exercise full deletion capabilities.
To proceed, identify the path of the file or folder in question by navigating to its location and copying the address from the address bar above using 'Ctrl + C'. In PowerShell, type the command: Remove-Item –path [drive letter]:\[filename]. Replace '[drive letter]' with the actual drive letter where the item resides, and [filename] with the name of the file or folder you wish to delete.
For example, you need to delete a folder called Example in drive C: then the command you will write is Remove-Item –path C:\Example. After writing the command, simply press the Enter key and everything in that folder will be deleted permanently. Be sure to write the command exactly as given above to avoid any issues with syntax connectedness. You can simply copy it from here and then paste it to your PowerShell window for convenience.
For those who prefer using mouse navigation over typing commands, Windows Explorer's ribbon can provide an alternative method for deleting files permanently. Simply locate the file or folder in question, click on it to select it, and then access the ribbon above the File Explorer interface. Click underneath the 'Delete' option (indicated by a red cross), which will prompt you with additional options. Select 'Delete Permanently', followed by confirming your selection through clicking 'Yes' in the subsequent popup.
While the methods outlined above ensure files are inaccessible from your File Explorer interface, it's essential to note that they may still reside on the hard drive itself. Therefore, anyone with technical expertise or knowledge of recovery techniques can potentially recover deleted files on HP laptop PCs. This should be taken into consideration if you're planning to give away or sell your device.
Method #2. How to Permanently Delete Files on HP Laptop Without Recovery
Now that you're aware of various methods for permanently deleting files from laptops, keep in mind that even with these techniques, there's still potential for deleted data to be recovered. To truly ensure file security and confidentiality, consider using professional-grade file shredders specifically designed for Windows 10, 11, 8, or 7 operating systems. These specialized tools are engineered to completely eliminate the possibility of recovering deleted files.
After thoroughly testing various file shredder options available for Windows operating systems, we highly recommend using Qiling File Shredder as your go-to tool. Its superior performance and broad compatibility make it an ideal choice for securely erasing files on HP laptops. Not only can you use this software to shred data stored on internal hard drives, but also external devices such as SD cards, USB drives, pen drives, and more. You have the flexibility of either shredding entire drives or selecting specific folders and files that need secure deletion.
For a seamless file erasure experience that leaves no digital footprint on your HP laptop, we recommend using Qiling File Shredder. Below are step-by-step instructions to guide you through securely deleting files and folders with this reliable tool.
- Download and install Qiling File Shredder on your HP laptop and then run it.
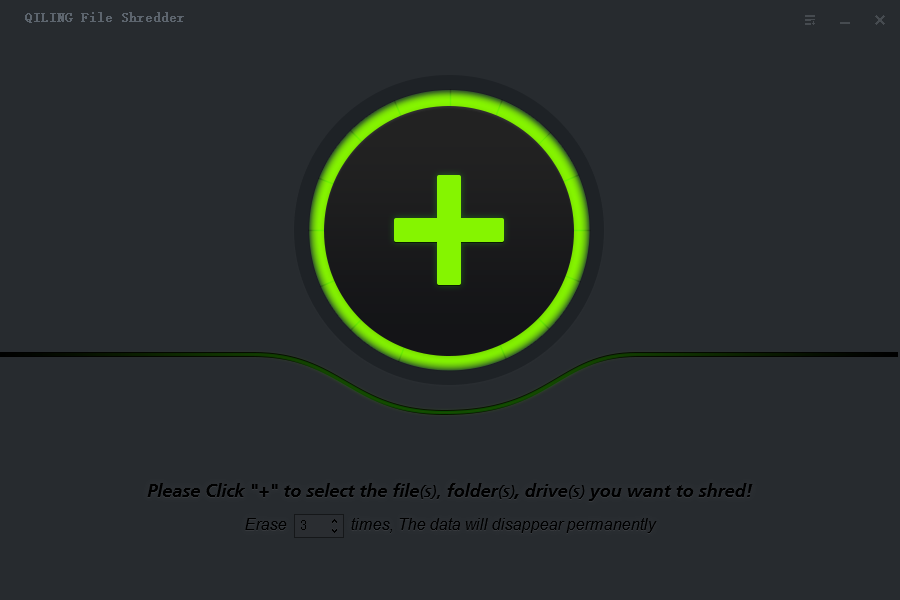
- On the opening screen, you will see a large "+" button. Click on it to begin the shredding process.
- The next screen will be where you select the folders that you want to delete. Expand the file directories to reach the folder that you want to delete, and checkmark them. Once you have selected all the folders, click on the "Shred Now" button on the bottom right of the window.
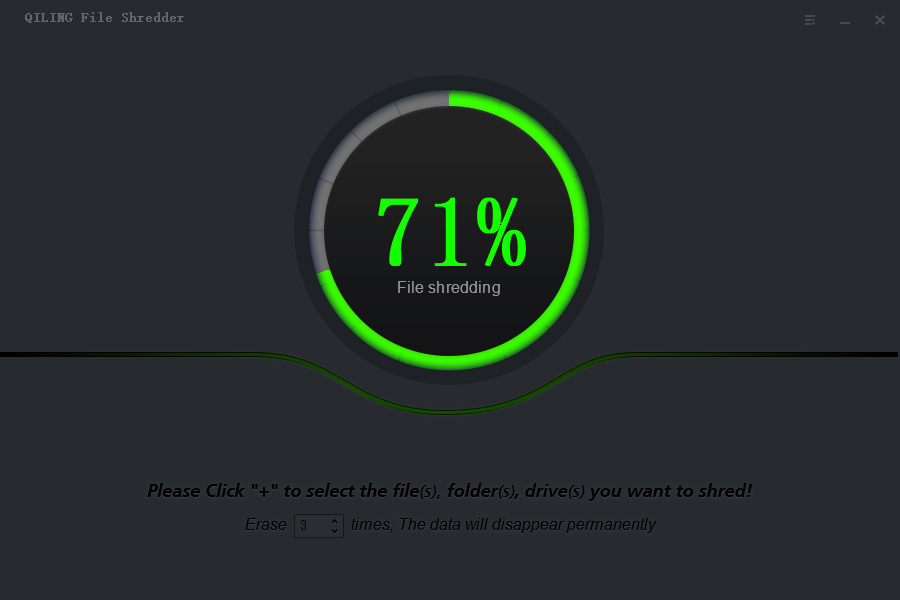
- The next screen will show you the progress in percentage. Once the process reaches 100 percent, your files will be completely shredded.


With these simple three-step procedures for securely erasing data with Qiling File Shredder on your HP laptop, rest assured that any deleted files will be irretrievable. The ease of use offered by this software makes it our top pick for permanently deleting sensitive information.
Related Articles
- How to Wipe a USB Drive Clean in Windows 11/10
- How to Permanently Remove Sensitive Files and Data from a Computer
- How to Permanently Delete Files from Thumb Drive
- How to Delete Files Permanently Using Command-Line
- Top 15 Free Hard Drive Wiping Software
- How to Permanently Delete Files from Recycle Bin
- How to Delete Files on Flash Drive Permanently
- How to Delete Windows.old Folder
- How to Permanently Delete Files from SSD