Full Guide to Export Outlook 2016/2013/2010 Emails to PST
Scenarios of exporting Outlook emails to a PST file
The "Export" feature in Outlook desktop app can help to copy your Outlook folders to a PST file or a CSV file. You may want to export Outlook emails to a PST file in the following scenarios:
- Move emails from one email account to another email account.
- Transfer emails from PC to PC or from PC to Mac.
- Make periodic backups.
No matter what your purpose is, you can follow the instructions below to finish the export job.
- How to export Outlook 2016/2013/2010 mailbox to PST
- Backup Outlook folders with best Outlook backup software
How to export Outlook 2016/2013/2010 mailbox to PST
Before you start, you may do a mailbox cleanup to save the content you want and leave the rest behind. Follow these steps:
- In Outlook, choose File > Tools > Mailbox Cleanup.

- Do any of the following:
- View the total size of your mailbox and of individual folders within it.
- Find items older than a certain date or larger than a certain size.
- Archive items by using AutoArchive.
- View the size of your Deleted Items folder and empty your Deleted Items folder.
- View the size of your Conflicts folder and delete this folder.
Now follow the guidance below to export Outlook folder to PST:
- In Outlook, click File > Open & Export > Import/Export.
- Click Export to a file, and then click Next.

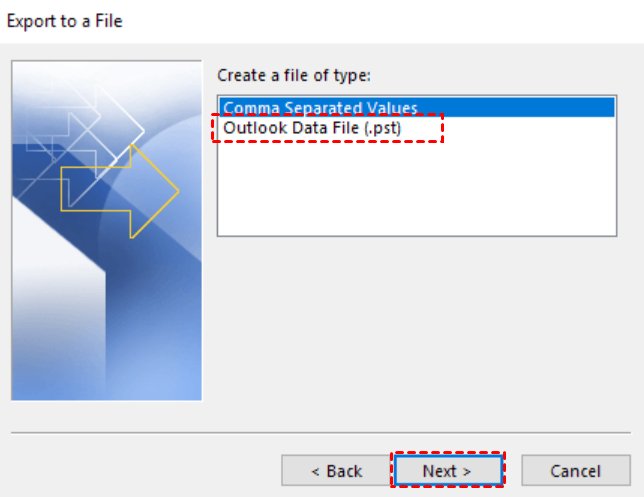
- Click Outlook Data File (.pst), and click Next.
- In the Select folder to export from box, select the email folder under the target account and click Next. Check the box Include subfolders as necessary.
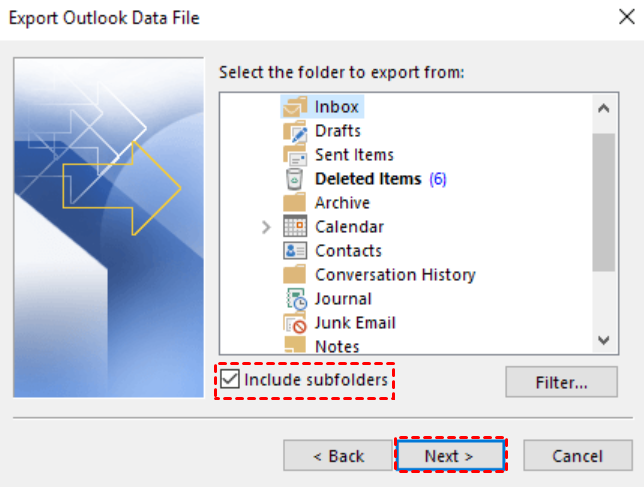
Note: To export Outlook Inbox to PST, just choose the Inbox folder. It's not allowed to select multiple folders to export from at once. If you also want to export the Sent folder, please repeat the export process.
- Save the backup file to the default location or click Browse to select another location. Also, name the backup file as per your need. Then click Finish.
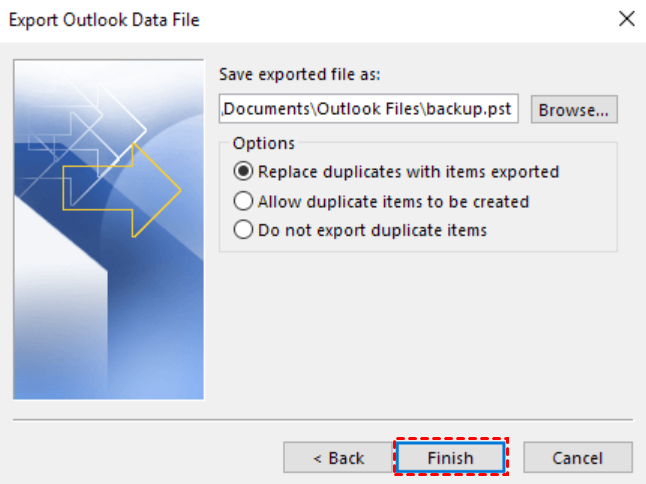
Note: Make sure you don't export your PST file to a OneDrive location. If you have automatic sync, make sure it's not syncing to a OneDrive location. OneDrive will block automatic syncing for Outlook PST files.
- Enter and confirm a password if there are sensitive files you want to protect and click OK to begin the export process.
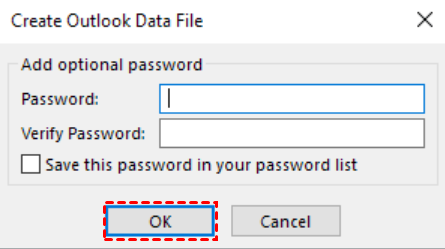
Note: If you don't want to password protect the PST file, leave both fields empty, and click OK.
Troubleshoot: Outlook not exporting all emails
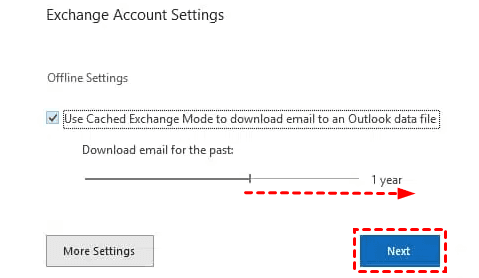
For an Exchange account, when exporting to a local PST file, it actually performs exporting in the OST file. If not all the emails are cached to OST file, then it will not export all emails.
To resolve this issue, you need first to cache all emails from Exchange server to local OST file. To do this, go to File > Account Settings, double click your Exchange account. Then, set the "Mail to keep offline" slider to All.
Backup Outlook folders with best Outlook backup software
To create a backup for your Outlook folders, you can turn to the best Outlook backup software – Qiling Disk Master Professional. It offers all-around backup solutions:
- It enables you to backup contacts, emails, notes, calendars, tasks and all the other data in Outlook.
- It supports Outlook, Gmail, Hotmail, and any other email accounts added into Outlook client.
- Various backup devices are supported, such as external hard drive, USB flash drive, NAS device, and cloud drive.
- You are allowed to backup your email data automatically using the "Schedule Backup" feature.
- You are able to run incremental or differential backup to backup only changed data since last backup.
Download Qiling Disk Master now and learn how to backup Outlook emails with Qiling Disk Master as follows:
- Add the email account you want to backup to Outlook.
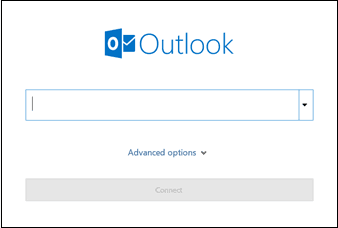
- If you're adding your first email account, go to Start > Outlook, enter your email address and click Connect.
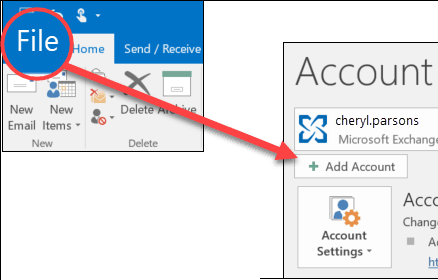
- If you're adding an additional email account, go to Start > Outlook > File > Add Account. The rest steps are the same as you add the first email account.
- Install and launch Qiling Disk Master on your PC. Then, click Backup and select File Backup.

- Name this backup task as per your need. Click Add Outlook Data to select the email folder(s) under the target email account as the backup source.
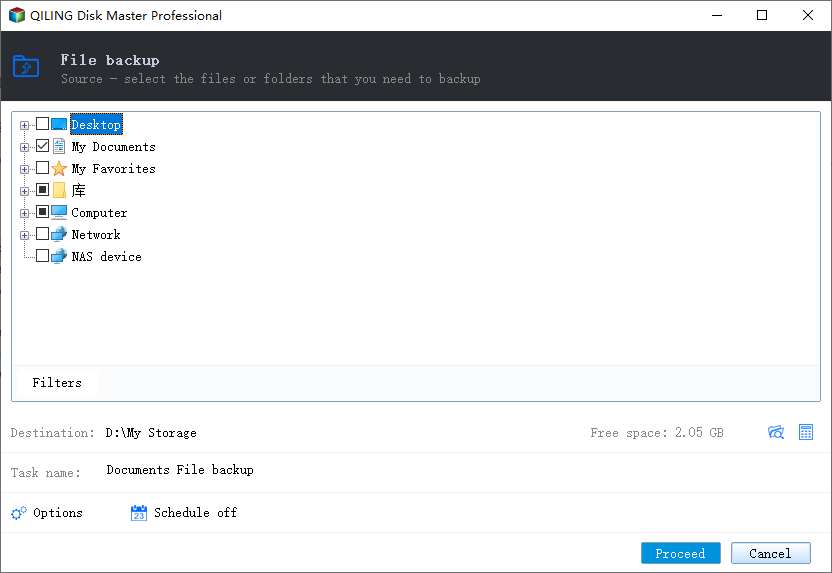
Note: You can select multiple folders at once.
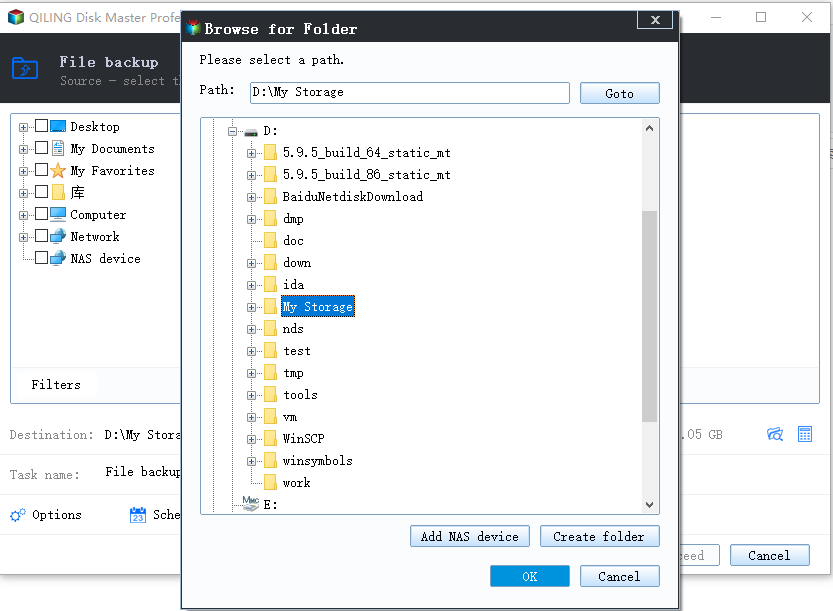
- Select a destination path to save the backup image.
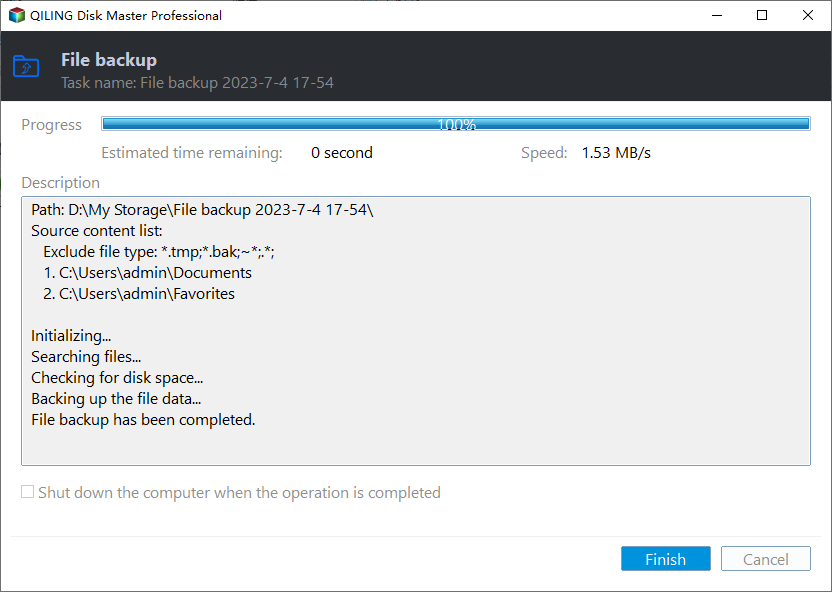
- Customize your backup task with Options, Schedule Backup and Backup Scheme as necessary. Finally, click Proceed to begin backing up your Outlook data.
Conclusion
Now you know how to export Outlook emails to a PST file. It is useful to move emails from one email account to another email account. If you just want to make a periodic backup for your Outlook data, Qiling Disk Master is the best way to go. It enables you to backup all data in Outlook and run the backup daily, weekly or monthly.
What's more, Qiling Disk Master is a bootable media creator. If you find your bootable pendrive is not detecting, you can use it to create one. Try it now to explore more wonderful features!
Related Articles
- Export Entire Mailbox to PST: A Step-by-Step Guide
From this page, you can learn how to export entire mailbox to PST using Outlook export feature. But be aware of that PST file is easy to corrupt, thus you can try to backup emails with a professional backup tool. - How to Backup or Export Entire Outlook Mailbox Easily
You will learn how to backup entire Outlook mailbox to PST file or other location. This article also includes two useful methods to backup individual or multiple emails. - 3 Ways to Backup Outlook Emails – Manual and Automatic
You may need to backup Outlook emails for several reasons. This guide will offer you 3 simple ways to protect your important emails from being lost.