How to Use Asus Recovery Key to Restore System When It Fails
What is the Recovery Key for Asus Laptop?
Are you experiencing issues with your Asus laptop and want to restore it to its original condition? Look no further! Your Asus laptop has a hidden partition called the "Asus Recovery Partition" that contains a recovery image. This partition is accessible on all Windows versions, including Windows 10, Windows 8.
If you're experiencing issues with your operating system or want to start fresh, you can use the F9 key to recover your OS. However, be aware that this process will format your system partition and erase all data on it. This means you'll need to use it not only when your system is damaged, but also when you want to remove virus infections, boost performance, or sell your computer without compromising sensitive information.
◆ Tips: If you're facing issues with your Asus laptop, you may have encountered a problem where the F9 key no longer works for a factory reset. This can be due to changes made to the original hard drive or the deletion of the recovery partition.
How to Use Asus Recovery Key to Do Asus One Key System Recovery
Before attempting to factory reset your Asus laptop, it's essential to transfer or backup any critical personal data to a safe location. This will ensure that your important files, photos, and documents are not lost during the reset process.
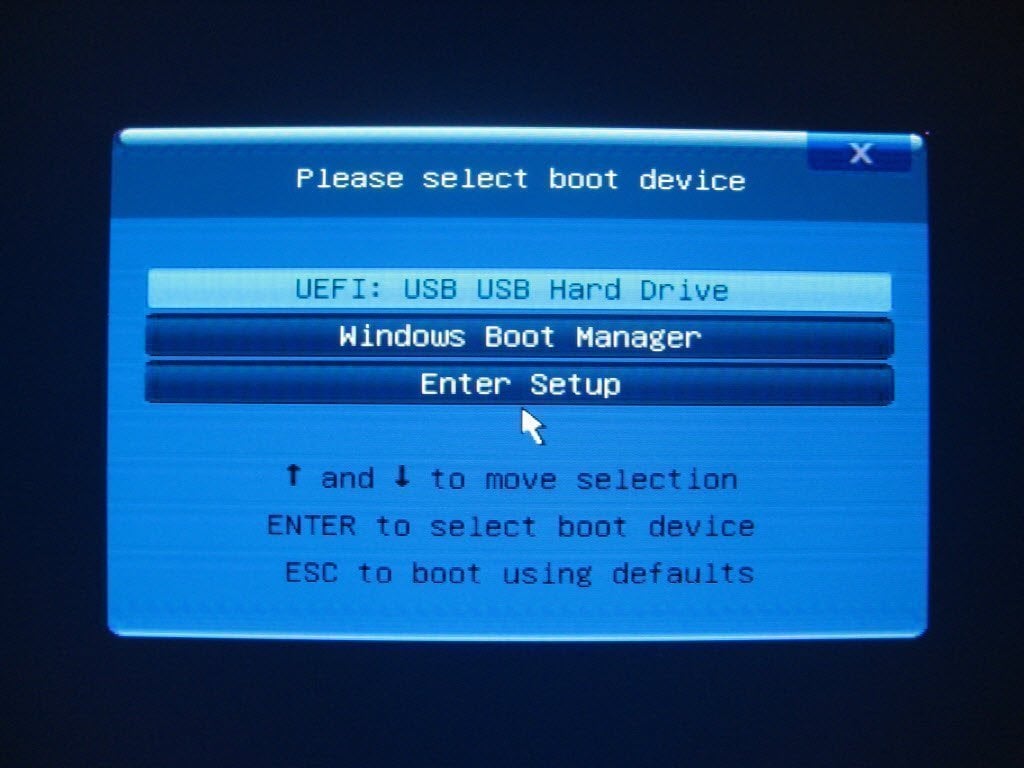
Step 1. To access the boot menu, reboot or power on your Asus laptop and immediately press the F9 key as soon as the Asus logo appears on the screen. Continue pressing F9 until a window pops up asking you to select a boot device.
Step 2. Choose Windows Boot Manager.
Step 3. Choose your language from the options and click "Next."
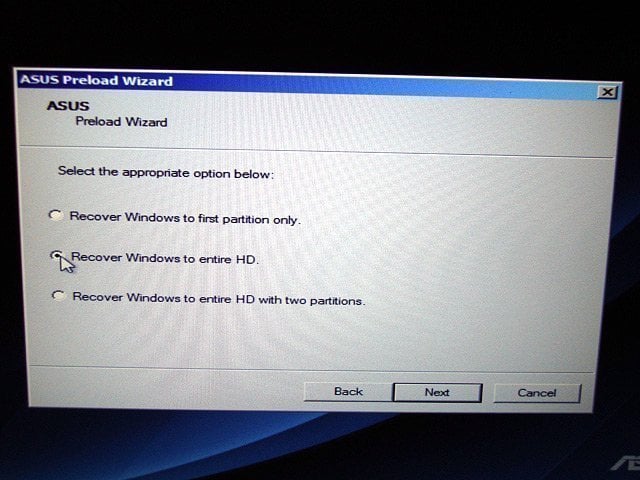
Step 4. Select one of the three ways to restore system.
- Recover Windows to first partition only.
- Recover Windows to entire HD.
- Recover Windows to entire HD with two partitions.
Notes:
- "Recover Windows to first partition only" will only delete the first partition (system C partition) and the other partition will keep untouched. While, "Recover Windows to entire HD" and "Recover Windows to entire HD with two partitions" will erase the whole hard disk both system partition and other data partitions.
- “Recover Windows to entire HD with two partitions” will create two partitions and install operating system files to the first C partition/volume.
Step 5. Click "Next" and follow the guidance to rebuild the ASUS laptop to the factory defaults.
Alternative to Asus Laptop Recovery Key for Windows 11/10/8/7
If you're having trouble using the recovery key on your ASUS laptop or find the above steps too complex, or if you have a different brand of computer that needs to be reset, you might want to consider using Qiling Disk Master. This is a professional, powerful system backup and restore software developed by Qiling Technology, which can be used on a variety of computer brands.
- Qiling Disk Master is a powerful tool that can help you create a bootable recovery partition and restore your ASUS laptop to its factory settings. This is particularly useful when your device becomes unbootable, and you need to recover your system to its original state.
- Qiling Disk Master offers a flexible backup and recovery solution, allowing you to save system images to various locations, including external drives. This means you can easily restore your OS from a backup saved on a different device, such as a USB drive.
- It works well on all Windows OS including Windows 7/8/8.1/10/11 and Server 2003/2008 (R2)/2011/2012 (R2)/2016/2019/2022.
- It supports all branded computers including Asus, Lenovo, Dell, Acer, HP, Toshiba, Samsung, Sony, etc. So, it has gained great popularity all over the world.
If your computer encounters problems, you can easily restore it to a previous state using Qiling Disk Master. To do this, simply press the F11 or A key during the boot-up process. This will initiate the restore process.
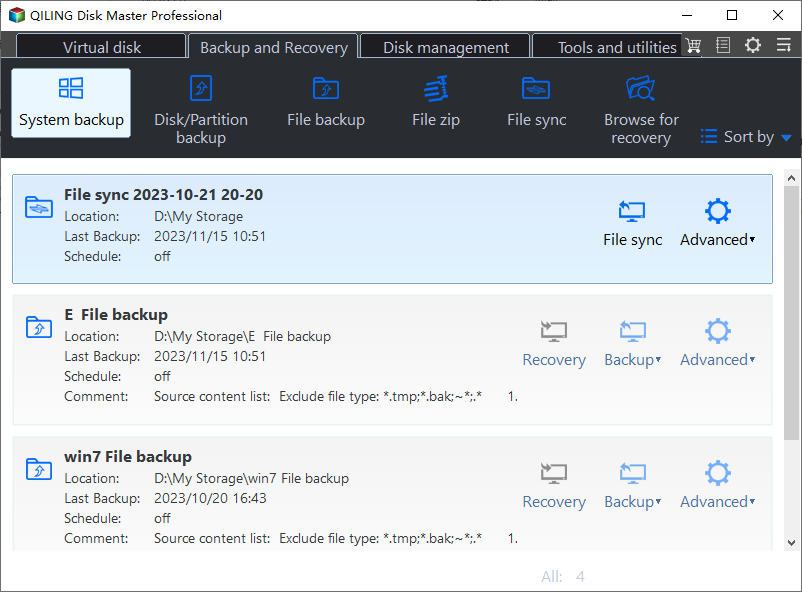
Step 1. Open Qiling Disk Master and click OneKey System Backup.
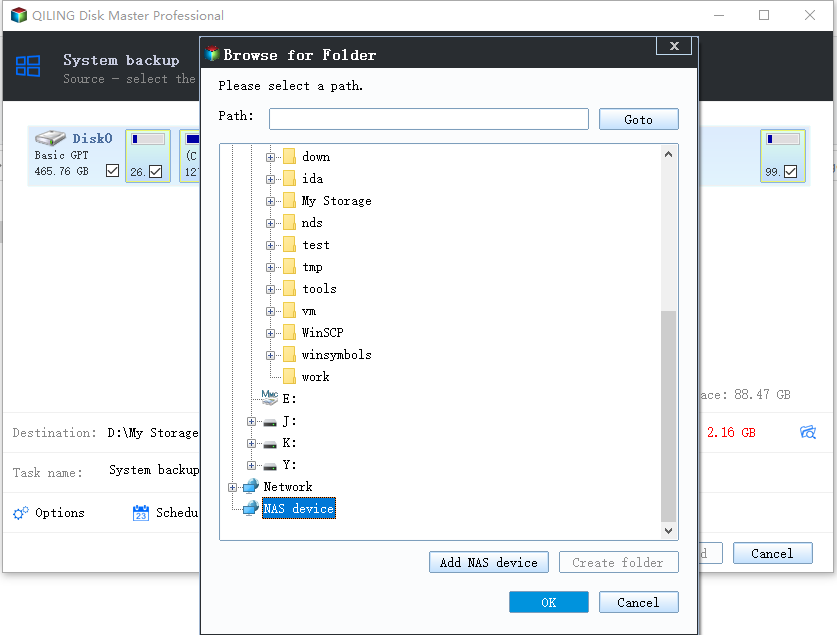
Step 2. To ensure your system backup is safe and accessible, choose a suitable location for the backup file. If you prefer to save it to an external hard drive or USB flash drive, simply select the location path where the backup will be stored.
Note: To further customize your backup settings, click on **Backup Options**. Here, you can compress the backup image to save space, and encrypt it with a password for added security. Alternatively, you can click on **Scheduler** to automate your backups, choosing to run them daily, weekly, or monthly.
Step 3. To save the factory recovery partition, select the desired partition from the list and click **Proceed**.
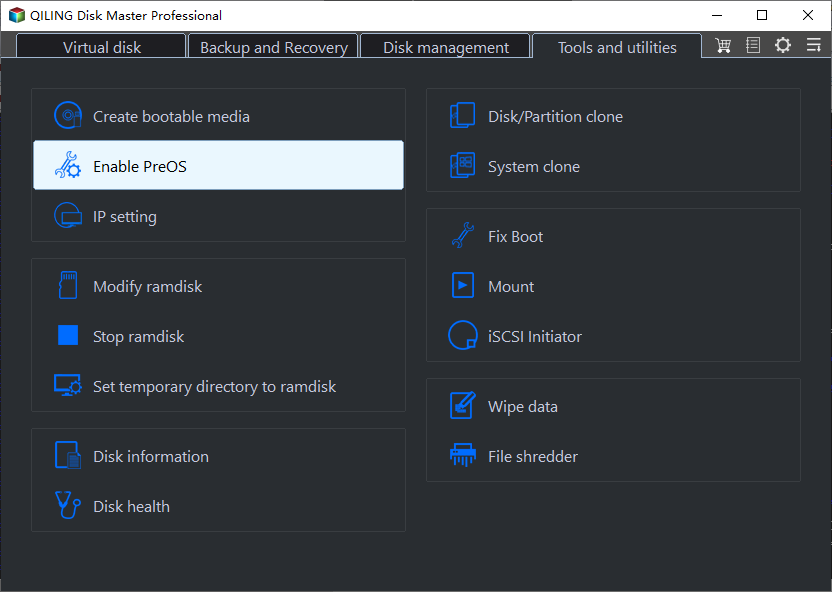
After the operation is complete, Qiling Disk Master will be added as a boot option on your computer. Rest assured, it will not cause any harm to your system.
By default, the recovery partitions created by Qiling Disk Master are hidden. If you inspect the Disk Management, you will notice the partitions created by Qiling Disk Master. For GPT disks, you will see two partitions: Qiling (the boot partition) and Qiling Recovery Partition (which contains the system image file, denoted by the suffix ".fvd"). For MBR disks, only one Qiling Recovery Partition will be visible.
To verify whether the recovery key is working, restart your computer and press the F11 or A key. This will take you to the Choose an option screen. From there, select the Enter into Qiling Disk Master option to proceed.
✍ Bonus tip:
If you want to create a backup of your entire hard disk, partitions, or specific files, we highly recommend using Qiling Disk Master. To ensure you have a safety net in case you need to restore data, enable the recovery environment in the Windows boot options menu.
Conclusion
Now that you know how to use the Asus Recovery key in Windows 10, 8.1, 8, or 7, you may be wondering if there's a simpler way to achieve the same result. If you're experiencing issues with the Asus F9 not working or prefer a more straightforward approach, you might want to consider using Qiling Disk Master instead. This alternative offers a range of more powerful features to meet your needs. Try it out for yourself and see the difference!
Are you looking for a reliable tool to backup your Asus laptop? If so, Qiling Disk Master Standard is an excellent choice.
Related Articles
- Asus Recovery Partition Missing? | Complete Solutions
- Fixed: ASUS Recovery Partition Not Working
- Fixed: ASUS Backtracker Failed to Create the Factory Default Backup
- How to Use Seagate Backup Plus Slim on Windows [2022 Tips]
An ultimate guide for those who are using Seagate hard disk or storage. This post looks at how to use Seagate Backup Plus on Windows and how you can effectively back up data. If you find it difficult, check out recommended software that makes it even easier.
