[Tutorial] Do Samsung SSD Secure Erase via 2 Methods
Quick navigation:
- When need to secure erase Samsung SSD?
- How to do Samsung SSD secure erase with Samsung Magician?
- A more versatile (Samsung) SSD secure erase utility
- Final words
When need to secure erase Samsung SSD?
You can never be more careful about data privacy because everything around you is connected in this interconnected world. When you want to get rid of a Samsung or other brand's SSD, you’d better not leave any data on it. As you may have heard the regular way to wipe a hard drive cannot be used to erase an SSD because it will leave data behind and hurt your SSD’s lifespan.
If what you have is a Samsung 830, 840, or 850 series SSD, you can use Samsung SSD Magician to perform Samsung SSD Secure Erase. “Secure Erase” is a safe way to reset your SSD to the factory default performance and all the data can never be recovered even with most data recovery services.
How to do Samsung SSD secure erase with Samsung Magician?
Once you get the Samsung Magician installed, you can run the Secure Erase within Windows 10/7. In this way, you can only wipe a secondary SSD that has no system running. If you want to erase the SSD which Windows is running on, you can use a CD/DVD or USB drive to create a bootable media to do the Samsung SSD Magician Secure Erase.
However, it does not provide an option to create Samsung SSD Secure Erase ISO. If you need the ISO to get this done remotely, you can use a tool like Phantom Drive to mount a blank writable DVD image, and use SSD Magician to burn the image to the virtual drive. Then you will get an ISO file. Below is how to perform Samsung SSD secure erase via Samsung Magician step by step.
Before proceeding: Make sure your SSD is not connected via the SCSI controller interface, because Magician will not work that way. According to your own situation, choose Secure Erase in Windows, bootable disk, or ISO to perform the Erase.
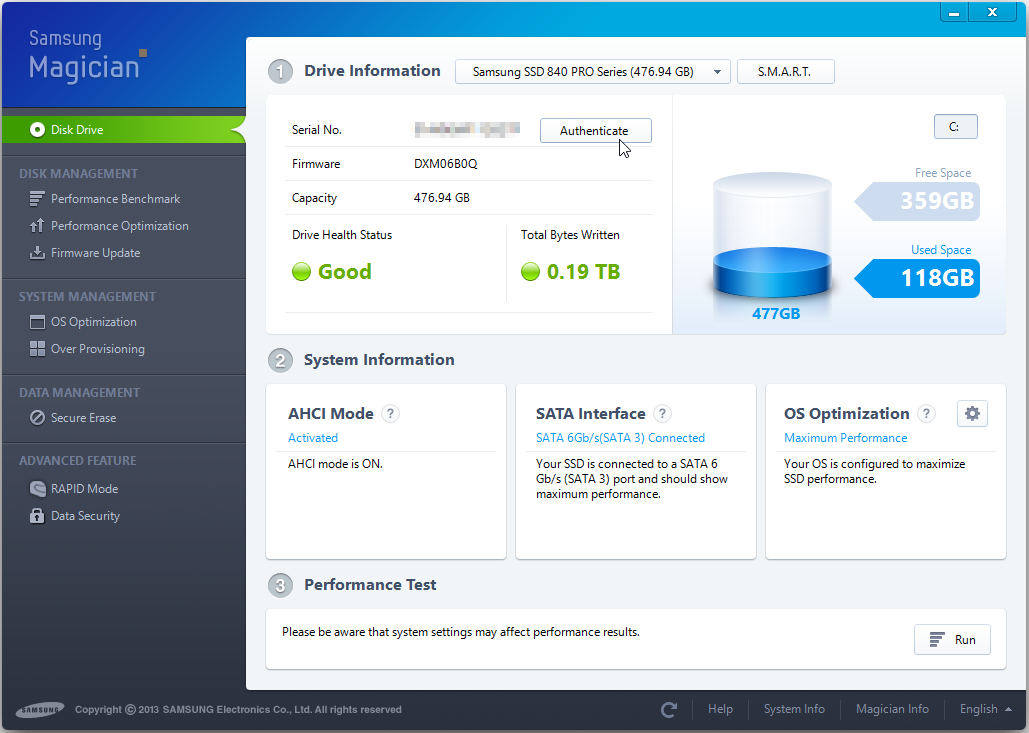
1. Run Samsung Magician. In the lower-left section, click Data Security.
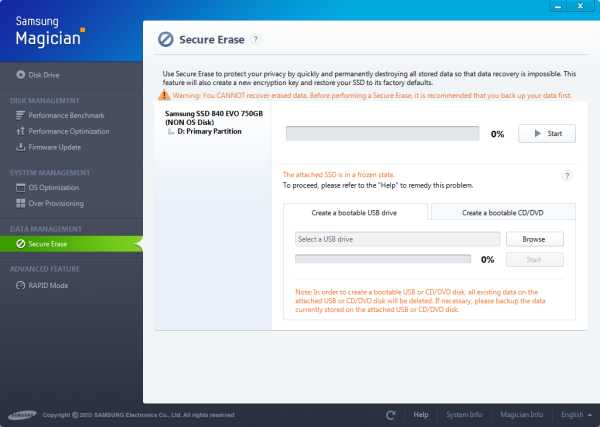
2. Make sure you read the warning and then click “Start” to get started.
While you are trying to erase the SSD within Windows, there are chances that SSD stuck in a frozen state. In that case, you can create a bootable CD or USB drive to perform the Secure Erase. The Samsung Magician can only be used to secure erase Samsung SSD. If you are planning to wipe other SSD drives, you can use a more versatile SSD secure erase utility.
A more versatile (Samsung) SSD secure erase utility
In this section, we would like to share you with the powerful disk partition manager named Qiling Disk Master Professional. It provides the “SSD Secure Erase” function, which can be used to secure erase Samsung SSD and other brands SSD drives, a huge advantage over the Samsung Magician. Check the following content to learn how to perform Samsung SSD secure erase via the Qiling Disk Master Professional. (PS.: you can download its demo version for a trial)
Note: the “SSD Secure Erase” only works on Windows 7 system-based on the computer, and SATA SSD drive. If your Samsung SSD is installed on Windows 10 or Windows 8 computer, please first connect it to a Windows 7 PC.
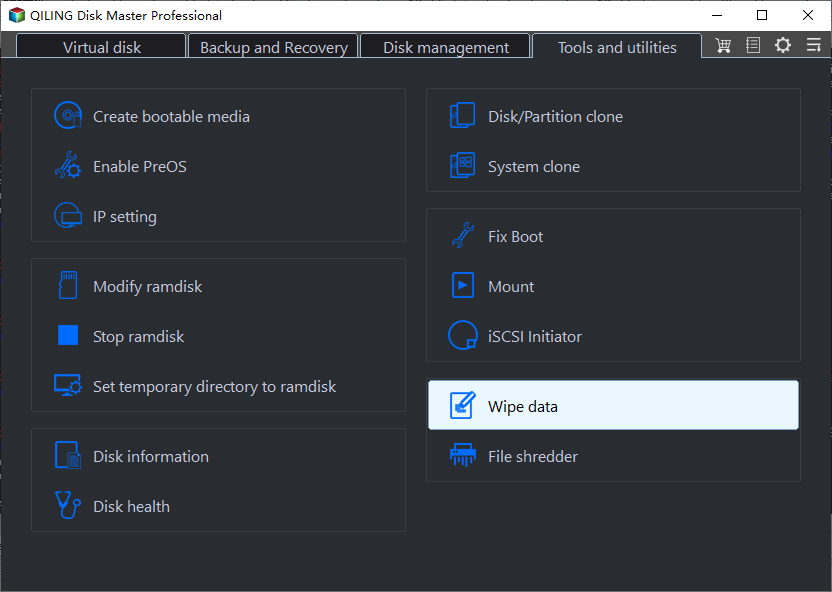
Step 1. Install and run Qiling Disk Master Professional. Choose “SSD Secure Erase”.
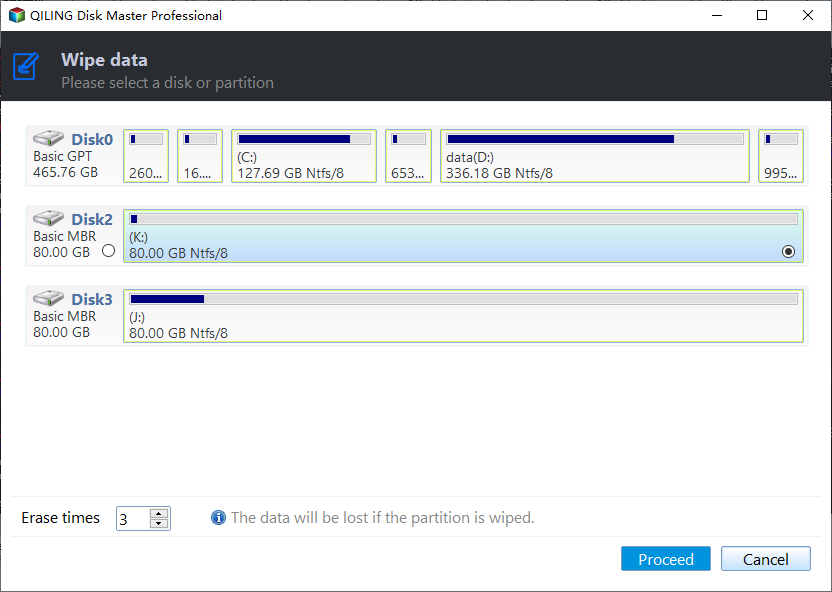
Step 2. Click the Samsung SSD.
Step 3. Check and confirm the identification information of the Samsung SSD you will secure erase.
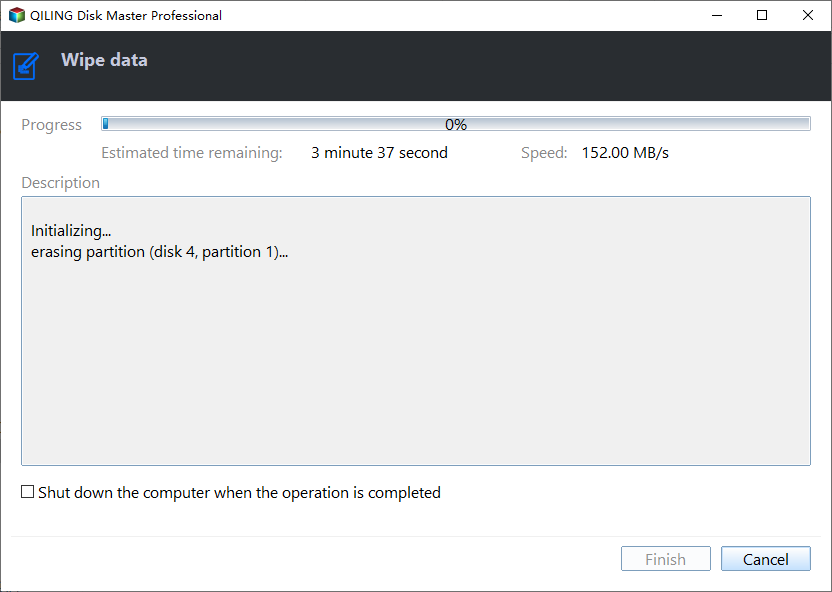
Step 4. If you find the SSD is in frozen state, and it cannot be unlocked, you can unplug the SATA cable and plug it again. After that, you can click on “OK” to start the operation.
Step 5. When it is completed, click “Finish”.
Final words
In this post, we have shown you how to perform Samsung SSD secure erase via Samaung Magician and Qiling Disk Master Professional. Now you can choose one based on your situation and requirements. Worth to mention that the Qiling Disk Master Professional also has other advanced functions: clone SSD drive, align SSD partitions, transfer OS to SSD, recover lost data if you have deleted by accident, convert system disk from MBR to GPT without deleting partitions for Windows 11, etc.
Related Articles
- 2 Methods to Secure Erase SSD in Windows 10, 8, 7
Learn how to secure erase SSD drive in Windows 10, 8, 7. Qiling Disk Master Professional can securely wipe all data from SSD permanently. - How to Completely Wipe a Disk in Windows 10, 8, 7?
Don't know how to completely wipe disk Windows 10/8/7? Refer to this article to get the best disk wipe software and learn how to wipe disk easily. - Secure Erase Flash Drive in Windows 10 | 4 Methods
To protect your privacy, it's necessary to secure erase flash drive in Windows 10 with a data erasing tool before selling it out or donating to others. - Top 2 Ways to Wipe Empty Space on Windows 10
How to securely wipe empty space on Windows 10? This article provides you with 2 methods to wipe free space. One is the Windows built-in feature, and the other is the reliable space erasing software. Read on to see the detailed operation.
