How to Sync Desktop to OneDrive Automatically (2 Ways)
Quick Navigation:
- You need to sync Desktop to OneDrive
- Sync Desktop in Windows 10 with OneDrive folder
- Automatically sync all folders to OneDrive with Qiling Disk Master
- Summary
You need to sync Desktop to OneDrive
Most computer users put commonly used folders on the desktop of a computer, but this is also the location where they are most likely to lose their files. To keep the desktop data safe and easy to access, more and more people would like to sync Desktop to OneDrive or other cloud storage like Google Drive, Amazon Drive, etc.
You can easily access the data on the Desktop from other devices if you sync it to OneDrive. For example, you did not finish your work and you want to continue it at home. If you sync your work to OneDrive, you can be free from the troubles of saving your files or folder to a USB flash drive before leaving the office and taking the drive home.
Besides easy access, syncing Desktop with OneDrive can be used as a way of backup. It is one of the best ways to keep your data safe. If your data is mistakenly deleted, you can use it as a data recovery plan.
Sync Desktop in Windows 10 with OneDrive folder
OneDrive is the most popular cloud storage on Windows PCs and allows you to sync local folders to OneDrive, edit, or share them. It comes with Windows 11/10/8 and you just need to search it and sign in with your Microsoft account. For Windows 7 users, you have to download and install it first. Here are two ways to use OneDrive to sync Desktop:
- The easiest way is to drag and drop the Desktop folder to OneDrive folder. The path of Desktop: C drive > User > your username > Desktop. However, it would be troublesome to drag and drop files every time there are new files added.
- To sync Desktop to OneDrive automatically, you can set your Desktop folder location to OneDrive, so everything saved in this folder will be synchronized with the cloud.
Here's how to do it automatically.
Step 1. Go to the OneDrive folder and create a new folder named “Desktop”.
Step 2. Then, find the Desktop folder in the C drive and right-click it, select Properties.
Step 3. In the “Desktop Properties” windows, select the Location tab and click Move.
Step 4. In the box that appears, double-click OneDrive, select the Desktop folder inside and then click Select Folder when it's highlighted.
Step 5. Click Apply in the Move folder window. Then, select Yes to confirm that you want to move the Desktop folder to OneDrive.
Simple as it looks like, syncing files and folders in Windows 11/10/8/7 with OneDrive folder. Note that the free account only has 5GB of space and it will be quickly filled up since OneDrive sync files automatically when you made any change to it.
To alleviate this situation, you can choose to sync files on a regular basis, such as, daily, weekly, monthly, and you need a professional OneDrive sync tool.
Automatically sync all folders to OneDrive with Qiling Disk Master
OneDrive sync tool for Desktop
Qiling Disk Master Standard is free data transfer software that comes with Basic Sync feature.
- It not only allows you to sync files and folders to cloud drives like OneDrive, but also to different locations, such as USB flash drive, NAS, external hard drive, and network, etc.
- With its “Schedule Sync” feature, you are able to automatically sync all files and folders to OneDrive. With this feature, you can spare time and effort spent in manually syncing Desktop with OneDrive.
- This software can be applied to not only Windows 10 but also Windows 11/8.1/8/7/Visa/XP. For server users, try Qiling Disk Master Server!
What’s more, Qiling Disk Master Standard uses the default option “Run missed sync at the next system startup” after you set up Schedule settings. In this case, you do not have to worry that the newly added files or folders cannot be synced.
How to sync Desktop to OneDrive automatically in Windows 10
► Preparation: sign in to the OneDrive account and download Qiling Disk Master, install it.
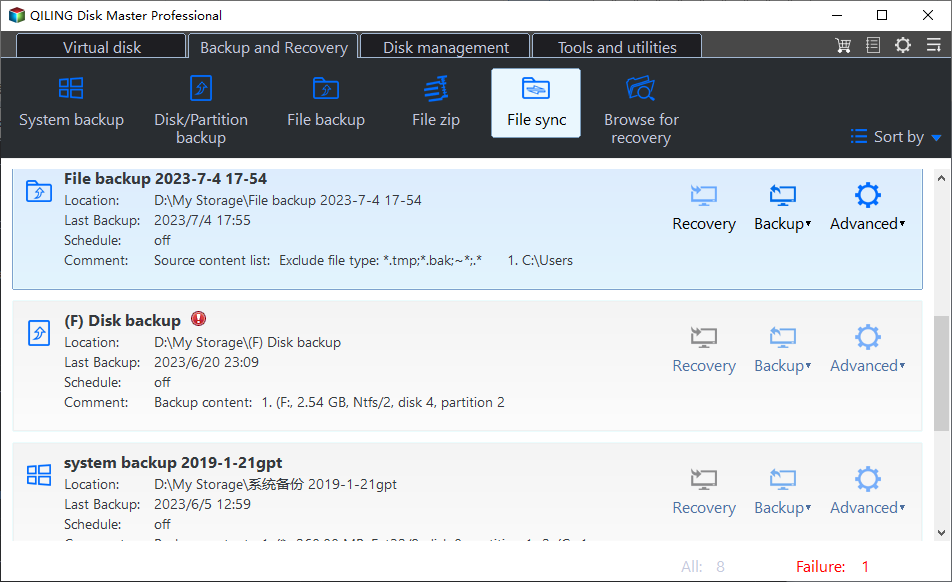
Step 1. Open Qiling Disk Master, and choose File Sync under the Backup tab.
More ways to sync files automatically (available on the professional version or higher):
- Real-Time Sync: It will sync files currently on the desktop and changes made later in real-time, thereby minimizing data loss in a disaster.
- Mirror Sync: It helps you to avoid any unwanted changes in a scheduled sync task. You can mirror folders to OneDrive with this feature.
- Two-Way Sync: It is to sync files and changes between source and destination directory.
Step 2. Click Folder to select the Desktop folder you want to sync.
Tip on syncing files with certain file extensions:
- If you only sync certain files, click the funnel button of the selected folder, we call it filter settings, and then in the pop-up window, you can directly type the file extension you want or don't want to include.
- The Filter Settings feature is a premium feature and available on advanced versions.
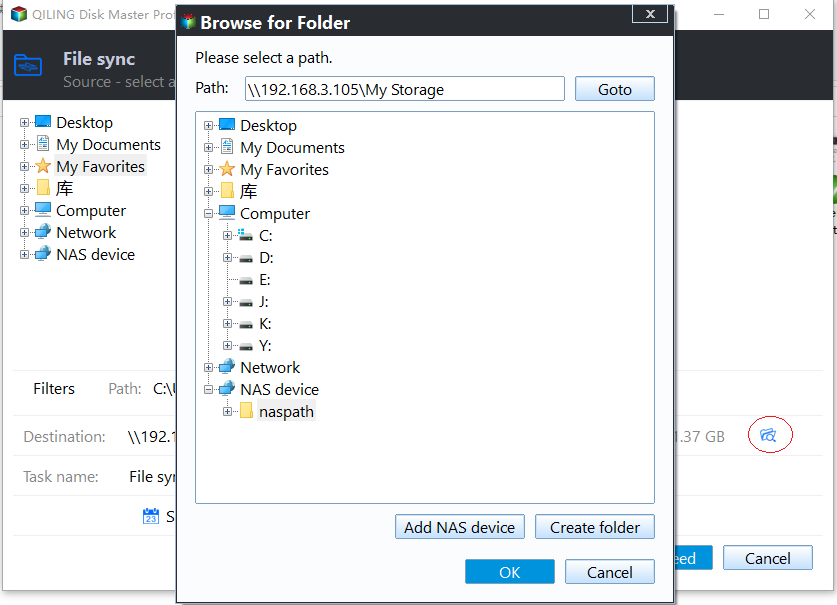
Step 3. Then click the drop-down menu and choose Select a cloud drive.
Step 4. Then, in the Select Cloud window, choose OneDrive as the destination path.
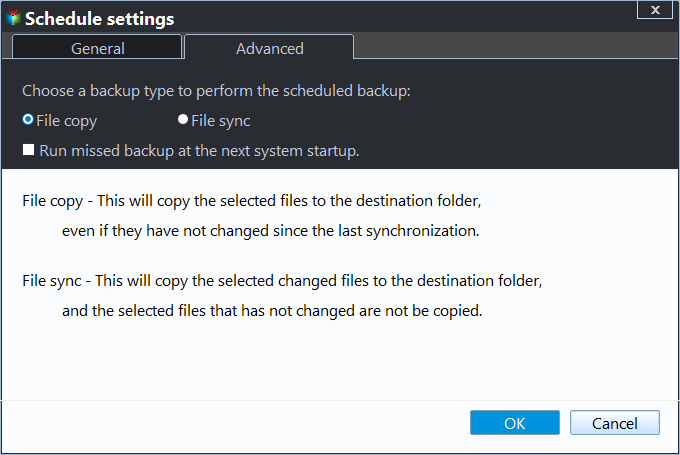
Step 5. Click Schedule Sync and enable it, you can select Daily (default), Weekly, or Monthly. Then click OK.
Also, you can click Options to write a unique comment for this sync task to distinguish it from others. Enable email notification to notify you after the operation is finished.
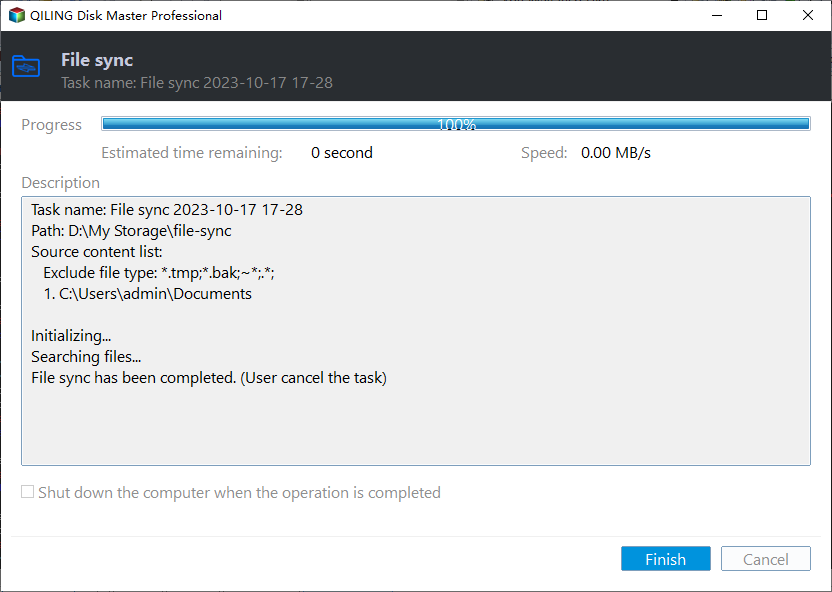
Step 6. After all above steps finish, click Proceed > Add the schedule and Proceed now to sync Desktop to OneDrive for the first time.
Tips:
- Don't modify the source folder name, otherwise, this software will not sync files anymore.
- For OneDrive users with a few GB of cloud storage, you could consider backing up files to Qiling Cloud. It's a cloud drive developed by Qiling Tech and offers you a free 1TB storage 15 days after you sign up for an Qiling account.
Summary
Syncing Desktop to OneDrive is really a good way to keep your data safe. With the help of Qiling Disk Master, you can make this process much easier.
Qiling Disk Master is also a fantastic backup and restore tool. You can create a system image to OneDrive as a disaster recovery plan. The professional edition allows you to restore to dissimilar hardware, which cannot be completed with Windows built-in tool. Why not give it a shot?
Related Articles
- How to Sync Any Local Folder to OneDrive in Windows 10/8/7
- How to Automatically Sync Windows Server with OneDrive
- How to Sync OneDrive Windows 10 Automatically
- Fixed: Synology Cloud Sync Not Working Even Up to Date
This article provides you with 5 practical ways and 2 workarouds for Synology Cloud Sync not working. Learn more about it now!


