Sync Files to Google Drive Automatically | 4 Ways Included
Why sync files to Google Drive?
Syncing files to Google Drive or other storage devices has become a common practice, especially with the increasing use of mobile devices and cloud services. But why do people sync files to these devices? Here are some common reasons:
- Spare some free space. When it comes to storing and accessing files, users often have to choose between using internal disk space or cloud storage devices. While internal disk space has its own advantages, cloud storage devices offer several benefits that make them an attractive option for many users.
- For continuous data protection. In today's digital age, our memories are often stored in the form of digital files. From cherished photos and videos to important documents and presentations, our digital files hold a special place in our hearts. However, with the increasing amount of data we generate, it's easy to lose track of our files and risk losing them forever.
- Avoid data loss owing to natural disaster. When it comes to storing valuable data, safety is the top priority. Three common options for storing data are internal disk, external drive, and cloud storage. While internal disk and external drive have their own advantages, cloud storage stands out as the safest option.
Does Google Drive sync automatically?
Referring to sync files to Google Drive, the Google Drive for desktop app could cross your mind. Google Drive for desktop is a two-way file sync software for you to share files on multiple devices anywhere and anytime. And it's not fully automated. How to sync my files to Google Drive with Drive for desktop? There are multiple ways.
Way 1: Google Drive web page
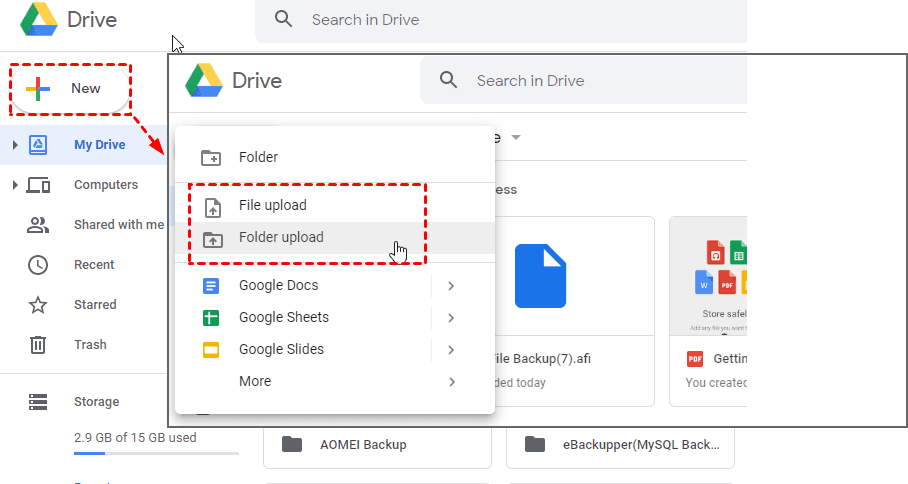
Open Google Drive web page, log in your account. Then click + New button -> File Upload or Folder Upload to sync files to Google Drive manually.
Way 2: Google Drive folder
You could Drag and Drop files or folders to Google Drive folder on the desktop. And then all the data will be synced to Google Drive automatically.
Way 3: Sync files via Google Drive for desktop
Syncing files to Google Drive automatically is a convenient process that can be done using the Google Drive desktop app or by dragging and dropping files to a Google Drive folder on your desktop. Here's a detailed step-by-step guide to help you sync files to Google Drive automatically:
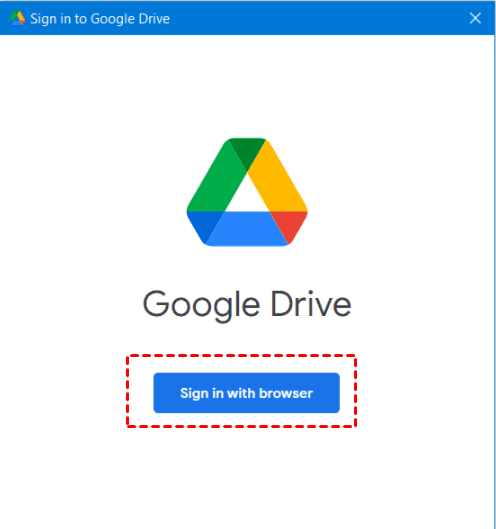
1. Download and install Google Drive for desktop on your computer. Then, log in your Google drive.
2. Open Google Drive for desktop app. Then click on the Drive for desktop icon in the taskbar, hit the Settings button and choose Preferences.
3. You'll see two parts on this app: My Computer and Google Drive.
At My Computer section, click Add folder to continuously sync files from computer to Google Drive. Then choose Sync with Google Drive or Back up to Google Photos based on your need. Click Save to begin file synchronization.
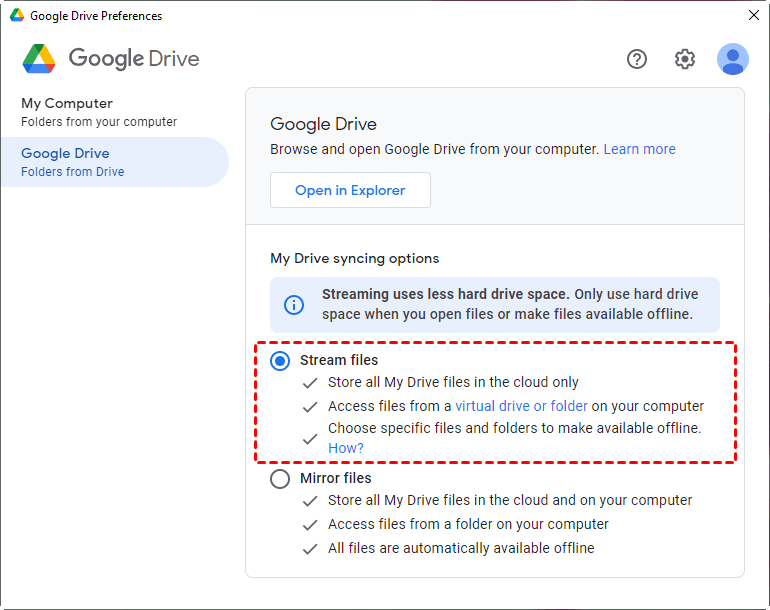
At the Google Drive section, you can choose the way to sync files from Google Drive to the computer (Google Drive folder). There are two ways available: Stream files and Mirror files. Stream files is recommended to save space on your computer hard drive. Confirm your settings and click Save. It may require a restart to make the changes take effect.
However, there is something you may pay attention to the Google Drive folder and the Google Drive for desktop app.
- For Google Drive folder, it cannot sync local files outside this folder. So, it requires human intervention and you need to drag and drop files to this folder manually and repeatedly. It's troublesome.
- Google Drive for desktop tool only supports syncing files from computer to Google Drive and vice versa. If you are running out of 15GB free storage space and want to sync files to external hard drive or other storage devices, you need a third-party file sync tool.
Best free way to automatically sync files to Google Drive
If you're looking for a hassle-free way to sync files to Google Drive, you might want to consider using Qiling Disk Master Standard. This free file synchronization software is highly recommended by many users due to its intuitive interface and reliable performance. Here's what you can do with Qiling Disk Master:
- Sync files inside and outside the Google Drive folder. In addition to syncing files to Google Drive, Qiling Disk Master also allows you to sync files between multiple devices. This feature is especially useful if you have files stored on different devices, such as cloud drives, external hard drives, USB drives, and more.
- More powerful features provided, such as Email Notification, Schedule Sync, Verify the integrity of files in destination during synchronization. These features will bring your more convenience when you sync files.
To sync files to Google Drive automatically using Qiling Disk Master Standard, follow these steps:
1. To begin with Qiling Disk Master Standard, follow these steps:
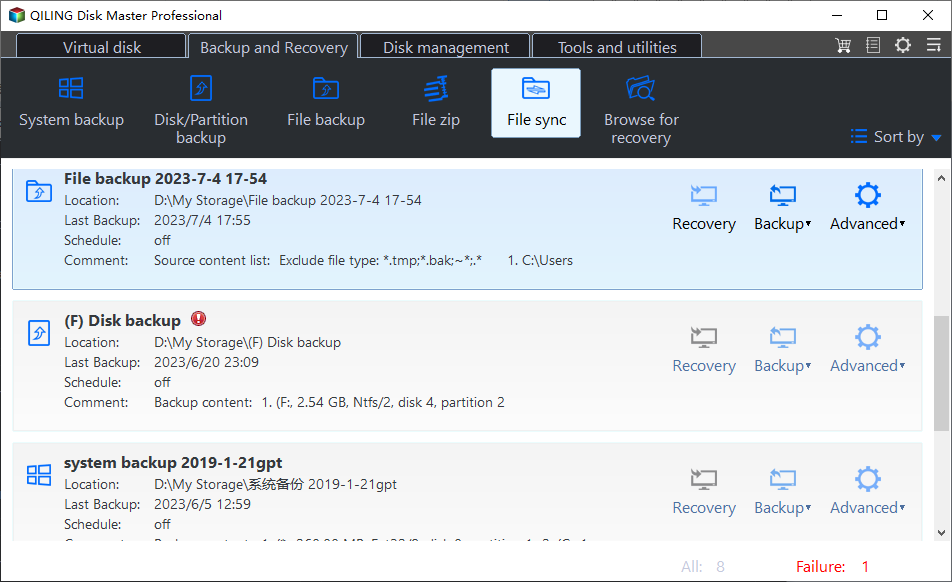
2. On the main window, select Backup > File Sync in turn.
3. Click Folder to choose files or folders to sync to Google Drive.
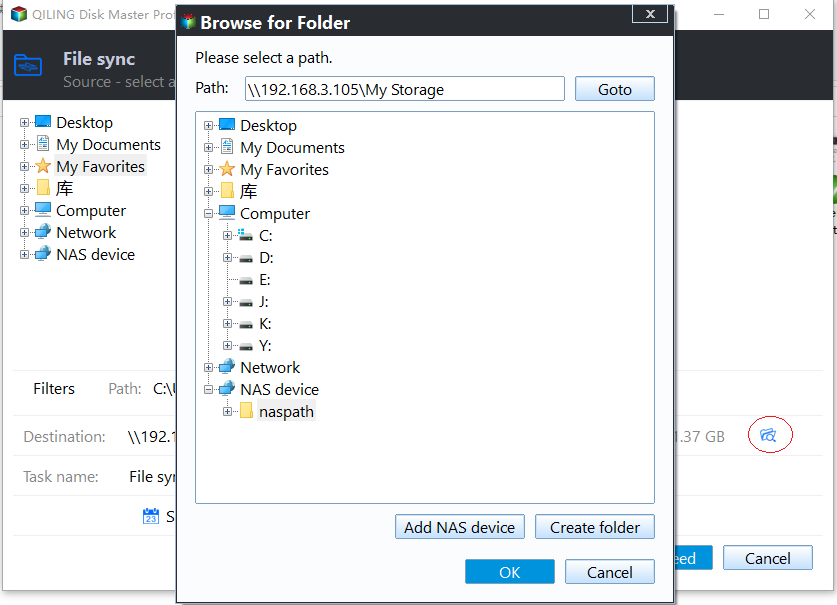
4. Click the inverted triangle and Select a cloud drive. And then choose Google Drive as destination.
5. To automate the syncing of files to Google Drive, you can use Qiling Disk Master's scheduling feature. This allows you to set up automatic syncing at regular intervals or in response to specific events.
6. To sync local files to Google Drive, you'll need to set up a schedule in Qiling Disk Master. This will allow you to automate the syncing process and ensure that your files are always up-to-date.
✎To sync local files to Google Drive, you'll need to set up a schedule in Qiling Disk Master. This will allow you to automate the syncing process and ensure that your files are always up-to-date.
💜 Helpful features you may need:
👉 To keep your files up-to-date in real-time, you can upgrade to Qiling Disk Master Professional. This will give you access to the �eal-time Sync feature, which allows you to sync files as soon as they change.Real-time Sync feature, which allows you to sync files as soon as they change.
👉 When you create an Qiling account, you'll have access to a range of features, including the ability to backup files and folders to Qiling cloud.
Wrapping things up
How to sync files to Google Drive? you may think about using Google Drive for desktop. And three ways are provided in this article. But if you want to sync files outside Google Drive folder or sync files between multiple devices, you'd better use a free but professional file synchronization software like Qiling Disk Master. It can satisfy all your basic needs and sync files without any obstacles. With its "Schedule Sync" or "Options" feature, the sync process becomes more convenient.
Related Articles
- How to Sync Local Folder to Google Drive in Windows 7/8/10
- How to Backup PC Files to Google Drive Automatically
- How to Backup Data on SD Card to Google Drive (5 Ways included)
- Backup WD My Cloud to Google Drive with the Best Freeware
