Sync Local Folder to Dropbox Easily Even Outside Folder (3 Ways)
Content of this article:
- About Dropbox
- How to sync local folder to Dropbox automatically
- Easier way to sync changes or folder outside Dropbox folder
- Wrapping things up
About Dropbox
Dropbox, one of the famous cloud storage services, is widely used in storing data in the cloud, syncing files to multiple devices and platforms, including Windows, Mac, iPhone, iPad, and Android. When you sync local folder to Dropbox or its desktop folder, all the folders will be synced automatically to all your devices as long as there is an internet connection. You just need to log in with the same account on your devices.
Besides, you can sync folder outside Dropbox folder. You can directly copy and paste the folder you want to sync to Dropbox folder. To syn changes automatically, even if it is not in the desktop folder, you can choose to create a symbolic link (a sort of shortcuts) between Dropbox folder and the original folder or use a third-party sync software.
How to sync local folder to Dropbox automatically
Traditionally, Dropbox only allows you to sync local folders and cloud files via its desktop folder. And it only syncs changes made in this folder instead of the original folder, so you can only copy and paste it manually if you modify it in the original folder.
To prevent this repeated work, you could consider using a third-party file sync software or creating a symbolic link between them. To sync cloud files, you could use Selective Sync or Smart Sync mode.
Sync local folder to Dropbox via Dropbox folder
If this is your first time using Dropbox, you need to download and install the Dropbox desktop app on your computer. And then follow the steps below to set it up.
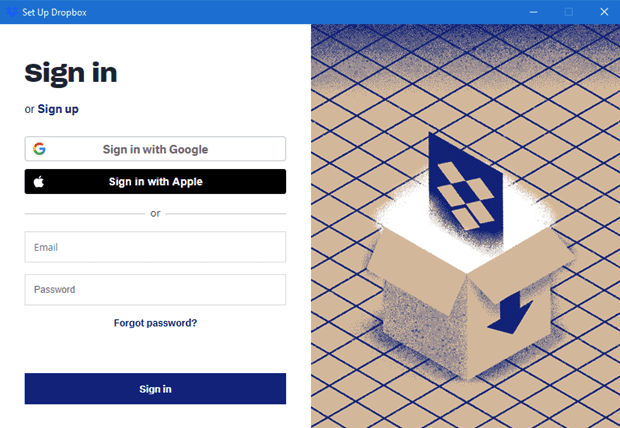
Step 1. Click the Dropbox icon on the taskbar and sign in with your Dropbox account.
Step 2. Click Next and Continue with Basic in the pop-up window.
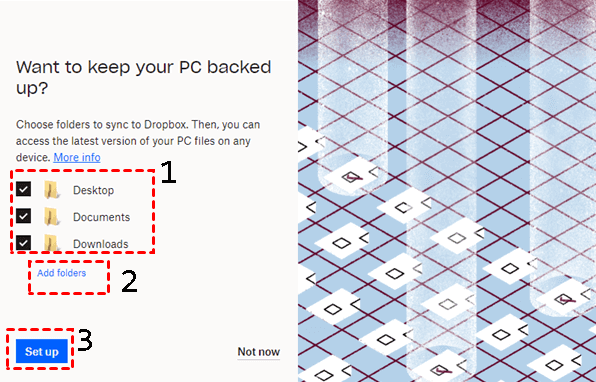
Step 3. Choose the PC folder or click Add folders to select it manually, then click Setup below.
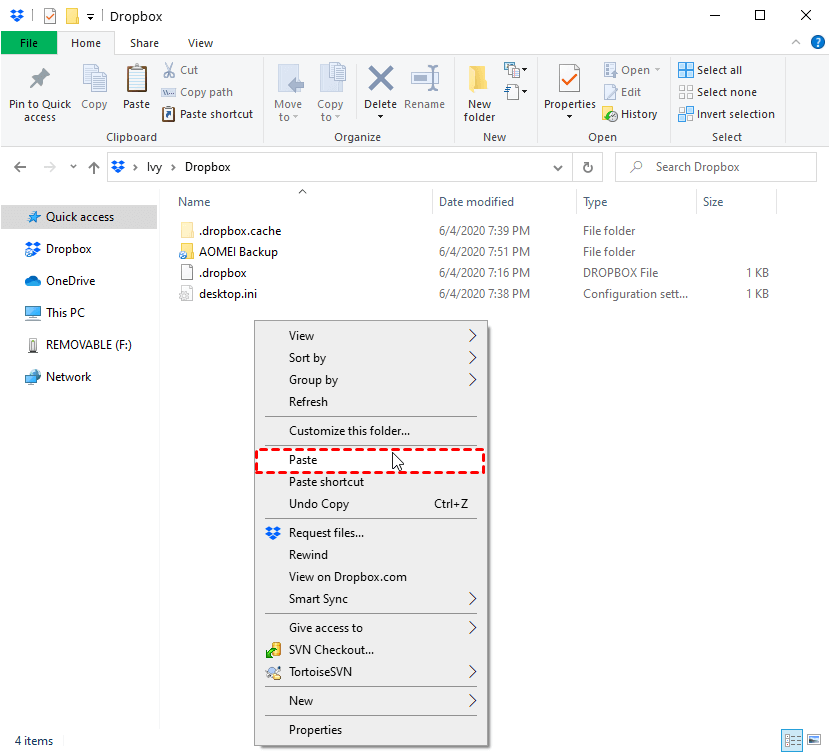
After configuring, all the selected folders will be synced to Dropbox automatically. At the same time, you will see a Dropbox folder on local computer. It looks like a normal folder, but it can automatically sync local folders to Dropbox once you put files inside (using copy or paste) and you can access files in Dropbox through this folder.
Sync local folder with Dropbox using Smart Sync
Smart Sync is a new feature for Dropbox to help users save hard drive space automatically after Selective Sync. And there are differences between them, you can check the following content and select one of them.
- Selective Sync: You can choose to sync the folder you often use from Dropbox to your local computer, but the file that is not synced is hidden completely. Please refers to the steps above or set it up in Dropbox Preferences.
- Smart Sync: You can access all the cloud files on dropbox.com as long as there is an internet connection. It will not occupy local disk space until you use files online.
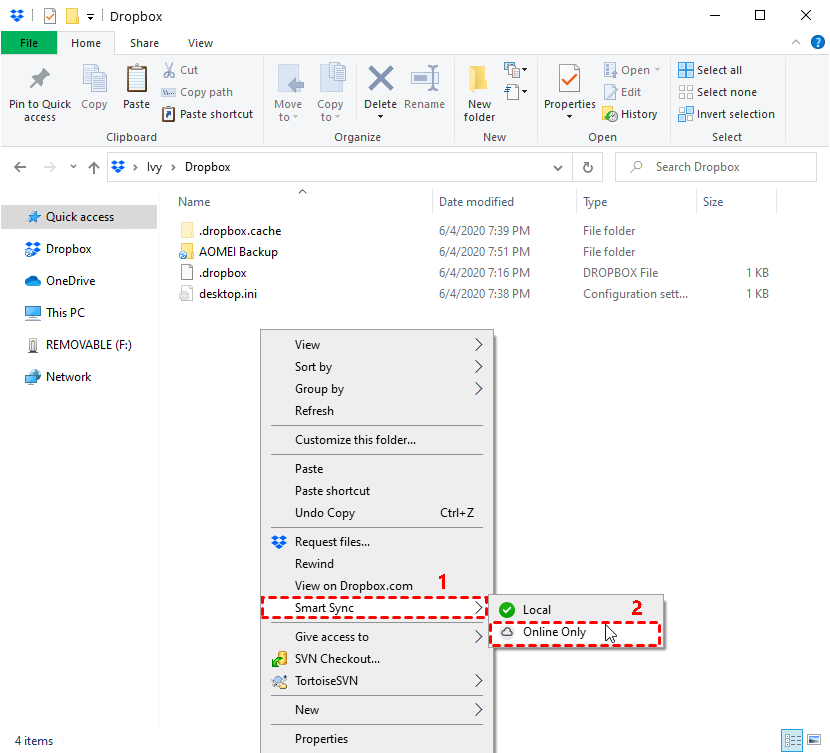
Step 1. Open the Dropbox folder on your computer.
Step 2. Select the folders you want to make online-only, right-click it, and then choose Smart sync and Online-only option.
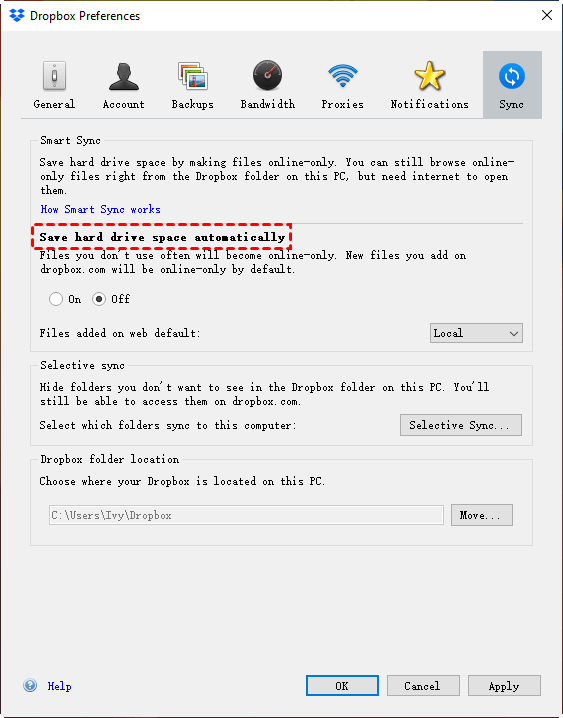
Step 3. If you don't want to change it one by one, you can enable Smart Sync in the Dropbox Preferences. Go to the Sync tab and then Smart Sync > tick On under Save hard drive space automatically and set the file added to web default as Local or Online Only.
Notes:
✔ If you want to sync folders to all your devices, you need to log in with the same email address and password on each device.
✔ Dropbox service will monitor the Dropbox folder on the computer and other devices. And once there is a change, Dropbox will sync it automatically as long as there is an internet connection.
✔ When your computer or other devices are offline, all the changes will be saved and synced again when it connects to the internet.
Easier way to sync changes or folder outside Dropbox folder
With Dropbox desktop folder, you can only sync files and changes made in it automatically. If you made changes in the original folder or it's outside the desktop folder, it will not sync unless you add it. In this case, you can choose to create a symbolic link or use third-party file sync software to help you sync files or folders automatically.
But considering that symbol links are relatively complex for most people, we suggested you to use Qiling Disk Master Standard as a middle-man between your local computer and Dropbox folder. And you set different schedule sync settings, such as, daily, weekly, monthly, etc.
You can also set email notifications to get task status without waiting. Besides, it still allows you to sync local folder to other cloud drives, such as Google Drive, OneDrive, or network drive, NAS, external hard drive, USB drive, and more. Please download it to have a try!
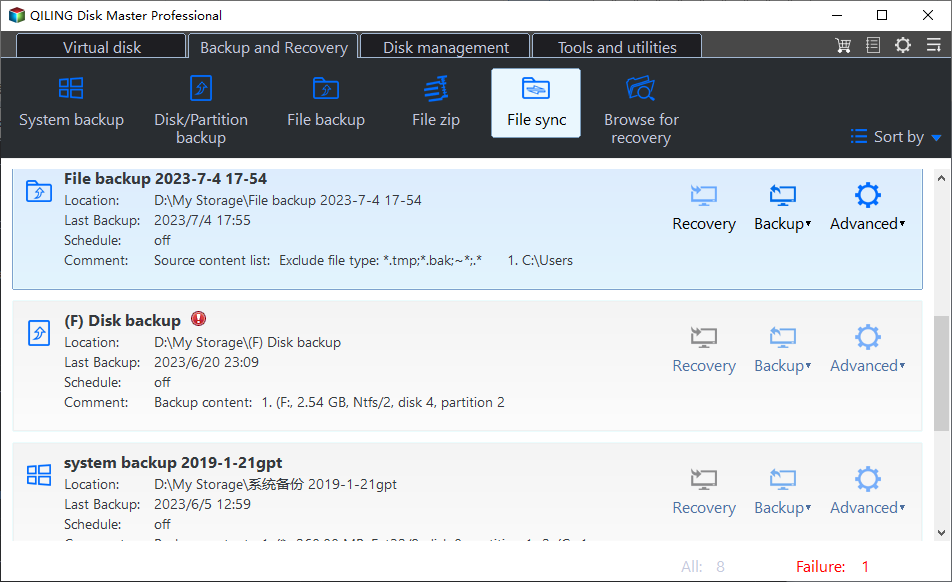
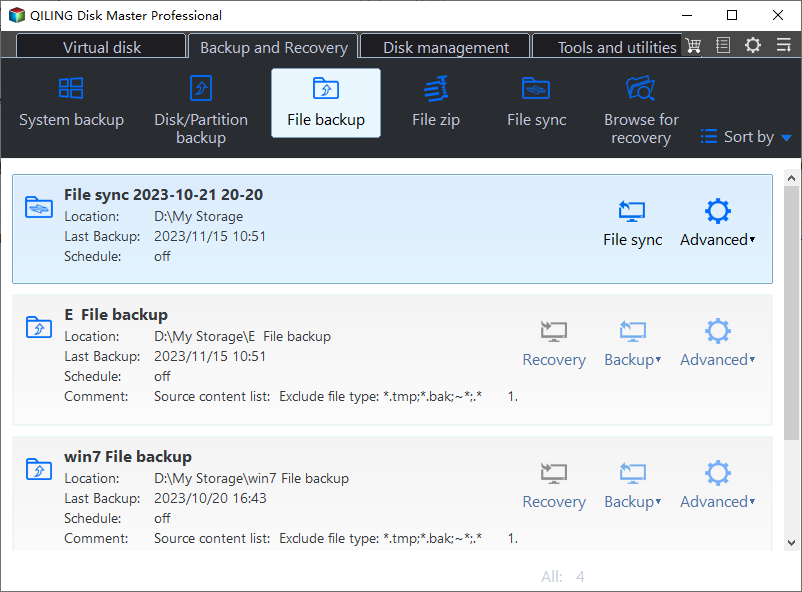
Step 1. Launch Qiling Disk Master, and then click File Sync under the Backup and recovery tab.
More advanced sync method in the professional or higher version:
✔ Real-Time Sync: If you enable it, you can sync changes to Dropbox immediately once detected.
✔ Mirror Sync: This sync methods focus more on synced files in Dropbox, deleting newly added files and undoing changes made in it, either modified or deleted.
✔ Two-Way Sync: Unlike previous sync methods, it will sync changes between the local computer and dropbox if you enable it. Any change made in the local computer will be synced to dropbox and vice versa.
Step 2. Click Folder and click Desktop, Libraries or This PC to find the local folder you want to sync.
Tip: If you want to sync files with only certain file extensions, you can click the funnel button (we call it Filter settings) and type file extensions you want to exclude or include, such as, such as,*.doc;*.xls;*.ppt.*.temp;*.tmp;*.bak;*~*. *temp;temp*. And it's available on the professional version or higher version.
Step 3. Click the drop-down menu and pitch on Select a cloud drive.
Step 4. Select Dropbox or its subfolder and then click OK to exit this window.
Note: If you want to sync local folder to Google Dive or OneDrive, click the corresponding drive in the above picture.
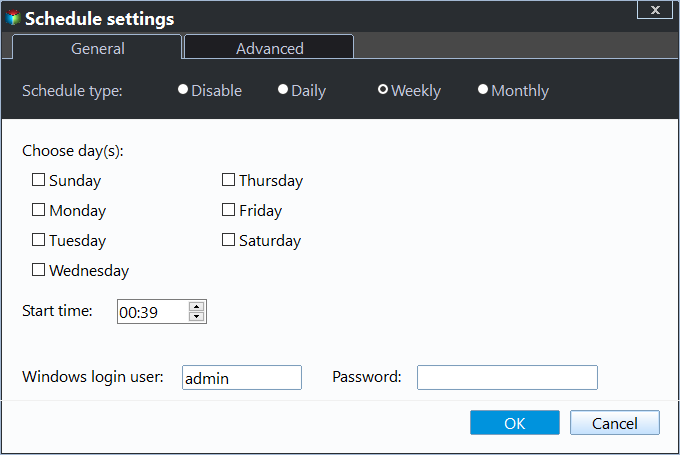
Step 5. To automatic sync changes or folders outside Dropbox folder, click Schedule Sync and enable it, then select any settings you want. And then, click Proceed to sync local folder with Dropbox.
Notes:
✔ Daily, Weekly, Monthly: It's the most suitable sync setting to sync files with cloud drives like Google Drive. And the fastest frequency is hourly.
✔ Event triggers: It is to sync files at specific events, such as, system shutdown, system startup, etc.
✔ USB plug in: It is only useful to copy files automatically when USB drive connected. So you don't need to connect it every time before the task start or keep it always connected.
Safer way to protect your local folders:
Except for sync methods, this software still allows you to backup files to Dropbox with File Backup, which compress all the data to an image file and requires a restore before using it. All the scheduled settings are supported.
And it is still able to minimize disk usage with different features, such as normal compression, automatic splitting, incremental or differential backup, automatic backup cleanup, etc.
Wrapping things up
Speaking of syncing local folder to Dropbox, you may think about using Dropbox app or its desktop folder. In addition, Smart sync of Dropbox is an excellent choice, which can help you save hard drive space automatically. You can also view these online files locally when your computer connects to the network.
The problem is Dropbox will not sync changes made in the original folder or it's outside the desktop folder. Not anxious now, Qiling Disk Master Standard can help you sync files automatically with its schedule sync settings. In the premium version, you still can enajoy different sync methods and filter settings to save disk space. Try it and you will be pleasantly surprised.
Related Articles
- How to Backup Data on External Hard Drive to Dropbox
- Backup PC Files to DropBox for Free in Windows 10/8/7
- Dropbox Not Syncing in Windows 10 - Fix or Replace It!
- Sync Two Folders with Robocopy Command Line in Windows 11, 10, 8, 7
You will learn more about Robocopy and examples to perform Windows sync two folders via command line - Robocopy. Meanwhile, this article offers an easier way.

