Perform Synology Mirror Folder with PC Automatically | 2 Simple Ways
Can I automatically mirror folders to Synology NAS?
It sounds like you want to set up a two-way sync between your local folder C:\Documents and a similar folder on your Synology DiskStation. This way, any changes you make on your local folder will be reflected on the DiskStation, and vice versa.
In fact, Synology provides you with 4 data migration software to sync files and folders between two Synology NAS, between Synology NAS and your computer or within Synology NAS: File Station, Cloud Station ShareSync, Shared Folder Sync, and Snapshot Replication.
To sync folders between two Synology NAS, you can use Cloud Station, a file synchronization tool provided by Synology. Here's a step-by-step guide on how to use Cloud Station to sync folders between your Synology NAS:
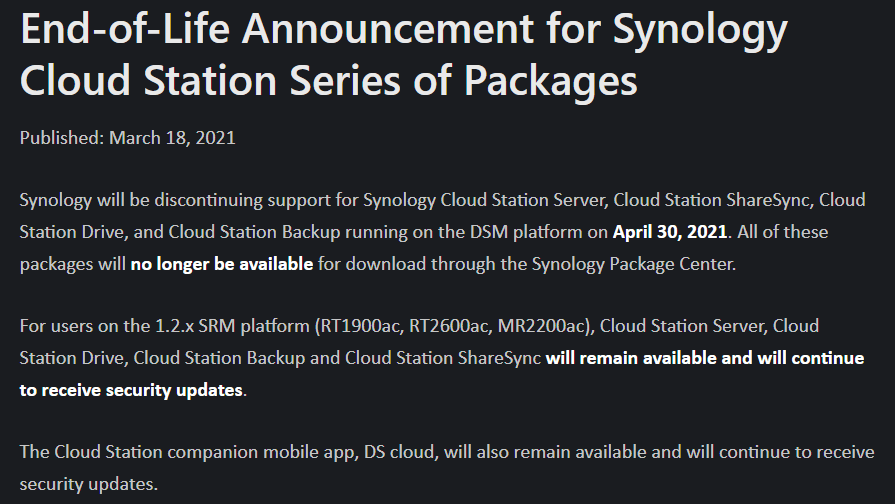
Synology Cloud Station Series of Packages Ends
According to Synology, the Cloud Station series will no longer be supported on the DSM platform starting from April 30, 2021. However, users of the 1.2.x SRM platform (specifically the RT1900ac, RT2600ac, MR2200ac) will still be able to use Cloud Station and receive security updates.
Thus, if you want to continue using it, you can turn to the1.2.x SRM platform or companion mobile app, and DS cloud. Besides, there is a quick way to perform Synology folder sync, it's to use a comprehensive file sync software to achieve this goal. Similar to Synology data migration software, it helps you sync files to Synology NAS and provides you with different sync solutions and settings.
Perform Synology Sync Between Two Folders via Cloud Station
Before syncing two folders, please:
- Install Cloud Station Server on your Synology NAS.
- Install Cloud Station Drive on your computer.
Connect Synology NAS and Your Computer.
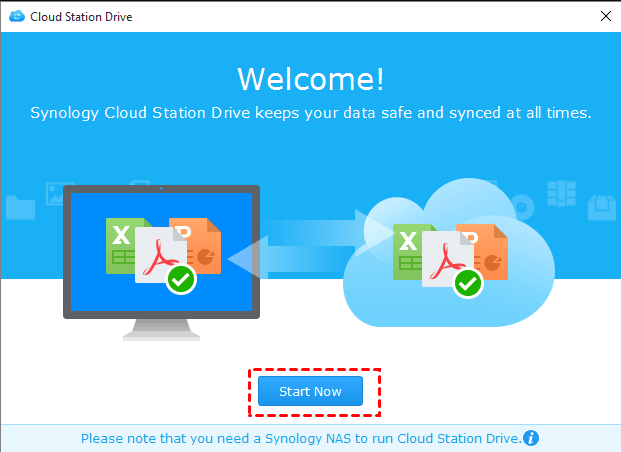
1. To start using Cloud Station Drive, follow these steps:
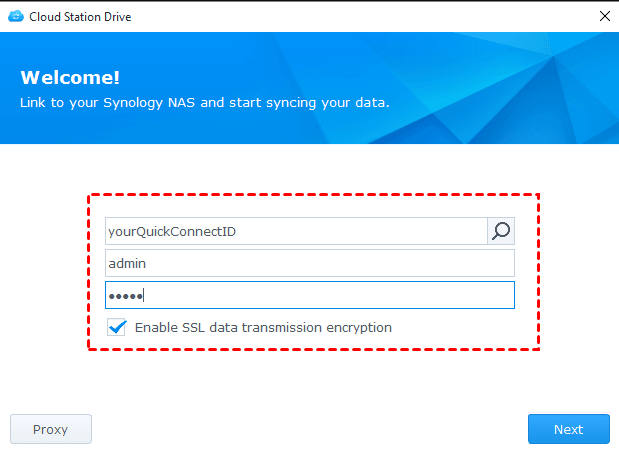
2. Input the Synology NAS address, username, password and then click Next.
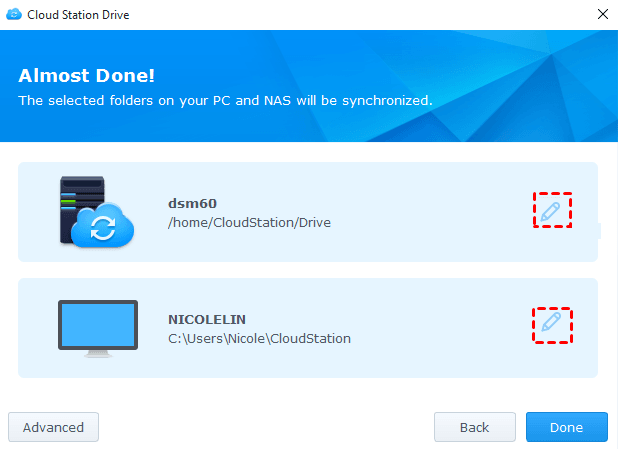
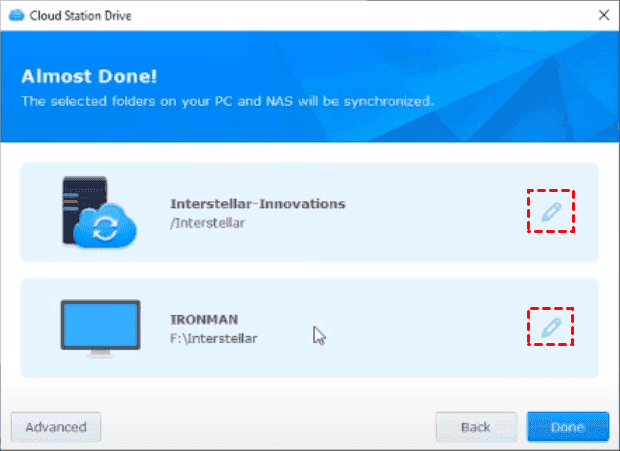
3. Select folders for Synology sync folder with PC.
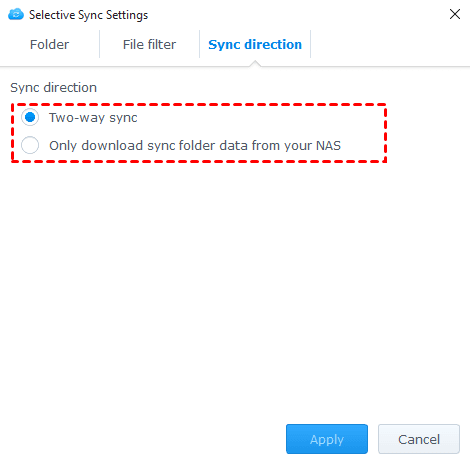
4. To configure sync settings, click the "Advanced" button. You will have three options to choose from:
- Folder: The feature allows you to perform selective folder sync by unchecking the folders you don't want to sync. This means you can choose which folders to sync and which to exclude, giving you more control over the sync process.
- File filter: The feature allows you to prevent certain files from syncing by setting a maximum file size limit, or by excluding files based on their names or extensions.
- Sync direction: The feature allows you to sync folders from a Network-Attached Storage (NAS) to another location, or sync between two locations, such as two folders, two NAS, etc.
5. Once you've completed the setup process, click the "Done" button to finalize the installation. The application will then be displayed in the system tray, indicating that it's ready to use.
Sync Local Folder to Synology NAS
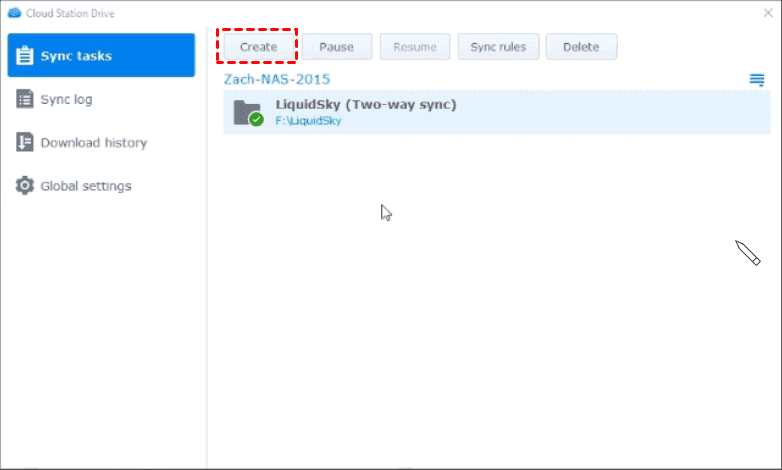
1. Click Cloud Station Drive in the system tray and Main app to launch it. Then, go to Sync task and click + Create.
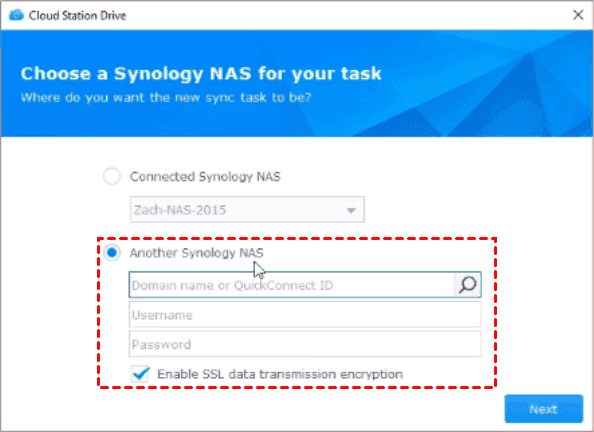
2. To set up the connection with your Synology NAS, follow these steps:
3. Select the local computers folders and destination folder on your Synology NAS. You can also configure selective sync settings by clicking Advanced. Then, click Done to mirror folder to Synology NAS.
Syncing folders between your local computer and Synology NAS is a straightforward process. Once you've set up the sync, any changes made to either folder will be automatically reflected in the other. This means you can work on files in either location and know that the changes will be synced across both.
Syncing shared folders to Synology NAS is a convenient way to keep your files up-to-date across multiple devices. With Cloud Station ShareSync or Shared Folder Sync, you can easily sync shared folders between two Synology NAS devices.
Powerful Way to Run Synology Mirror Folder
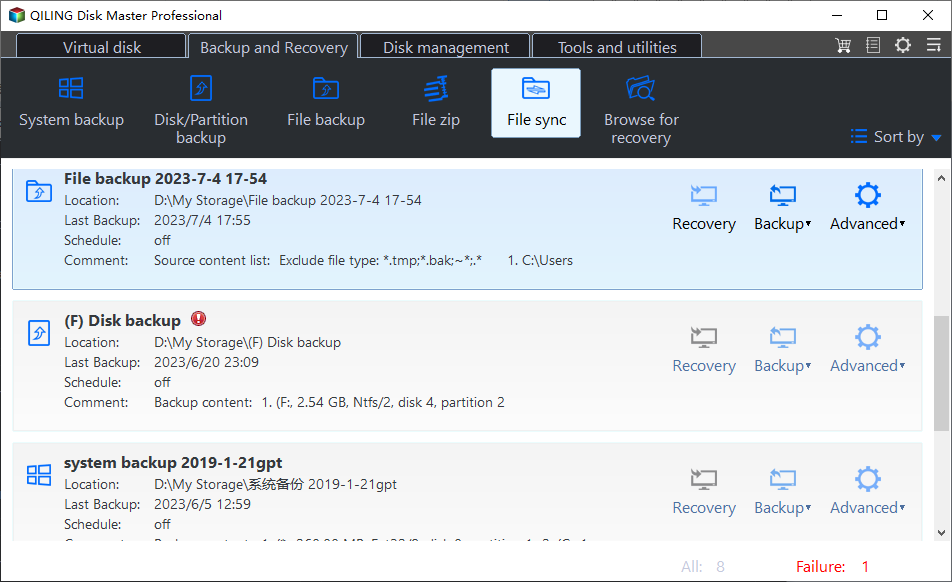
Qiling Disk Master Professional is a powerful file synchronization software that allows you to sync folders between your PC and Synology NAS. With its user-friendly interface and advanced features, you can easily sync your files in simple steps.
- Basic Sync: Sync files from one location to another, such as, local computer and Synology NAS. Also, you can perform Synology sync folder to external hard drive, USB drive, network drive, etc.
- Real-Time Sync: Sync files in real-time if there are any changes in the source location.
- Mirror Sync: Sync files and avoid any unwanted changes in the destination location, such as, modify files or add new file.
- Two-way sync: Unlike the previous 3 sync methods, this way will sync changes from one to another once there is any change in one location.
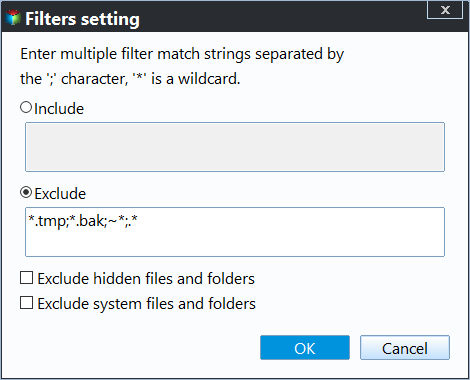
Qiling Disk Master Professional offers advanced features to customize file sync according to your specific needs. Here are some of the ways you can tailor your file sync experience:
To get started, please download the Qiling Disk Master Professional and do Synology mirror folder with it. For server users, try Qiling Disk Master Server.
To automatically sync two folders to your Synology NAS in Windows 7/8/10/11, follow these steps:
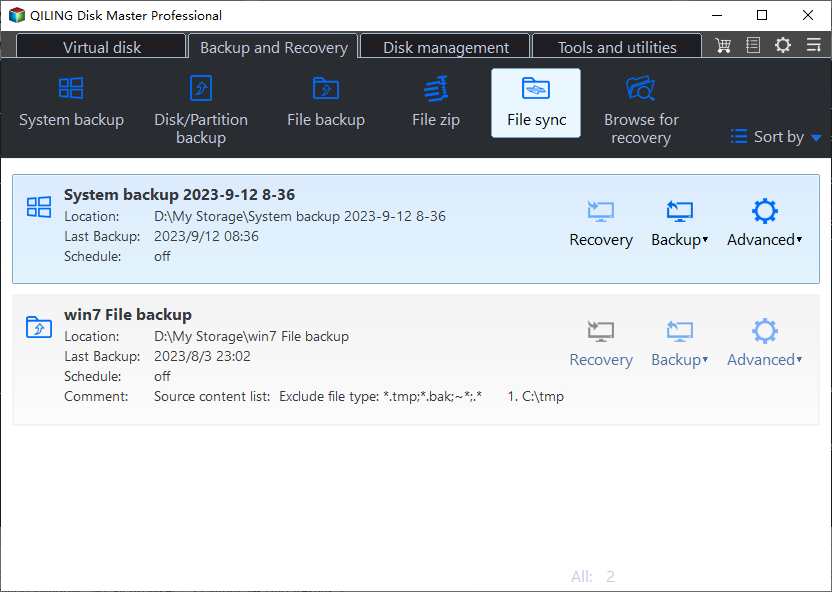
1. Start Qiling Disk Master Professional after installing, select Backup and recovery tab at the left side, and choose File Sync option afterwards.
2. Click Folder to choose local computer folders to sync. Change Task Name if required to differ from others.
3. To automatically sync two folders to your Synology NAS in Windows 7/8/10/11, follow these steps:
4. Tap the inverted triangle icon > Add Share or NAS Device, then type network path (IP address) and select Synology shared folder to save the synced files and folders.
5. Click Options to comment the task, check the file or folders integrity on the target while syncing, etc. Then, press Proceed >> button to automatically sync folders to Synology NAS.
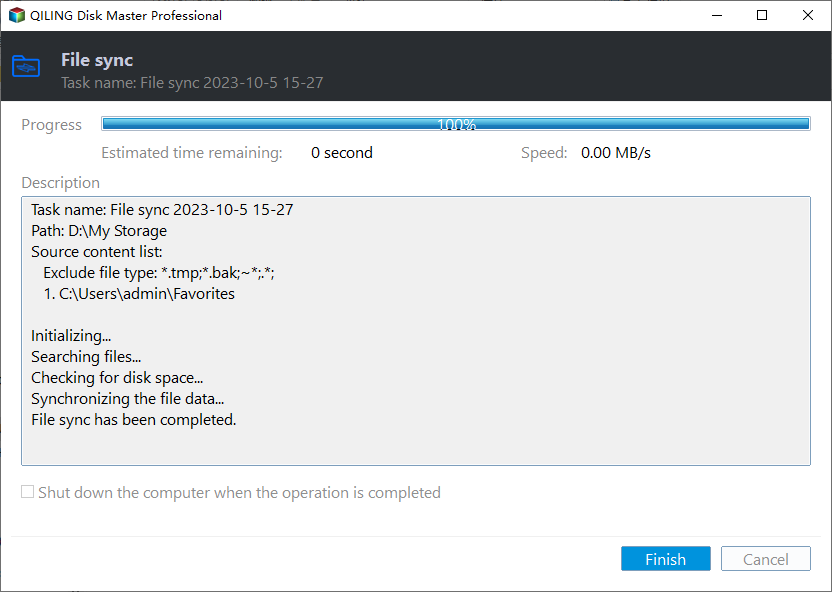
The first time you perform the real time file sync, the program will sync all files and folders to Synology NAS, and then immediately sync the changed part to destination upon the changes happened.
If you would like to delete files and folders on the target location that do not exist in source location on a regular basis, please try Mirror Sync with Schedule Sync option. This software also allows you to Synology sync folders on the same NAS.
★ Bonus tip: backup files/folders to Qiling Cloud
Wrapping Things Up
Synology mirror folders is just a piece of cake for Synology data replication tool and Qiling Disk Master Professional. Moreover, you could sync Synology NAS to another NAS easily, sync local folders to OneDrive/Google Drive/Box, sync offline files in Windows 10, etc.
Qiling Disk Master is a powerful tool that goes beyond just file synchronization. It's also a hard drive cloning software that offers a range of features to help you manage your data and upgrade your storage.
Syncing files and folders between Windows servers can be a complex task, but with Qiling Disk Master Server, it's easier than ever. This powerful tool allows you to sync files and folders between multiple Windows servers, making it a great solution for businesses and organizations with multiple servers.
Related Articles
- Synology Replication between Two NAS (2 Ways Included)
- How to Free Backup Windows 7/8/10 Data to Synology NAS
- How to Backup Synology NAS to External USB Drive in Windows
- Easy Steps to Backup NAS to External Hard Drive
