Prime USB Drive Sync Software for USB Auto Sync in Windows
How do I sync my USB drive?
A USB flash drive is a portable storage device used to store files, data backups, and even create a WinRE USB for system repair.
I have a lot of files on my computer and I want to sync them with my flash drive. I want to sync the files on my computer with the files on my flash drive, and vice versa. How can I do this?
You carry a USB drive with work data, plug it in at work, and then copy the contents to your PC at home as a backup.
Yes, there are software options available that can sync the contents of a USB drive to your PC on demand. Some popular choices include SyncToy, RoboCopy, and FreeFileSync. These tools allow you to set up automatic synchronization, but also provide the option to manually sync the contents of the USB drive to your PC whenever you need to.
Transferring files between a computer and flash drive can be a tedious task, especially when files are frequently updated. To automate this process, specialized USB flash drive sync software can be used, allowing for automatic syncing of files without the need for manual copying and pasting.
Best USB drive sync software for Windows
Qiling Disk Master Professional is a reliable file sync software for Windows operating systems, providing a trustworthy solution for users.
- With the Sync feature, you can synchronize files from your PC to USB drives, SD cards, network-shared folders, NAS devices, and vice versa.
- The Schedule Sync feature allows you to set a file sync task to run at fixed intervals, with five schedule modes to choose from: Daily, Weekly, Monthly, Event triggers, and USB plug in.
- You can use "USB plug in" to automatically run a task when a USB drive is connected, making it easy to sync data.
- In addition to the Sync feature, you can also backup files on a USB flash drive with File Backup and Cloud Backup features.
Download Qiling Disk Master now and learn how to auto sync files from a USB drive to PC when the drive is plugged in, making your workflow more efficient.
How to automatically sync a USB drive when plugged in
It is recommended to permanently assign a drive letter for the USB drive to make the program easily recognize it every time it is connected to the same computer. To auto sync files from a USB drive to PC when plugged in, follow these steps:
1. Plug in the USB flash drive to your computer, verify that it is recognized, and assign a drive letter to it.
2. Install and run Qiling Disk Master. Click Sync on the left pane and select Basic Sync.
✌ There are other three sync modes offered for you:
🔍 Mirror Sync: This command ensures that the destination directory remains identical to the source directory by deleting any files in the destination that are not present in the source.
🔍 Real-Time Sync is a feature that automatically syncs any changes made in the source directory to the destination directory in real-time.
🔍 Two-Way Sync: The script will synchronize changed files from the source directory to the destination directory, and vice versa, ensuring that both locations have the same updated files.
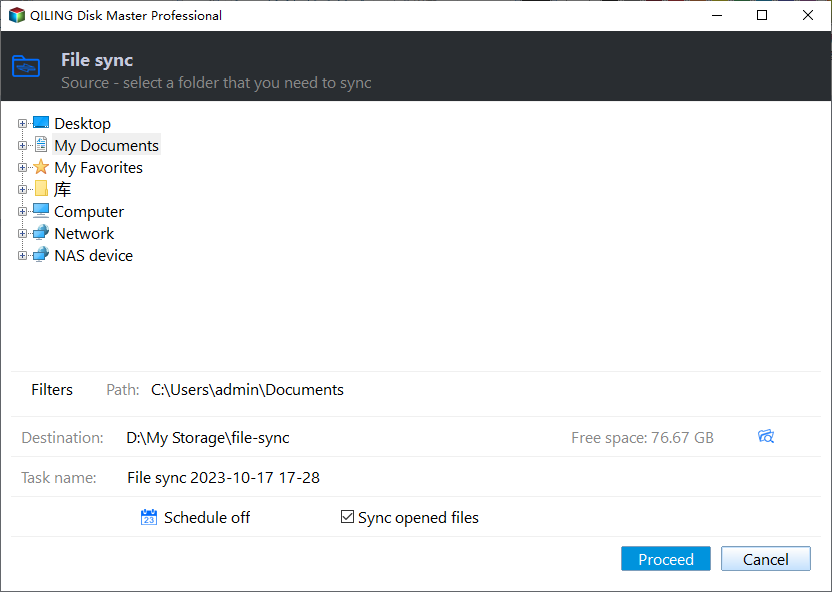
3. Add a Sync Task to select the folder/folders on the USB drive that you want to sync, so it can be distinguished from other sync tasks. Click Add Folder to proceed.
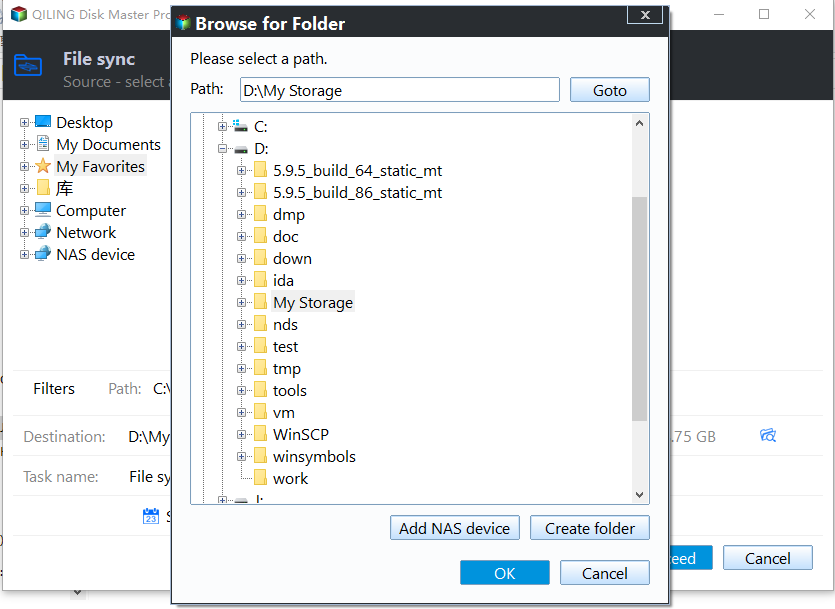
4. Click the folder shaped button in the second column to select a local disk as the destination path.
5. To schedule a sync, click Schedule Sync at the bottom, select Enable Schedule Sync in the pop-up window, choose USB plug in from the drop-down list, and decide whether to run the task once daily or not, then click OK.
6. To complete the operation, click "Proceed" and then "Add the schedule and Proceed now". Once the operation is finished, safely disconnect your USB drive.
✍ Notes:
- Options: You can add a comment to your sync task to clarify the specific sync contents and also enable email notification for it.
- Don't modify the source folder name after doing file sync, or the program will not be able to synchronize it anymore.
Summary
Qiling Disk Master is a USB drive sync software for Windows that automatically syncs files from/to a USB drive once it's plugged in, and also offers backup and restore features for system, disks, or partitions.
Related Articles
- Sync Files between Computer and Flash Drive via Easiest Freeware
- Auto Sync Files to External Hard Drive with Best Free Tool
- How to Backup Files on USB Flash Drive Windows 10/8/7
- Guide | Backup Windows 7 to NAS like Synology [3 Free Ways]
Backup Windows 7 to NAS like Synology is a good way to protect your OS or important files. In this post, I'll introduce 3 ways to implement it for free.


