How to Downgrade Laptop from Windows 10 to Windows 8.1/7?
Downgrade laptop Windows 10 within 30 days
Windows 10 provides an option to downgrade laptop from Windows 10 to Windows 8.1 or Windows 7. If Windows 10 has any issues, or you somehow just happen to hate it, you click the button "Go back to Windows 8.1or 7". That is really convenient. However, this button is only available for a month after you upgrade to Windows 10. Here are the steps to go back:
- Click on Start button and select Settings to open the Settings application.
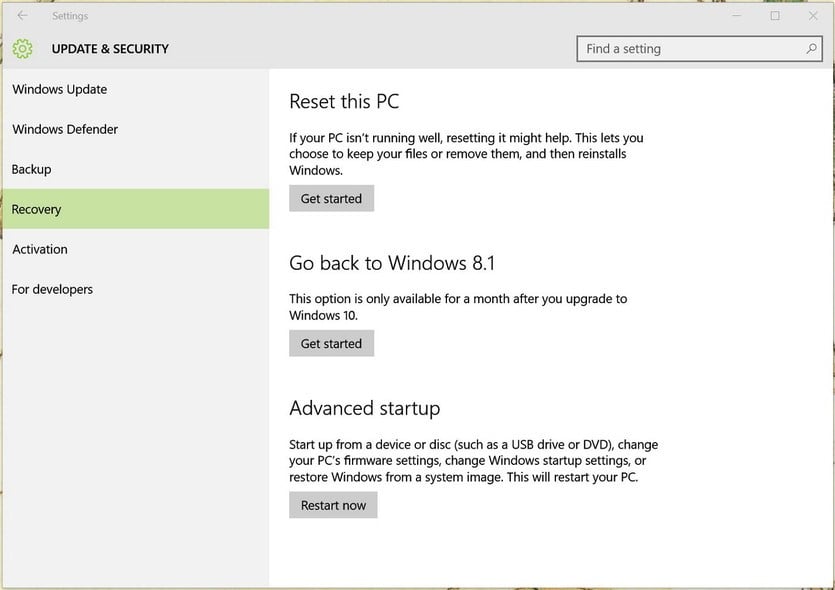
- Navigate to Update & security, and then click Recovery.
- Under the option "Go back to Windows 8.1 or 7", just click the option "Get started".
- At next screen, write something about why want to rollback to previous version of Windows, and then click a few Nexts to continue.
- At last, click on the button "Go back to Windows 8.1 or 7", and wait for the process to finish.
The process will take one hour or two depending on how much data on your Windows.old folder.
Downgrade laptop Windows 10 after 30 days
A Windows 7 or Windows 8.1 laptop will create the Windows.old and $Windows.~BT and $Windows.~WS directories after upgrading to Windows 10. All the data on the previous version will be saved in the Windows.old folder. After 30 days running Windows 10, these folders will automatically be deleted, resulting in the option "Go back to Windows 8.1or 7" missing. In order to rollback after 30 days, you can rename these folders or back them up to other location keeping their original names. Of course, this has to be done within 30 days.
When you need to revert to windows 8.1 from windows 10, you can change these folders' names to their original names or restore them to the original location. Then change the date and time of your computer to a date that is with the 30-day period. Finally, you should find the "Go backup to Windows 8.1 or 7" option available again under Settings > Update & Security > Recovery.
Theoretically, this will work, but if it fails, you can reinstall Windows 8.1 or 7, and then recover the data back from the Windows.old folder.
More convenient way to downgrade
To have an easier and securer way to rollback laptop to Windows 8.1 or Windows 7, you can create a system backup with a freeware Qiling Disk Master Standard before upgrading to Windows 10. Qiling Disk Master comes with an intuitive interface, so you can back up or restore to the previous version of Windows effortlessly. With Qiling PXE boot tool or bootable media, you can restore your system even when your computer fails to boot. To go back to previous Windows with Qiling Disk Master:
- Install and open Qiling Disk Master or boot your computer from the bootable media. Both ways will bring you the Qiling Disk Master interface.
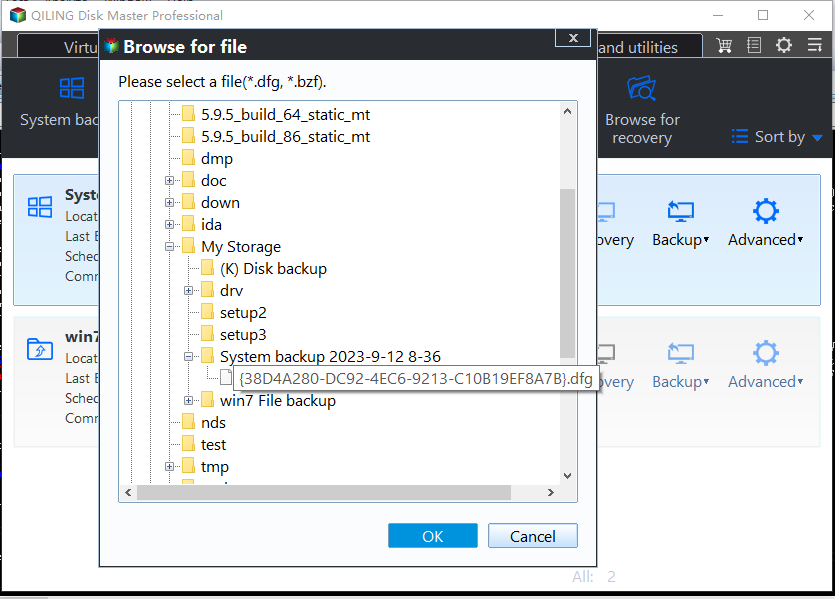
- Click on "Backup and recovery" tab, and click "Select Task" or "Browse for recovery" to select the system image backup that you created before upgrading to Windows 10.
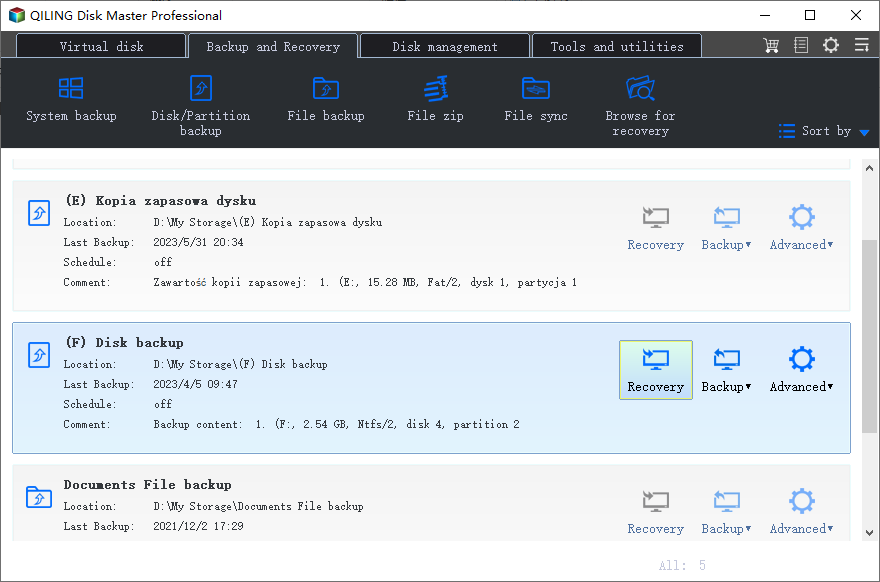
- Select a backup image and click the "Next" button to recover your system to the point in time the backup was taken.
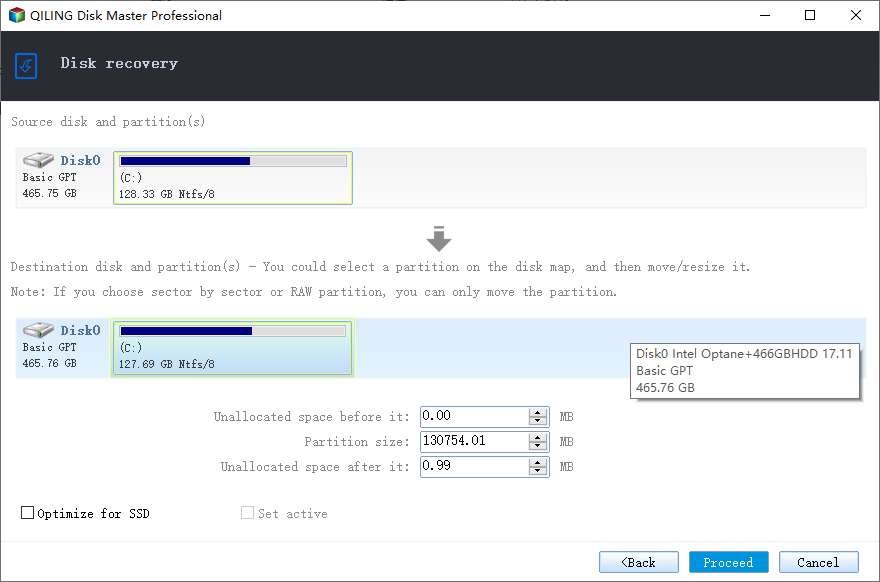
- Choose to restore the entire image or part and click "Next".
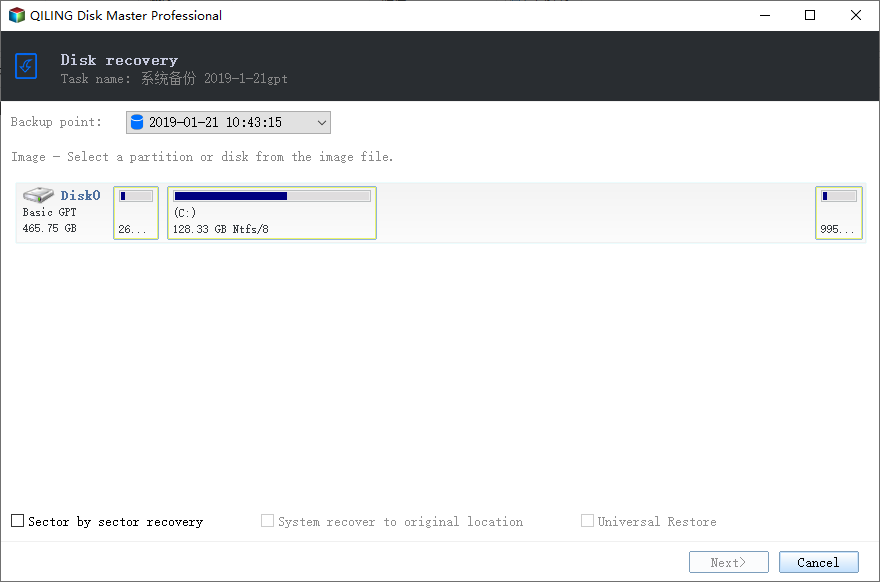
- In the "Operation Summary" page, preview the operation that will be executed. Then, click "Proceed". Wait for the process to complete, and then click Finish.
Conclusion
All in all, with Qiling Disk Master, you can downgrade laptop from windows 10 to windows 8.1 or 7 with a few clicks at any time. Besides, it also support dissimilar hardware restore, system clone, file sync and many other useful features.
Related Articles
- Top Two Ways to Do Lenovo Yoga 300/720 Factory Reset
Lenovo OneKey Recovery, Reset this PC or Qiling Disk Master can help you factory reset Lenovo Yoga/Thinkpad/Ideapad, the previous two option can bypass entering password while the last one applies to all branded computers. - One Click Backup System with 1 Click Backup Software
This article will introduce you to Lenovo OneKey Recovery, Asus Backtracker, and Qiling Disk Master, the best 3 software for one click system backup, and how to use it. - How to Restore an EEE PC Notebook to Factory Settings (2 Ways)
Restoring ASUS EEE pc to factory settings is a good choice when you have trouble with your computers. Try Asus System Recovery or Qiling Disk Master. - Easy Way to Transfer Windows System to Different Computer
How to transfer system to different computer? This article is a tutorial, with Qiling Disk Master, the whole transferring process is easy and safe.