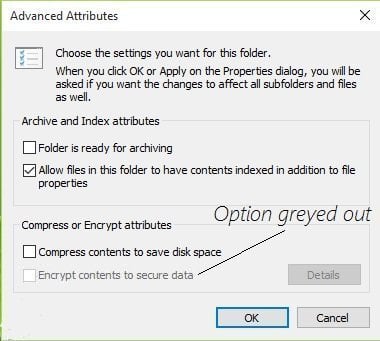
Fixed: Encrypt Contents to Secure Data Greyed Out Windows 10
What is "Encrypt contents to secure data" option?
Windows 10 comes with Encrypting File System (EFS) feature which enables you to encrypt a specific folder or drive. This is especially useful when you want to keep some data private and only accessible from your Windows account.
👉 How to encrypt a folder in Windows 10
- Right-click a file or folder and select Properties.
- Select the Advanced button in the Attributes section and select the Encrypt contents to secure data check box.
- Select OK to close the Advanced Attributes window, select Apply, and then select OK.
👉 Why is "Encrypt contents to secure data" greyed out?
You may encounter "Encrypt contents to secure data" is disabled in Windows 10/8/7 sometimes so that you cannot proceed to encrypt the data.
This problem usually arises due to misconfigured registry values and may occur to anyone. But don't worry, try the following solutions to fix it!
How to fix "Encrypt contents to secure data" greyed out
When the "Encrypt Contents To Secure Data" option grayed out in Windows 7/8/10, as above mentioned, you can reset registry values. Generally speaking, there are two methods that may be helpful to make it work again:
👉 Method 1: Enable EFS Using Windows Registry
👉 Method 2: Enable EFS using Command line
👉 Further reading: a better way to keep data safe🔥
Method 1: Enable EFS Using Windows Registry
The encryption option may be grayed out because some registry values are not set properly. To resolve this, follow the steps below.
1. Press Windows + R to open Run dialog and type "regedit" in it to open Registry Editor window.
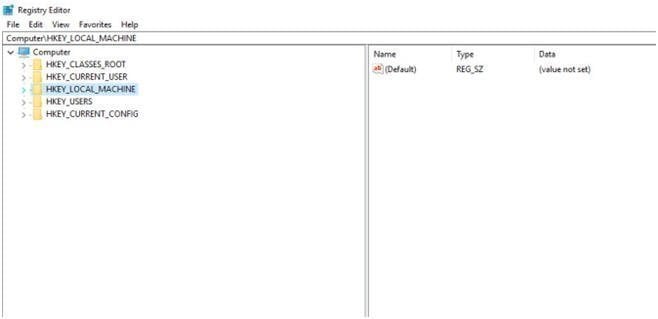
2. Now move into following entry in the Registry Editor window.
HKEY_LOCAL_MACHINE\System\CurrentControlSet\Control\FileSystem
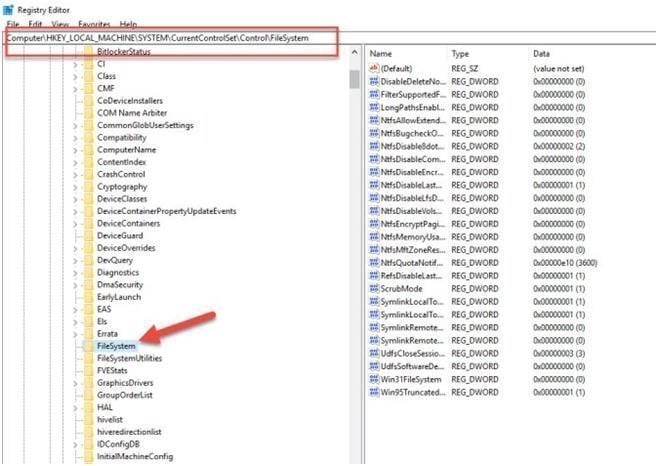
3. Expand File System key to right-hand window, and look for the key named NtfsDisableEncryption. Double click on it, and set its value to 0.
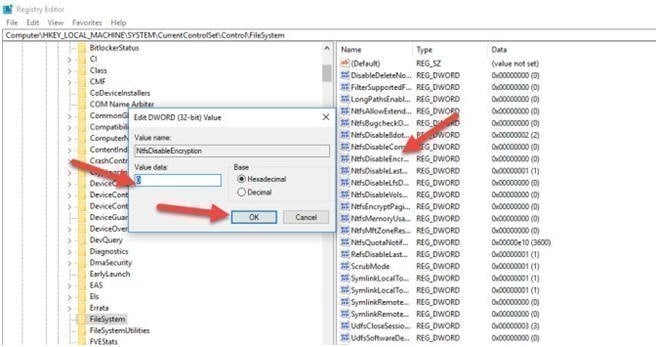
4. Click OK to save the settings. Go back to the folder which you want to encrypt and click "Properties\Advanced\Advance Attribute" option. The option of encryption will no longer be grayed out.
Method 2: Enable EFS using Command line
You can also use Windows Command line to make the encryption option available to you for any of folders on your machine. You just have to run a simple and easy command. And your problem will resolve quickly. To do this, go with few below steps.
1. Open Command Prompt window as an administrator. Press the following command in it and hit Enter key.
fsutil behavior set disableencryption 0
*This command means to set NtfsDisableEncryption value to 0.
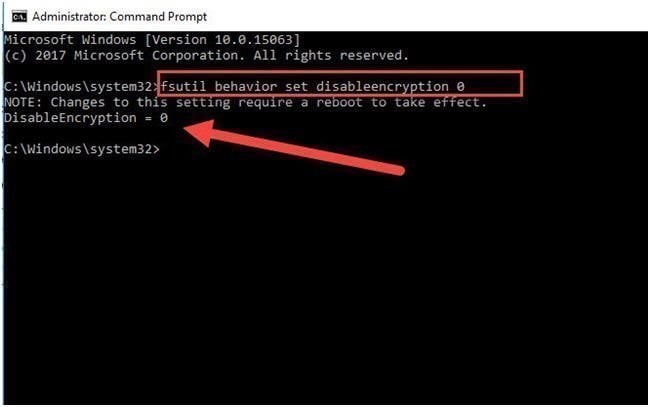
2. If the command runs successfully, it will ask you to reboot your system to apply the changes. After rebooting, the encryption option will be available for you in Properties of any folder.
With these simple solutions, you may use Encrypting File System again to encrypt specific files or folders. However, Encrypting File System is not available for Windows 10 Home edition, and it's not the most secure way to protect really important or sensitive data.
Further reading: a better way to keep data safe
To protect data security, file and folder encryption is only a small part. If you delete your file or folder by mistake or encounter a critical failure, simple files & folders encryption may not be enough. There is also a good and commonly used way, that is to make a backup of your important data.
It would be great to have a solution that combines backup and encryption - this will provide you with double protection. Qiling Disk Master Professional is exactly the software that you are looking for.
- It allows you to back up files, partitions, operating system, and disk to various locations, such as external hard drives, network share, or cloud drives.
- It enables you to encrypt backups to secure your data. Also, it does not have limits like EFS.
- It applies to all editions of Windows (Win 11/10/8.1/8/7/XP/Visa).
- There are many other useful features, like scheduled automatic backup, file filter, backup compression, old backups auto deletion, etc.
Let's take a look at how to encrypt files in Windows 10 while creating a backup.
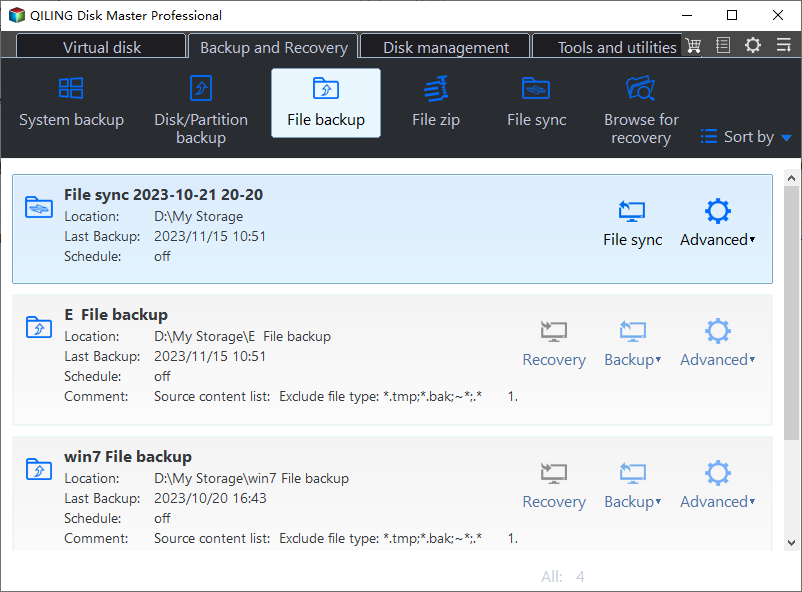
1. Download Qiling Disk Master and open the software. Select a backup type under the Backup tab. Click File Backup feature.
2. Set the source by clicking Files or Folders to select the destination path respectively.

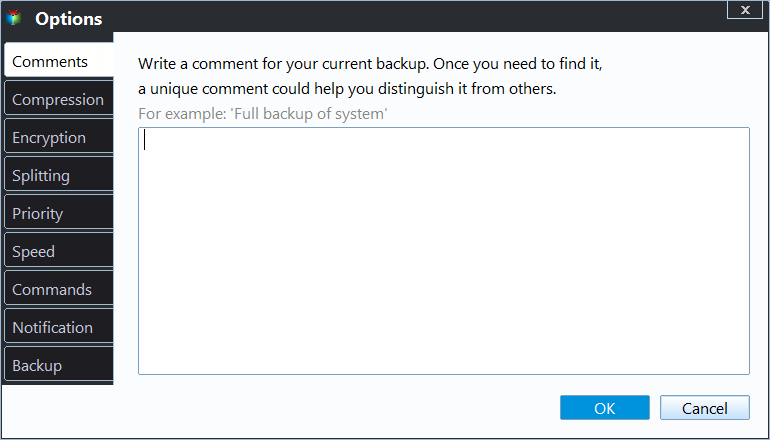
3. Click Options at the bottom and toggle on the Enable encryption for backups option in General tab. Then type the password and confirm the password.
To save disk space, you can set the compression level in the Advanced tab of Backup Settings.
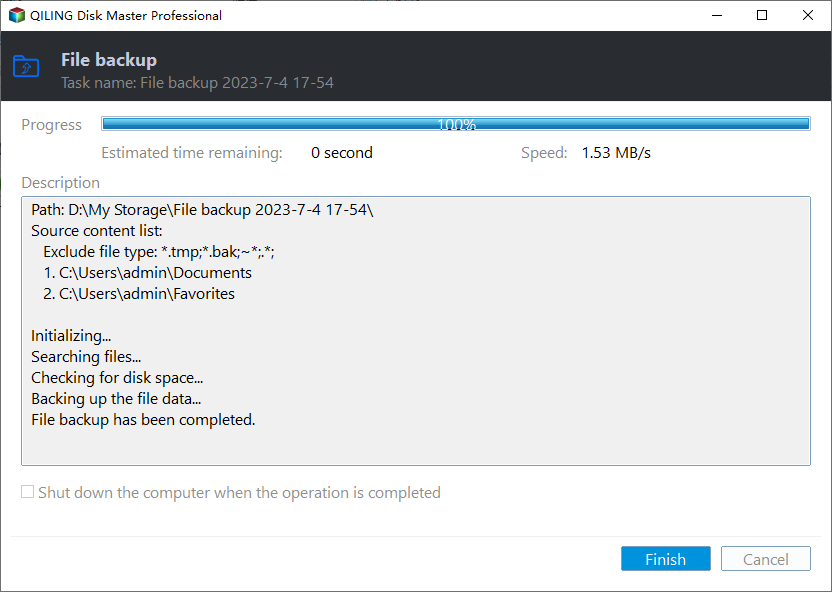
4. After confirmation, click Proceed to execute the task.
Schedule Backup: Set up auto backup on basis of Daily/Weekly/Monthly/Event triggers/USB plug in.
Backup Scheme: Create a backup scheme to automatically delete old backups and always keep the latest one(s). You can also choose to perform incremental or differential backups to save only changed files.
Tips:
- If you already have encrypted files or folders and you want to make a backup of this file/folder, you may fail because you cannot access this drive. However, Qiling Disk Master can make it.
- If you want to backup files to cloud drives, but with a few GB of free space, you could consider using Qiling Cloud. It's a cloud drive released by Qiling Tech and offers you 1TB free storage from the time you sign up until 15 days.
- Qiling Disk Master is still the best C drive clone software. You can use it to clone C drive to a larger SSD or HDD.
Conclusion
Qiling Disk Master is designed for your data security. Encrypt contents to secure data greyed out in Windows 10/8/8.1/7 is no longer an issue with the help of Qiling Disk Master. By setting encryption during a backup, you can rest assured that your data is double protected by it. Qiling Disk Master is embedded with VSS technology which allows you to perform VSS backup without interrupting. It is also a professional USB duplication software. You can clone your USB drive to another drive.
If you want to protect unlimited computers within your company, you can pick Qiling Disk Master Technician. With the inbuilt Qiling Image Deploy tool, you are also allowed to deploy/restore system image file on server-side computer to multiple client-side computers over network.
Related Articles
- Windows Server Backup Encryption – Double Protection for Your Data
You can set Windows Server 2008/2008 R2/2012/2012 R2/2016/2019/2022 backup encryption using BitLocker or third-party backup software - Qiling Disk Master. - Set Windows 10 Backup Encryption to Protect Data Easily
Looking for a way to perform Windows 10 backup encryption? Here you'll see how to password protect Windows 10 backup easily and efficiently. - File History Cleanup – Delete Older Versions in Windows 10/8
You will get 3 ways for File History cleanup and one professional software to prevent backup disk full issues.