How to Run Automatic File Backup in Windows 10 (2 Free Ways)
Quick Navigation:
- Why to backup files in Windows 10?
- What files should be backed up?
- How to automatically backup files in Windows 10
- Qiling Disk Master vs. File History
- To sum up
Why to backup files in Windows 10?
We often save various files on our PCs, such as working documents, cherished photos, and favorite music. These files hold significant value to us, but they can be lost due to various reasons.
- The computer is experiencing a critical malfunction, such as a system crash or hard drive failure.
- You can delete files by using the keyboard shortcut Shift + Delete or by deleting them from the Recycle Bin.
- Virus attack…
Losing files unexpectedly can be frustrating, and to prevent data loss, creating file backups in Windows 10 is essential. However, manually running backups after each change can be time-consuming and inefficient, especially with new files being added and old ones modified frequently. To avoid this hassle, an automatic file backup solution is necessary.
What files should be backed up?
You should regularly back up the following files in Windows 10 to ensure important data is safe: User files, system files, registry, and program files. This is crucial for maintaining system stability and ensuring that your data is recoverable in case of a system failure or hardware malfunction. By backing up these files, you can prevent data loss and ensure business continuity.
- User folder: it includes Desktop, Downloads, Documents, Music, and Pictures, etc.
- Program files: After installing certain applications, backup files are generated to help you restore the apps without reinstalling them. These files are created to ensure a smooth recovery process in case something goes wrong or you need to reinstall the software.
- Important files you save on other internal drives.
Then, how to perform auto backup files in Windows 10? Please move on to the next part.
How to automatically backup files in Windows 10
Here I'm going to show you two efficient ways to run automatic Windows 10 file backup. Two tools will be used. One is a powerful backup freeware, and the other is Windows built-in tool File History.
Way 1: Auto backup files in Windows 10 via a handy freeware
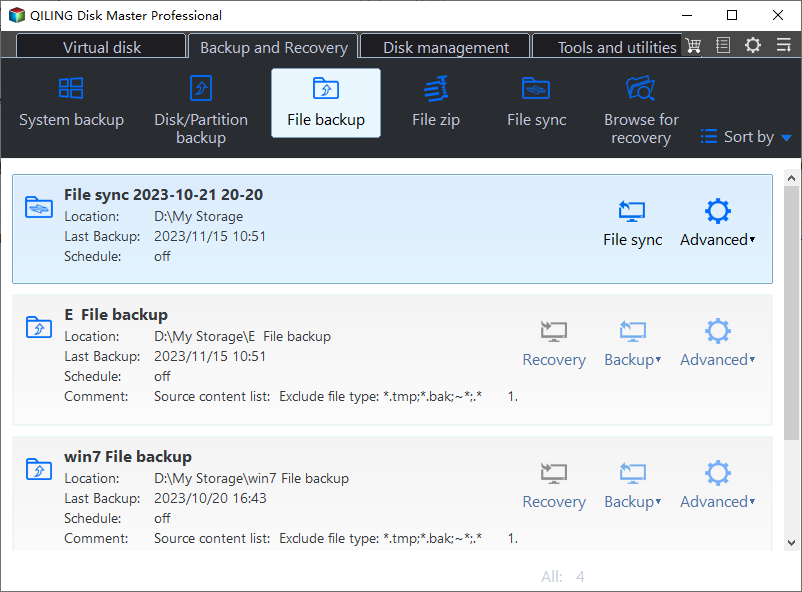
Qiling Disk Master Standard offers full backup solutions, including System Backup, Disk Backup, Partition Backup, File Backup, and �loud Backup. You can also use the Sync feature to backup files in Windows 10. The key difference between File Backup and Sync is that File Backup creates an image file for the backed up files, while Sync copies those files to another place directly.Cloud Backup. You can also use the Sync feature to backup files in Windows 10. The key difference between File Backup and Sync is that File Backup creates an image file for the backed up files, while Sync copies those files to another place directly.
To automatically run the backup/sync task on your Windows PC, you can utilize the Schedule feature in Qiling Disk Master, which supports all Windows operating systems from Windows 11 to XP, including Windows 10, 8.1, 8, 7, Vista, and XP.
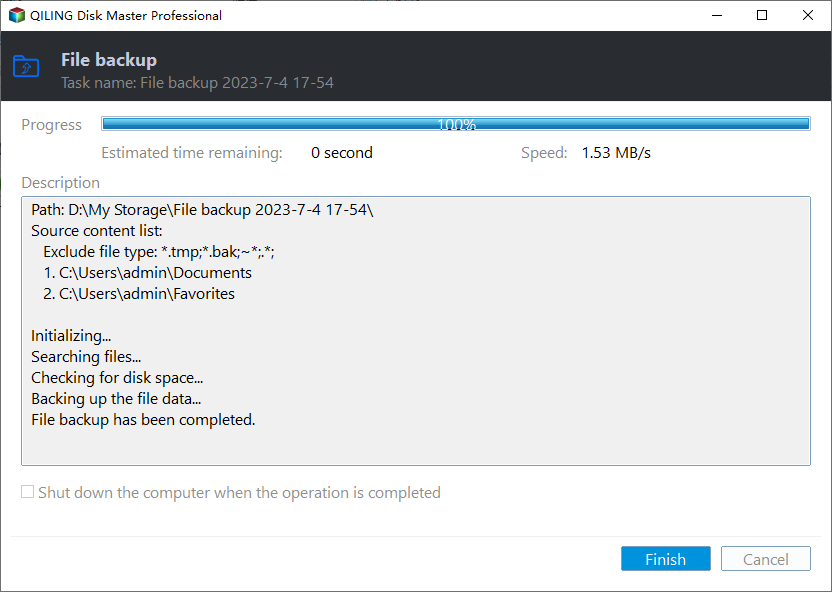
Step 1. To use Qiling Disk Master, download, install, and launch the software. Then, click on the "Backup" option and select "File Backup" from the menu.
Step 2. Click on the task name to give it a specific name, then click on the "Files" or "Folders" option to select the files or folders you want to backup.
Step 3. Choose a location to save the image file, such as a USB drive, external hard drive, NAS device, or network share.
Step 4. To schedule a backup, click on "Schedule Backup" at the bottom of the page. This will open a pop-up window where you can set the frequency of the task to run, such as daily, weekly, or monthly.
Tips:
Schedule Backup: There are five schedule modes to choose from: Daily, Weekly, Monthly, Event triggers, and USB plug in. Upgrading to a higher edition will also give access to the last two modes.
Backup Scheme: Here, you can select the backup method: Full Backup, Incremental, or Differential Backup. The latter two options can help save disk space on the target disk. The �ro version also allows for auto-cleanup, automatically deleting old image files to free up disk space.pro version also allows for auto-cleanup, automatically deleting old image files to free up disk space.
Step 5. Confirm the operation and click "Proceed".
>> Options: You can enable email notification, compress backups, or split them in various ways here.
Note: To retrieve lost files from the backup you've created, you can perform file restore.
Way 2: Backup files in Windows 10 with File History
To set up your first File History backup, follow these steps: File History, the primary backup software for Windows 10, takes regular backups of your desktop, documents, music, photos, and other files contained in your user folder.
- To connect an external drive to your computer, first ensure that the drive is properly plugged into the computer's USB port. Next, check the computer's file explorer or disk management utility to verify that the external drive is being detected.
- To back up your Windows 10 device, open the Settings app and go to Update & Security > Backup.
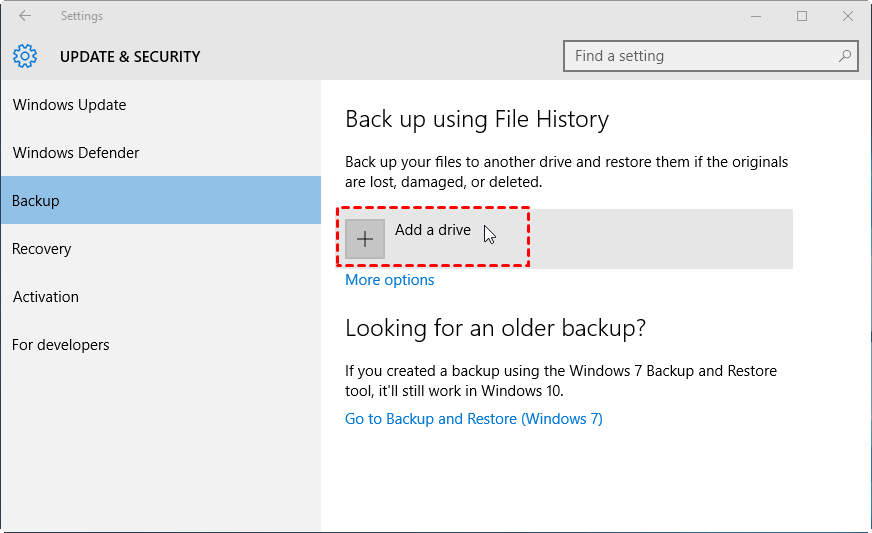
- To add a drive to the File History backup, click on "Add a drive" under the "Back up using File History" section. Then, select the drive that is connected to your computer from the list of available drives.
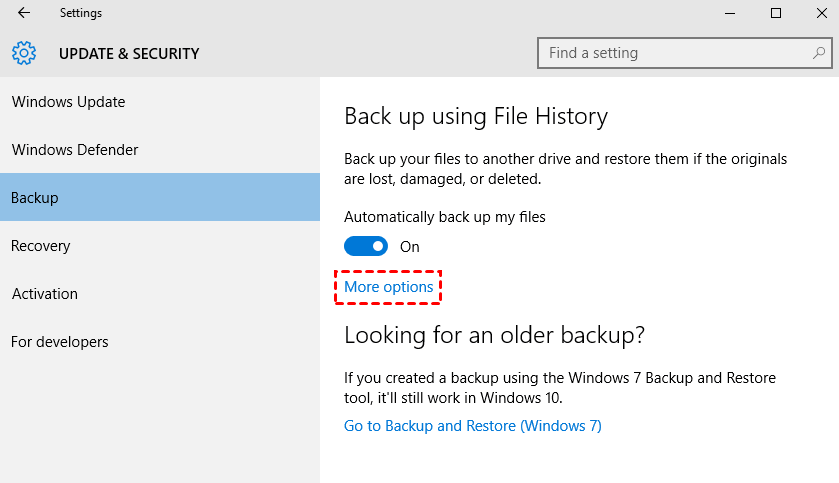
- The "Automatically back up my files" heading will be displayed with the switch turned on by default. To view additional options, click on "More options" under the switch.
- In the "Backup options" window, click Back up now to run your first backup.
Tips: You can customize your backup settings based on your needs, such as choosing the frequency of backups, how to store them, and which folders to include or exclude.
Qiling Disk Master vs. File History
When it comes to backing up files in Windows 10, both Qiling Disk Master and File History are viable options. However, they serve different purposes: Qiling Disk Master is primarily a disk management tool that can also perform backups, while File History is specifically designed for backing up and restoring files. If you need a one-stop-shop for disk management and backup, Qiling Disk Master might be the better choice. On the other hand, if you're looking for a more straightforward file backup solution with automatic scheduling and versioning, File History is likely the way to go.
1. Backup destination
File History can only backup to external hard drives or network locations, whereas Qiling Disk Master supports backups to all types of drives, including internal ones.
2. File type
Unlike File History, which can only backup entire folders, Qiling Disk Master supports both folder-level and file-level backup, offering more flexibility and control over the backup process.
If you need to backup to internal drives or specific files, use Qiling Disk Master instead.
To sum up
You have learned two efficient ways to run automatic file backup in Windows 10. Choose one way that suits your needs best. Qiling Disk Master is not only a backup utility but also a hard drive transfer software, allowing you to clone HDD to SSD or clone SSD to a larger SSD, among other functions. You can get this tool and explore more features.
Related Articles
- Backup Specific Folders That Change Often in Windows 10
- How to Delete Backup Files in Windows 10 When Backup Disk Full?
- How to Backup Windows 10 Computer to External Hard Drive (Fastest)?
- How to Backup Windows 10 for Fresh Install
Do you need to fresh install Windows 10 but do not want to lose all data? This article will show you how to backup Windows 10 for fresh install step by step.


