File Transfer Stops/Freezes in Windows 10 | Solved
- Need help: file transferring pauses/freezes
- How to fix file transfer stops in Windows 10 easily
- Solution 1: Disable antivirus software
- Solution 2: Run chkdsk on both disks
- Solution 3: Convert FAT/FAT32 to NTFS
- Solution 4: Transfer files in Safe Mode
- Easily transfer data with a free file transfer tool
- Verdict
🌟 Key Takeaways:
|
Causes |
Solutions |
|
🙁Transfer blocked by antivirus software |
|
|
🙁File system errors on the source or destination disk |
|
|
🙁File size limitation of a certain file system |
|
|
🙁Excessive CPU or RAM usage |
Need help: file transferring pauses/freezes
"I'm moving a large file from an SSHDD to an SSD. It will either crawl at kbps speeds, go up to 50mbp and max out at 260 before coming to a screeching halt. I'll wait a few minutes and it will repeat the cycle. Also does this on smaller files too.
The computer runs perfectly fine and explorer doesn't even crash. Any ideas?"
– Tenforums.com
It is not an uncommon issue that file transfer speed drops to zero in Windows 10. It happens when you transfer files between two internal hard drives, between an internal and external hard drive, or over a network, etc. You may wonder, "Why did my file transfer stop?" Following are the possible reasons:
- Transfer blocked by antivirus software
- File system errors on the source or destination disk
- File size limitation of a certain file system
- Excessive CPU or RAM usage
No matter which is your case, you can find the corresponding solution from the next part.
How to fix file transfer stops in Windows 10 easily
When you encounter file transfer freezes in Windows 10, the first thing you can do is to pause and resume or cancel and restart the transfer process. If it doesn't work, then try the solutions offered below.
 Qiling Disk Master
If you want a faster way to transfer a bunch of files, you can try the best free file transfer software for Windows PC.
Solution 1: Disable antivirus software
Sometimes antivirus software can prevent certain files from being transferred. In this case, you can disable antivirus software temporarily and enable it again after all files are transferred.
Solution 2: Run chkdsk on both disks
CHKDSK is a Windows utility that can check the integrity of your hard disk and fix various file system errors. You can run chkdsk on both the source and destination disk to fix Windows 10 file transfer stuck.
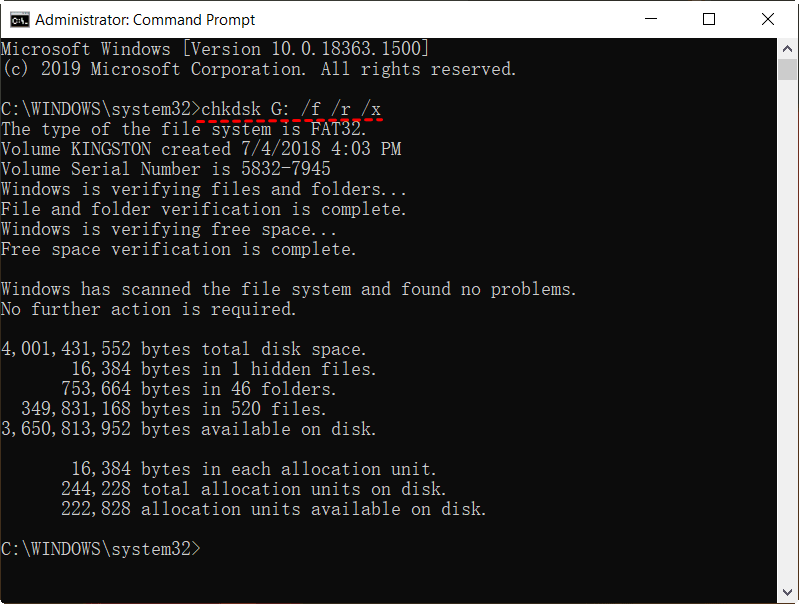
1. Type cmd into the search box. When Command Prompt shows up, click Run as administrator.
2. In the Command Prompt window, type chkdsk G: /f /r /x and press Enter. You should change "G:" to the drive letter of your source and destination disk.
Tips:
● The meaning of the parameters used: "/f" tells chkdsk to fix any errors it finds; "/r" tells it to locate the bad sectors on the drive and recover readable information; "/x" forces the drive to be dismounted before chkdsk starts a scan.
● If you are checking disk errors on C drive, you'll be asked to run a scan at your PC's next restart. Type y to confirm. Then, exit Command Prompt and restart your computer.
3. Close Command Prompt and start file transfer again.
Solution 3: Convert FAT/FAT32 to NTFS
If you are transferring files to a USB drive, you may encounter Windows 10 large file copy fails because of the size limitation. Please note that FAT only supports a file up to 2GB and FAT32 supports up to 4GB while NTFS supports up to 16TB. In this condition, you can convert a USB drive from FAT/FAT32 to NTFS.
1. Press Win + E keys to open File Explorer.
2. Right-click on the USB drive and choose Format.
3. In the pop-up window, choose NTFS from the drop-down list of File system and click Start.
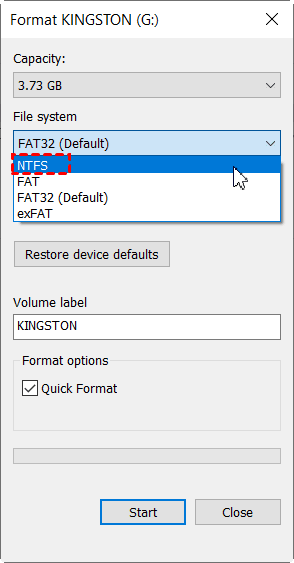
4. You will receive a warning of data loss. Click OK to begin converting to NTFS if you have already backed up important files. Finally, try file transfer again to see if it goes smoothly now.
Solution 4: Transfer files in Safe Mode
Safe mode starts Windows in a basic state, using a limited set of files and drivers. It can help you solve the "file transfer slow" problem caused by excessive CPU or RAM usage.
1. Choose Power from the Start menu. Hold down the Shift key and click Restart.
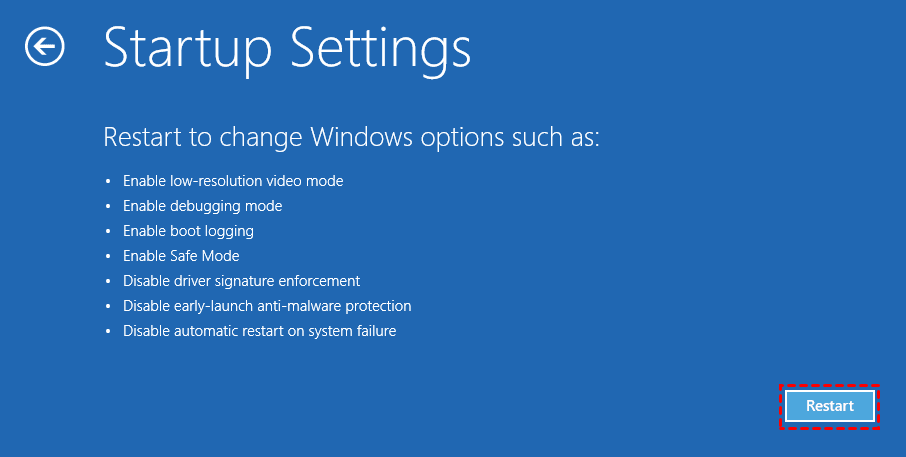
2. Click the option Troubleshoot > Advanced options > Startup Settings successively.
3. Under Startup Settings, click Restart.
4. Press 4 or F4 to choose Enable Safe Mode.
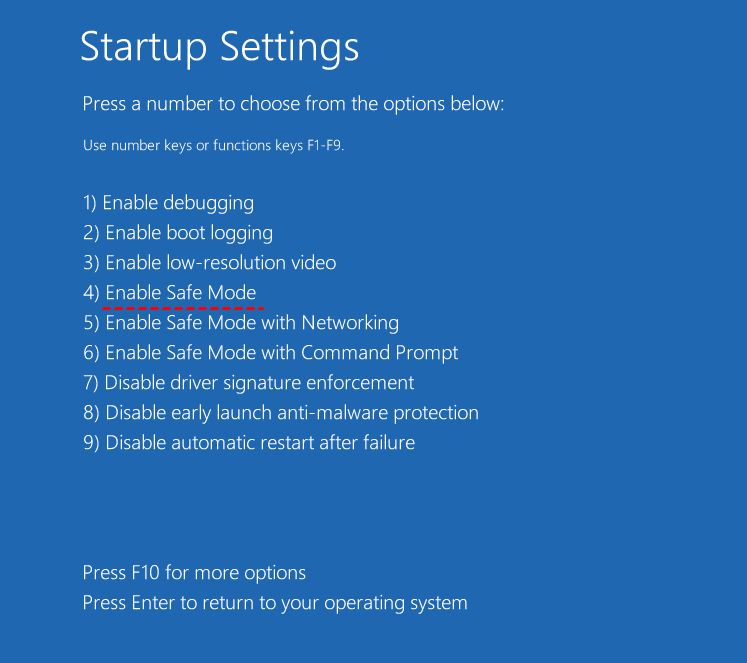
5. Log into Windows 10 Safe Mode with a user account with administrator permissions, and perform file transfer again.
Easily transfer data with a free file transfer tool
If you are tired of trying one solution after another, you can transfer files from one location to another with the best free file sync software – Qiling Disk Master Standard.
- It can help you transfer files between various locations, such as from PC to USB drive, from external hard drive to PC, or from laptop to desktop, etc.
- It enables you to update files automatically using the "Schedule Sync" feature.
- It runs well on Windows 11/10/8.1/8/7/Vista/XP.
Click the button below to download Qiling Disk Master and install it on your PC.
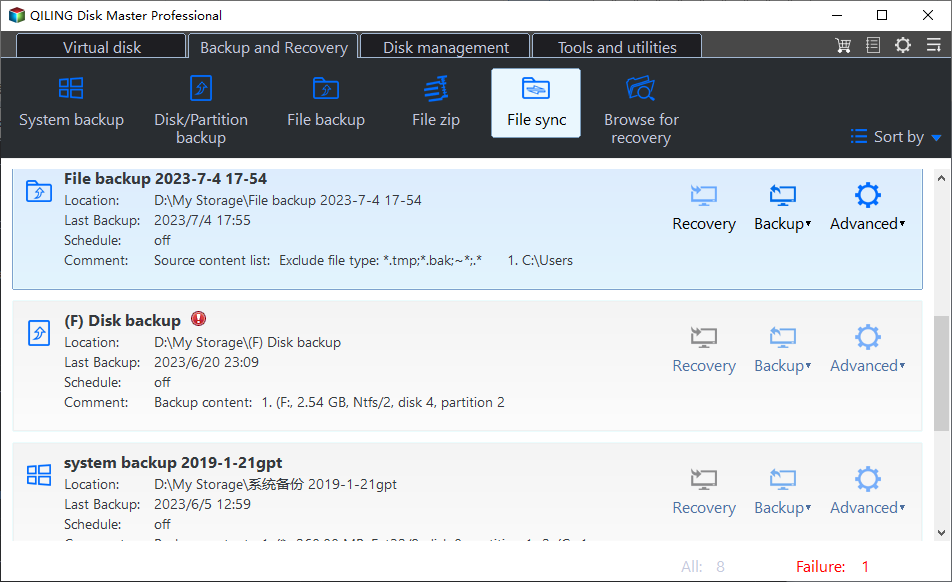
After launching this free file transfer tool, you'll see a concise interface. Click Sync > File Sync, configure the source and destination directory, and click Proceed to begin file transfer with Qiling Disk Master.
Tip: If you are in need of more advanced sync modes like File Sync and File sync, please upgrade to higher editions.
Verdict
You have learned four effective solutions to fix file transfer stops in Windows 10. If you prefer an easier way of data transfer, Qiling Disk Master can give you a hand. Besides the sync feature, it enables you to replace C drive with SSD and run bootable disk wipe. Don't hesitate to try it out!
Related Articles
- Solved: External Hard Drive Freezes When Copying Files
Does your external hard drive freeze when copying files? Don't worry! Follow this article to solve the problem efficiently. - How to Transfer Files in Safe Mode Windows 10/8/7
Here you can learn how to transfer files in safe mode of Windows 10/8/7 when Windows fails to boot. Follow the steps and try to copy files to external hard drive in safe mode. - Quick Fix: SD Card Copy Hangs While Copying Files to Computer
Find SD card copy hangs when you try to copy files from SD card to computer or another SD card? Don't worry! This page offers quick fixes to help you out.