Stepwise Guide to Free up Disk Space in Window 10
- Why free up disk space in Windows 10?
- What takes up space on my hard drive in Windows 10?
- How to free up disk space in Windows 10 [4 ways]
- Way 1. Run Disk Cleanup to free up disk space
- Way 2. Launch Storage Sense to reclaim disk space
- Way 3. Uninstall unessential applications to free up space
- Way 4. Reset your Windows 10 PC to factory setting
- An easier solution for space shortage in Windows 10
Why free up disk space in Windows 10?
Windows 10 operating system is installed on lots of computers. It's common to update your OS to the latest version. However, you may receive a message saying "Windows need more space" while updating your operating system.
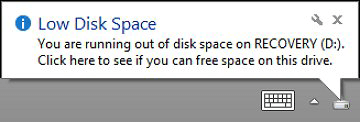
As more and more data have been saved on your Windows 10 hard drive, you might be reminded of Low Disk Space warning and suffering from system & applications running slow.
Whether you can't update Windows 10 due to disk space shortage or experience the low response speed of the system, it's time for you to take action to free up disk space in Windows 10.
What takes up space on my hard drive in Windows 10?
In order to choose proper solutions about reclaiming free space in Windows 10, it's necessary to have a basic understanding of what is taking up disk space on system hard drive: backup files, system restore points, paging files, temporary files, previous windows installation, download files that you have never noticed and so on.
How to free up disk space in Windows 10 [4 ways]
Now, you can employ one or more methods to free up disk space based on your demand.
Way 1. Run Disk Cleanup to free up disk space
In Windows 11, 10, 8, 7, there is a built-in tool, Disk Cleanup. It allows you to delete downloaded program files, Recycle Bin, temporary files, previous windows installation(s), etc. Now, refer to these steps about how to use it to clear files and folders on disk.
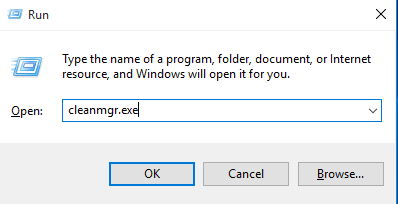
Step 1. Press Windows + R simultaneously to open Run window. Input "cleanmgr.exe" and click OK to open Disk Cleanup.
Step 2. Choose the drive that you want to clean (here we choose C drive) and click OK.
Step 3. It will take several minutes to calculate how much space you can free. After that, you can enter the window where you can choose the items that you need to delete.
Notes:
▪ It's available to delete Windows. old folder (previous Windows installation) to reclaim disk space by clicking "Clean up system files. And you won't be able to downgrade the current OS to a previous version after deleting it.
▪ To avoid deleting necessary files, you can click on "View Files" button to confirm what the files are.
Way 2. Launch Storage Sense to reclaim disk space
If your Windows in use is after Windows 10 1703 version, you can use Storage Sense to automatically free up space on SSD or HDD through the following steps.
Step 1. Click Start icon and go to Settings > System > Storage.
Step 2. Then, you can see Storage Sense, which is Off by default. You should toggle the button to On.
Step 3. Now, you can see the storage condition of your C drive in Windows 10. Click one item and the files that can be removed immediately will be listed.
Step 4. Check the files that you don't need anymore and click Delete Files.
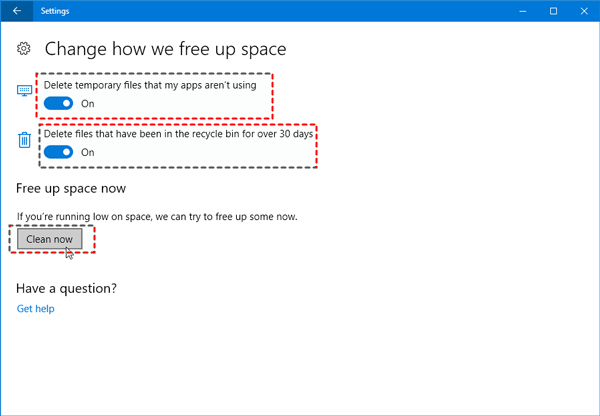
Tip: You can click Change how we free up space to configure Storage Sense. In the Settings window, you can see two options about freeing up space. And you can click Clean Now button to free up space immediately.
Way 3. Uninstall unessential applications to free up space
You may have installed some seldom-used apps that take up much disk space. When you encounter space not enough issue, it's a good idea to uninstall those apps. Refer to the following steps:
Step 1. Press Win+ R at the same time, input control, and hit Enter.
Step 2. In Control Panel dialogue, click Uninstall a Program under Programs.
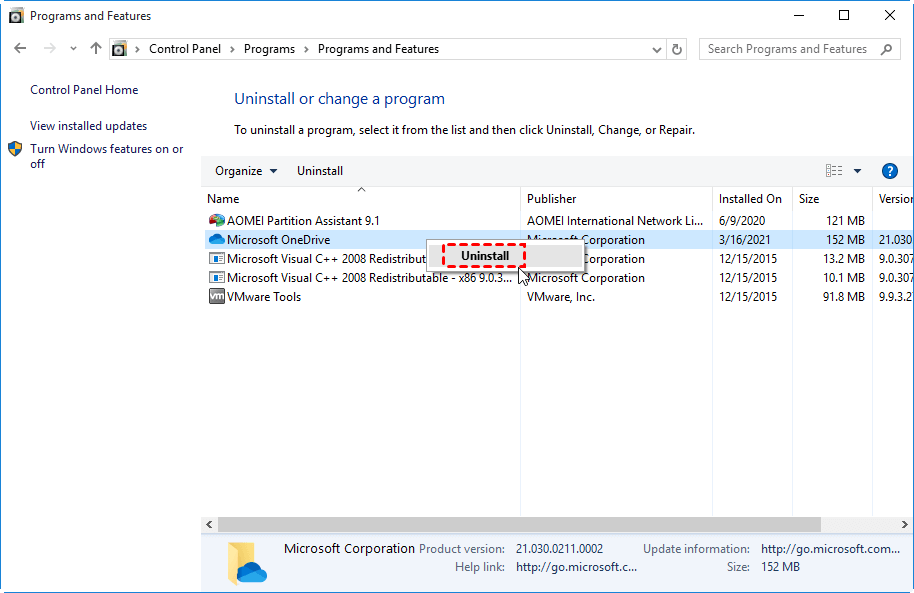
Step 3. The installed apps will be listed. Right-click the one you don't need and click Uninstall.
Note: For some applications, there is no Uninstall option after you click it; click Change and you can find Uninstall option during the following process.
Way 4. Reset your Windows 10 PC to factory setting
If you don't want to spend effort looking out what to delete/uninstall, you could consider resetting your Windows 10 PC to factory settings.
Warning: You should realize that you will lose your apps that didn't come with this PC, personal settings (and personal files) after this operation.
Step 1. Go to Start> Settings > Update and security > Recovery.
Step 2. Click Get started under Reset this PC.
Step 3. Here offer two options: Keep my files and Remove everything for you to choose. These two options will reset PC settings to their default and uninstall all the apps. But the second one will remove all your personal files as well.
Step 4. After your selection, you can receive a prompt about what will be removed off from your hard drive. After confirmation, click Next
Step 5. Confirm the pop-up message and click Reset to start the operation.
Step 6. Wait patiently for this operation to complete since it takes 30 minutes to several hours.
An easier solution for space shortage in Windows 10
Freeing up disk space is not your only choice and you can choose to extend C drive if you encounter C drive not enough space issue in Windows 10. In many cases, there is no contiguous unallocated space behind your system C drive. Thus, you are unable to extend it unless you delete the partition behind it.
To increase the capacity of partition C, it's recommended to apply a great free partition manager for Windows 11/10/8/7/XP and Vista, Qiling Disk Master Standard. Which allows you to resize/move, merge partitions effortlessly. Now, download it immediately.
Then, have a look at how it works on moving partition to make unallocated space contiguously behind C drive and then extend C drive.
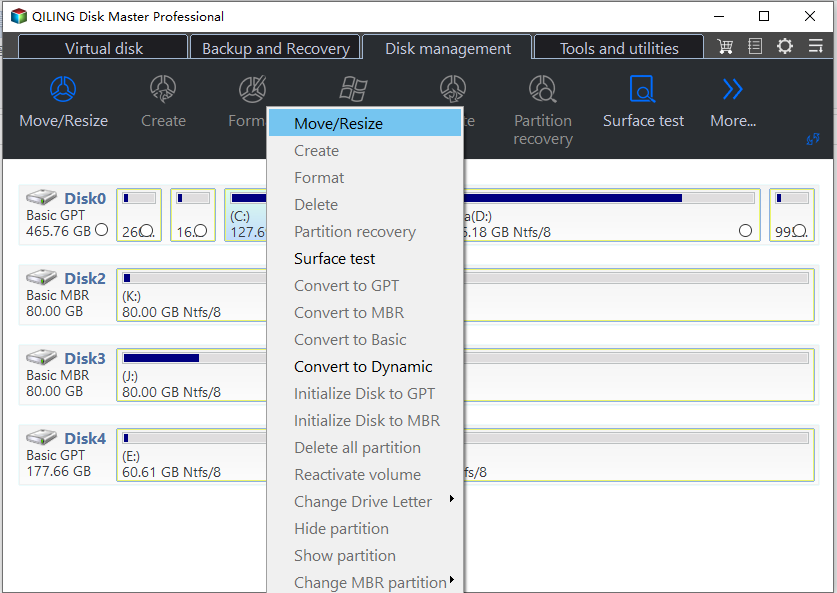
Step 1. Install and fire up it. In the main interface, right-click the partition between the unallocated space and C drive and choose Resize/Move Partition.
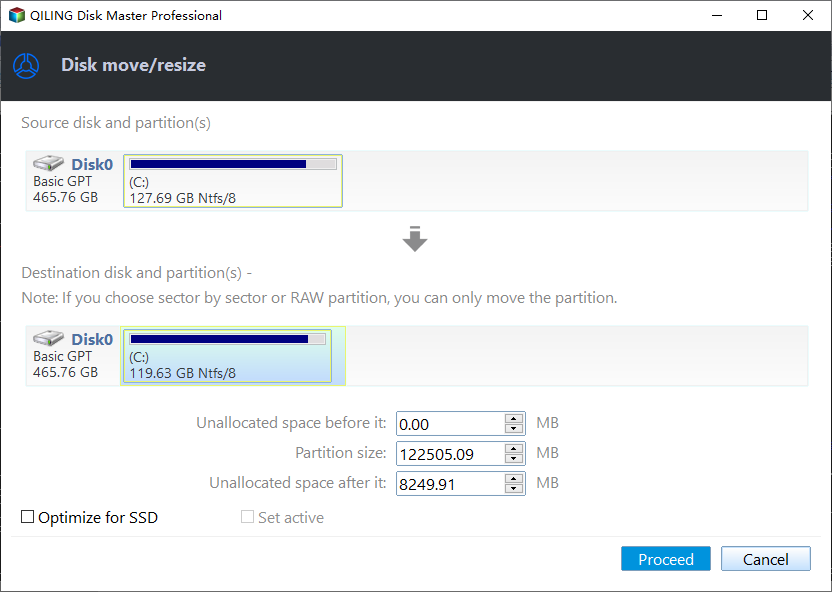
Step 2. Drag the whole partition D to right.
Step 3. After D drive is moved, the unallocated space will be adjacently behind C drive as the following screenshot.
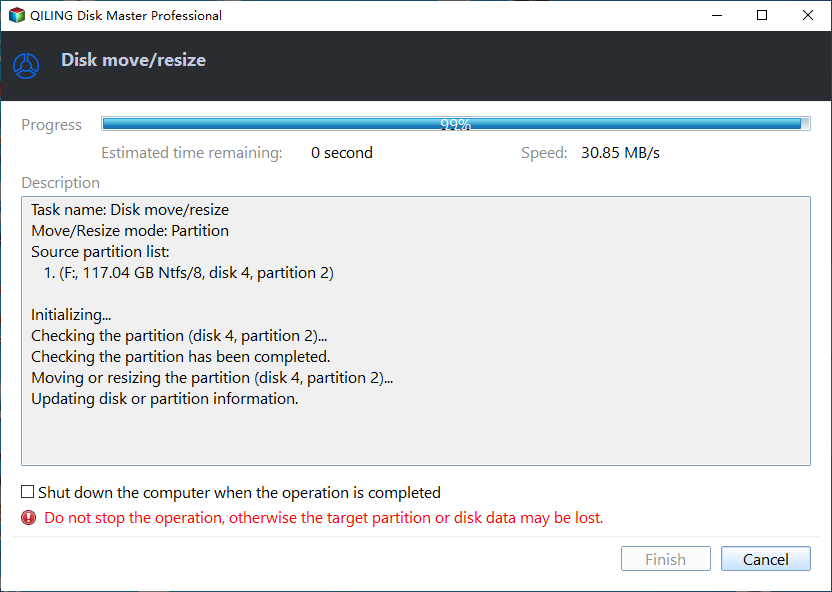
Step 4. Back to the main interface, click Proceed to commit the operation.
✍ Notes:
► For more advanced features, such as quick partition, partition alignment, SSD Secure Erase, etc., you can upgrade to PA Pro.
► If the original capacity of your Windows 10 disk is too small to satisfy the data storage demand, freeing up disk space in Windows 10 or extending C drive in Windows 10 can't settle the issue indeed; you can replace it with a larger one without OS & apps reinstallation through cloning to a larger disk.
► You can also use this tool to resize BitLocker partition.
Related Articles
- Solved: Lenovo Laptop Running Slow Windows 10
If your Lenovo laptop running slow, you need to read this article for why Lenovo laptop running slow on Windows 11/10/8/7 and how to speed up Lenovo laptop. - Effectively Fix "We Couldn't Update the System Reserved Partition" Error
"We couldn't update the system reserved partition" appears when you upgrade to Windows 10 from Windows 7/8? Here you can fix it within 5 simple steps.

