How to Use Rsync in Windows 10 | Tutorial and Alternative
Can You Use Rsync in Windows 10?
Rsync (Remote Sync) is a Linux/Unix based utility for data backup and synchronization both locally and remotely. Using Rsync command, you can sync files and directories across directories, disks or networked computers.
In Windows 10, you might have the same demand - copy files from one directory to another local directory, sync files from local machine to network server or vice versa, as thus you may want to use Rsync in Windows 10. But can you really do it?
Linux is not hosted by Microsoft, so to run Linux command on Windows 10, you need to do some preparations first, some of them may be complicated and time consuming. Therefore, you could also consider using file sync software in Windows 10 or Windows 11 as Rsync alternative.
How to Run Rsync Command in Windows 10
There are several approaches to run Linux commands in Windows 10, one is to dual boot Linux and Windows, which allows you to choose which system to boot on startup, but it might be too much trouble especially when you are not trying to use Linux frequently.
Therefore, it’s more recommended to install Windows Subsystem for Linux (WSL) on your computer. It works as a Windows utility and enables you to run Linux distribution in command line mode, which is a relatively easy way to use Windows 10 Rsync, and applies to other Linux utilities as well. But if you don't want to install WSL, you can try running Rsync with Git Bash.
Here’s a further explanation to the 2 approaches:
♦ Method 1- Install WSL: Follow this WSL Installation Guide provided by Microsoft to install Windows Subsystem for Linux on your Windows 10 computer. The detailed steps depend on your system versions.
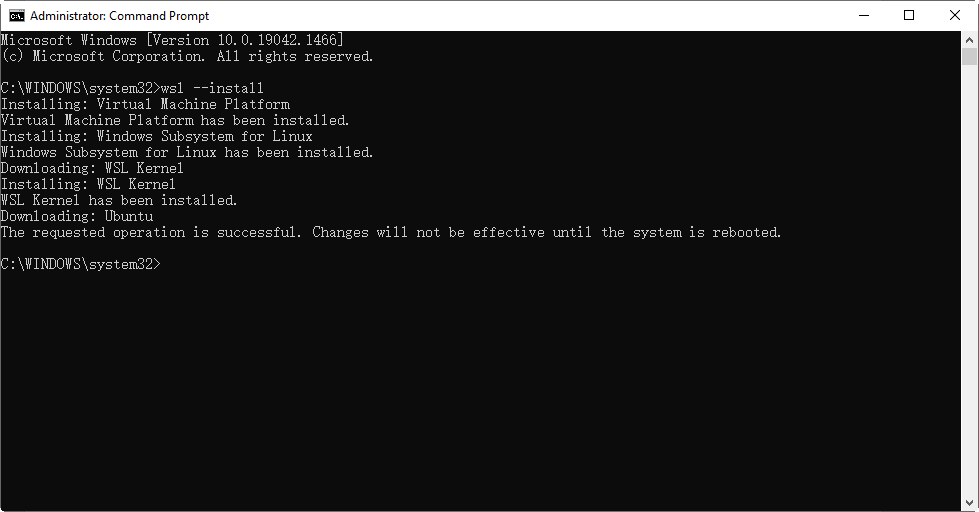
If you are running Win10 version 2004 and higher or Win11: You just need to open a command window (PowerShell or Command Prompt) as administrator, type the following command and press Enter:
wsl --install
This command will enable the required optional components, download the latest Linux kernel, set WSL 2 as your default, and install the Linux distribution for you. You can use WSL after restarting the computer.
The installed Linux distribution is Ubuntu by default. This can be changed using the -d flag.
- To change the distribution installed, enter: wsl --install -d [Distribution Name]. Replace [Distribution Name] with the name of the distribution you would like to install.
- To see a list of available Linux distributions available for download through the online store, enter: wsl --list --online or wsl -l -o.
- To install additional Linux distributions after the initial install, you may also use the command: wsl --install -d [Distribution Name].
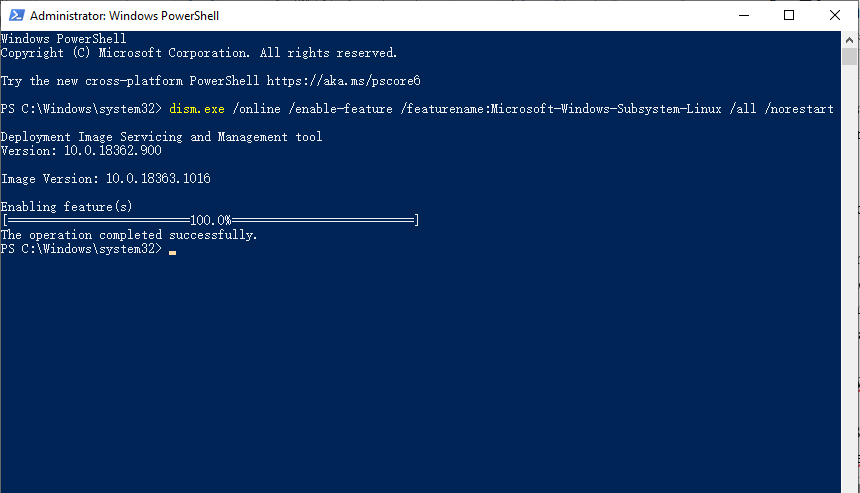
If you are running older versions: You need to take a few more steps to manually install WSL. First, enter this command in PowerShell as Administrator:
dism.exe /online /enable-feature /featurename:Microsoft-Windows-Subsystem-Linux /all /norestart
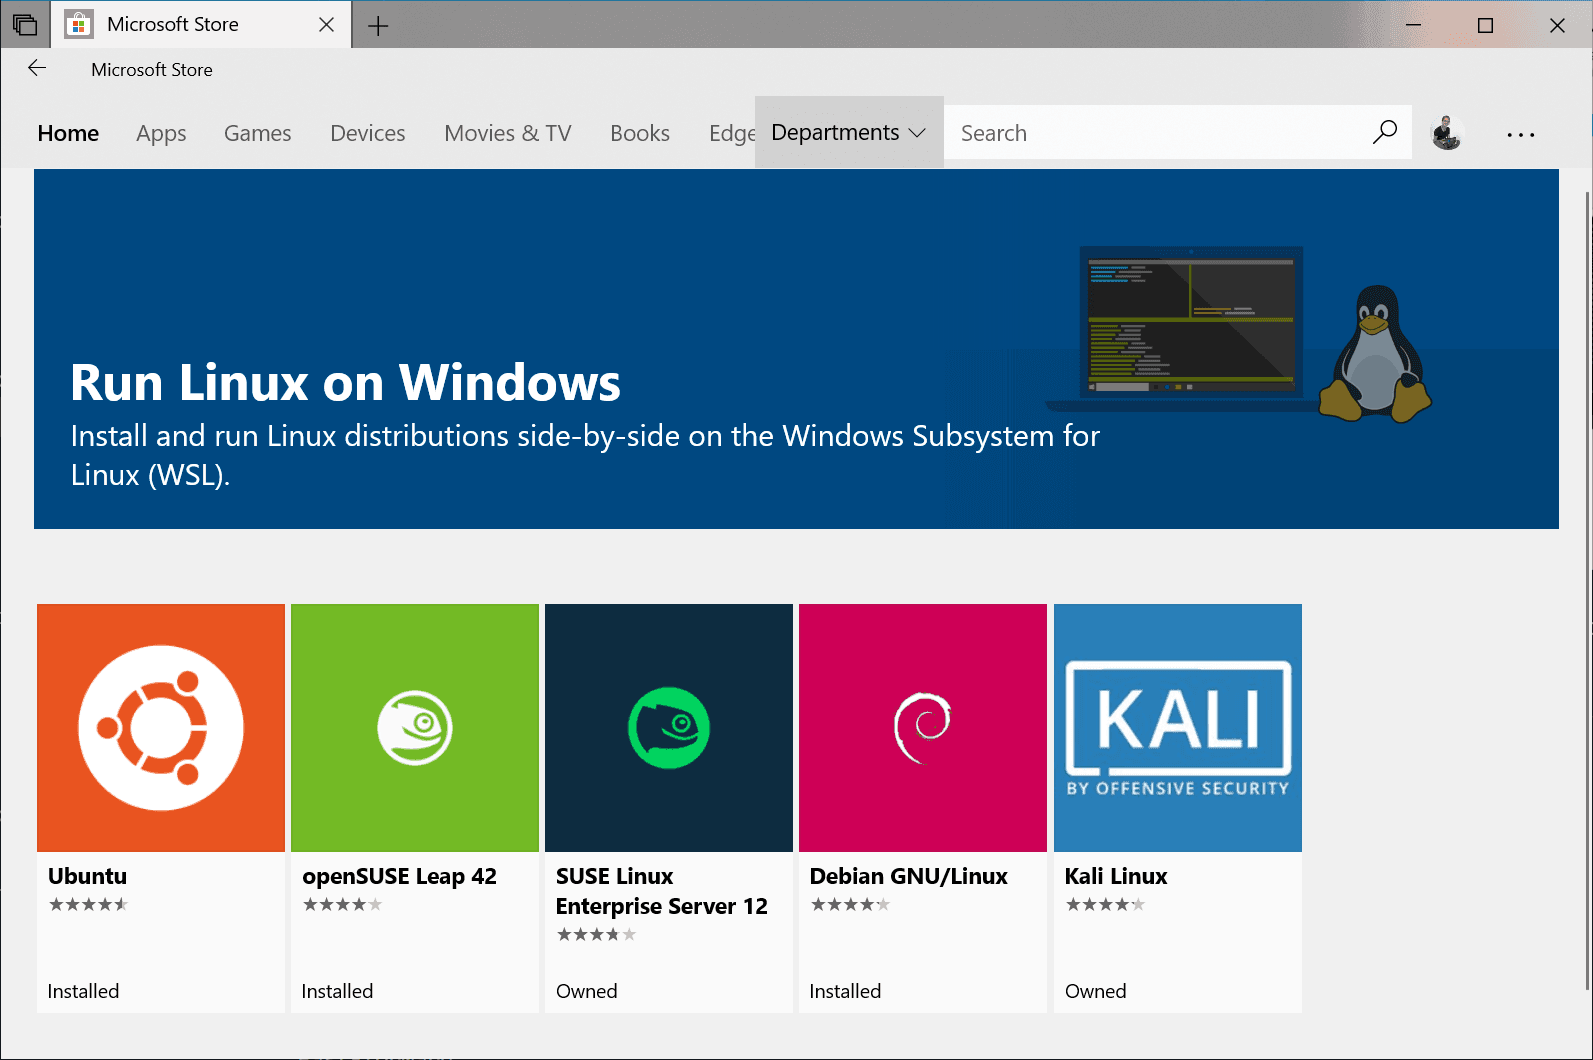
Then you can either update to WSL 2 or continue using WSL 1. For the latter, you can now select a Linux distribution in Microsoft Store. Available options include Ubuntu, SUSE, Debian, Fedora, Pengwin, etc.
The first time you launch the Linux distribution, you'll be asked to wait for a few minutes till the files being stored on your computer. Also, you need to create a user account with password for the Linux distribution.
♦ Method 2 - Install Git for Winodws: In addition to installing WSL and Linux distribution, you can also try using Rsync in Windows 10 by installing Git for Windows, which allows you to run Rsync command with Git Bash.
Now you can click here to find and download Rsync, and use zstd to extract it (by running command in Git Bash).
The next step is to move extracted files to corresponding destination. For example:
- \rsync-3.2.2-1\usr\bin → C:\Program Files\Git\usr\bin
- \rsync-3.2.2-1\usr\lib → C:\Program Files\Git\usr\lib
- \rsync-3.2.2-1\usr\share → C:\Program Files\Git\usr\share
Then you should be able to use Rsync command in Windows 10 via Git Bash.
Tip:
There's also a packaging of Rsync for Windows, called cwRsync. You can use it for remote file backup and sync in Windows 10 as well. But the free version of cwRsync Server is discontinued and the last free version is no longer directly available. For more details, you could view its official site.
Rsync Alternative in Windows 10 to Backup and Sync Files
As shown above, it’s not easy to install Rsync for Windows 10 even with the simplified approach. If you don’t have to use this utility and are open to other options, maybe a Windows based program could save you a lot of hassle.
Then, what Rsync alternatives do you have in Windows?
| 💻Backup and Restore | The legacy Backup and Restore utility takes a slow and error-prone procedure. It also lacks some options to perform data backup flexibly. |
| 📂File History | With File History, you can auto backup folders with a simple setup, which seems convenient, but the supported storage locations are very limited, and in Windows 11, you are not allowed to add personal folders. |
| 🔰Qiling Disk Master |
It's a handy tool with both Backup and Sync features. You can select source or target path as internal/external hard drive, network/NAS, cloud drive, USB. Thus you can easily sync local drive with network/cloud drive, sync NAS with cloud, sync NAS to NAS, etc. You can also set up a schedule to autorun backup or sync task on regular basis, perform incremental or differential backup to copy only changed files. |
Here I will take Qiling Disk Master Standard as an example to show you how to sync files from local drive to cloud using Rsync Windows alternative. This freeware supports Windows 11/10/8/7/XP/Vista, and the operation is really simple within an intuitive GUI.
You could download and install the completely free Standard version to try it out:
*There's also a specialized Server edition that provides all the features for Windows Server users.
How to sync files in Windows 10 computer to cloud drive:
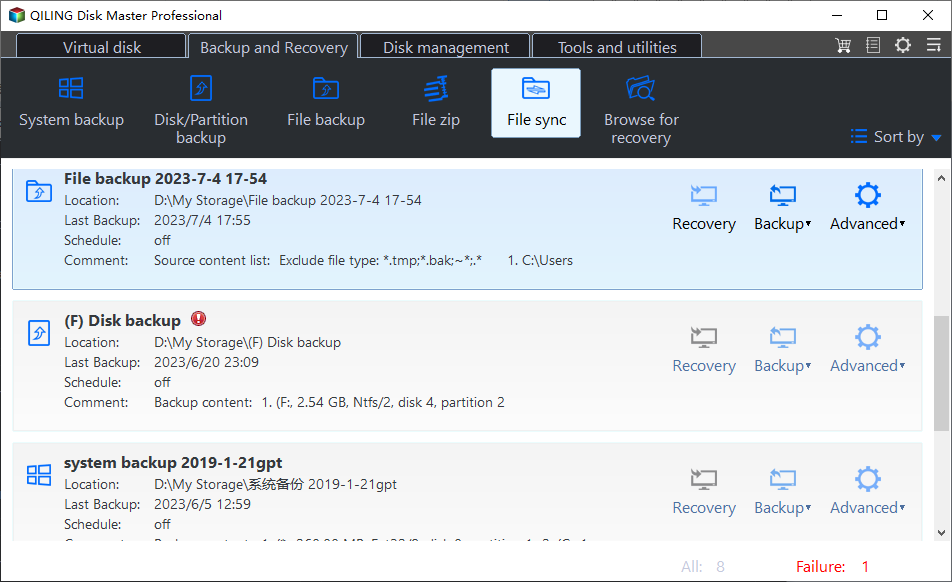
Step 1. Download and launch the Rsync Windows alternative, switch to Backup and recovery tab and select File Sync.
Advanced sync modes are available in Professional+ edition:
☛ File Sync: Sync changed files from source directory to target directory in real time.
☛ File Sync: Always keep the files in source directory exactly same as target directory.
☛ Two-Way Sync: Any changes made to source or target directory will be synchronized to the other side.
Step 2. Edit Task Name based on your need. Click Folder to select the folder you want to sync. You can repeat this process to add multiple folders.
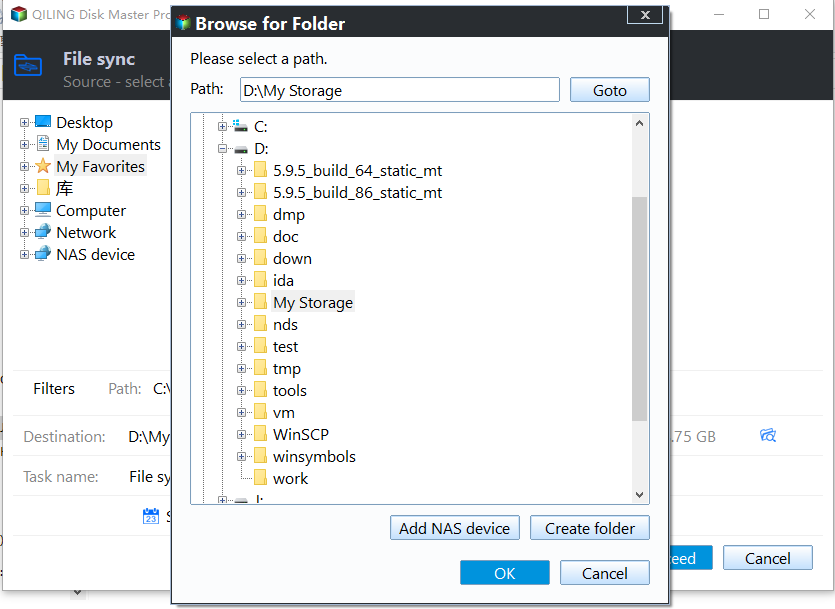
Step 3. Choose a destination path. To specify a network share/NAS or cloud service, you could click the small triangle beside the selection box and choose Add Share or NAS Devices or Select a cloud drive accordingly.
Step 4. (Optional) Click Schedule Sync to automatically execute the task based on daily, weekly, or monthly mode.
Step 5. Click Proceed to begin file synchronization.
That’s it. After creating a scheduled sync task, you don’t need to set it up again. It will auto run in the background without disturbing the job you are doing. At the same time, if your cloud drive does not have enough space, you can turn to cloud backup and Qiling Cloud for help.
To better meet your needs, you can also create multiple backup and sync tasks at the same time, and manage them in the Home tab easily.
Verdict
As a handy command in Linux, Rsync is possible to be used in Windows 10, but the process is complicated and time-consuming. To back up and sync files locally and remotely, you could also use Qiling Disk Master in Windows 10 as a Rsync alternative.
In addition to the above-mentioned features, Qiling Disk Master integrates a Clone module allowing you to clone a disk, and therefore migrate HDD to SSD, move OS to another hard drive without reinstalling, or even clone larger drive to smaller drive, etc.
Related Articles
- How to Sync a Laptop and a Desktop in Windows 10? (2 Cases)
Wanna sync settings or files between a laptop and a desktop in Windows 10/11? Find a complete guide from this article. - How to Sync OneDrive to Computer in Windows 10/8/7 Flexibly?
To sync OneDrive files to computer in Windows 10/8/7, the desktop app of OneDrive may be the most direct way, but it has some limitations in functionality and application range, so you can also try a more flexible solution. - Top Two Ways to Synchronize Files between Windows Servers
You can synchronize files or folders between Windows Servers with DFS replication if you want a free solution. Instead, Qiling Disk Master Server for advanced features and ease of operation. - Do You Know Any SyncToy Portable Alternative in Windows 7/8/10?
I need help to sync files or folders with the SyncToy portable alternative in Windows 7/8/10. Do you know any SyncToy replacement to sync files without losing data?

