How to Create and Use Windows 10 Recovery Image Backup?
Need to create a Windows 10 recovery image
Have you experienced system crash or data loss? 10% of computers get infected with virus every month, and nine out of ten computer users have encountered hardware failure. There are too many unexpected things that could cause data loss.
To greatly reduce the risks of data loss and system crash, you should create a Windows 10 recovery image backup. An image backup copies everything on your system drive including operating system, files, installed programs and settings into a compressed image file.
If the system crashes or it is infected with ransomware, you can restore your computer with Windows 10 system image recovery and get everything back. If your hardware fails, you can restore Windows 10 image to new hard drive with the help of Windows recovery tool in Windows 10.
Create Windows 10 system image on USB with built-in tool
To create Windows 10 recovery image, you should save the image backup to where no system is installed, thus the backup image will not be affected by computer failure. For example, you can backup Windows 10 to external hard drive or network drive.
Also, to complete this task, you will need a backup and restore software. Don't worry about this too much, Windows has its built-in feature named Backup and Restore(Windows 7), which was released in Windows 7 and later inherited in Windows 8/10.
Then, follow the steps below to create system image Windows 10 backup on USB.
1. Make sure the backup drive to receive the image backup is well connected to your Windows 10 computer.
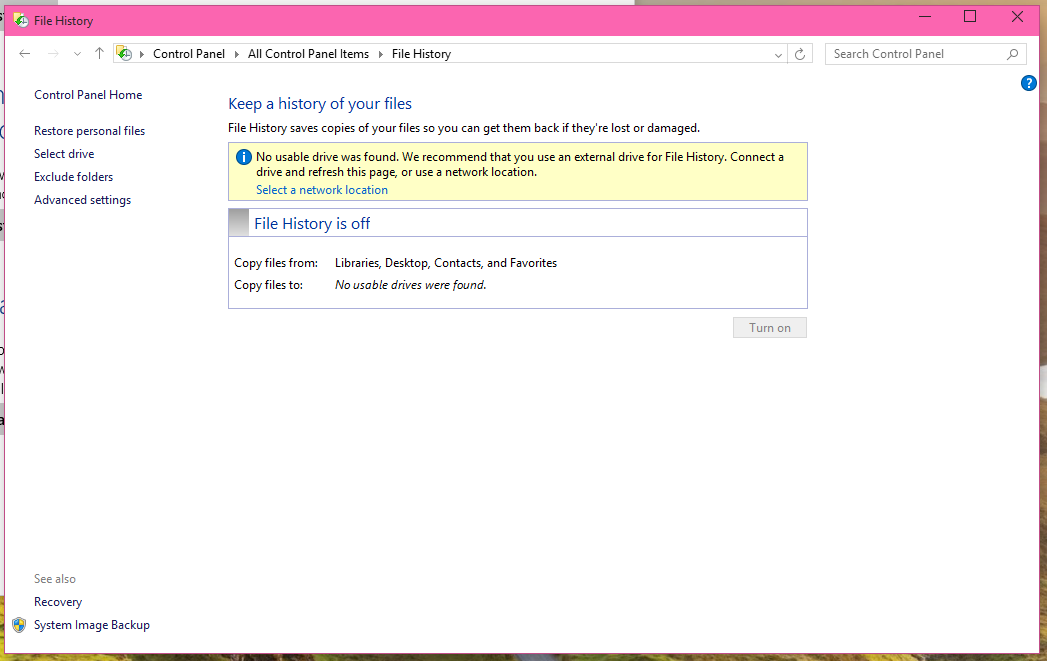
2. Right click on Start and select Control Panel >All Control Panel Items > File History. If you use Windows 10 Home, you will not see the Control Panel option at Start. In that case, you can search File History to open it.
3. Down the left corner, click on the link to System Image Backup.
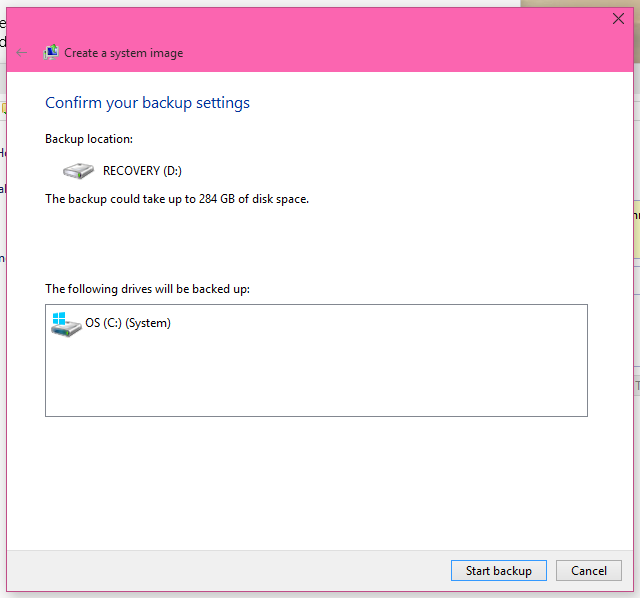
4. In the Create a system image window, specify a place to save your Windows 10 recovery image (on a hard disk, on one or more DVDs, or on a network location), and click Next. All the removable devices including USB drive will be listed under the On a hard disk option. Then click Proceed to get started.
This process may take a few hours, so it is recommended to start system image backup at the end of your workday. Besides system image backup, you can also create Windows 10 recovery points to protect your system. You can access this feature through Control Panel > All Control Panel Items > System > System Protection.
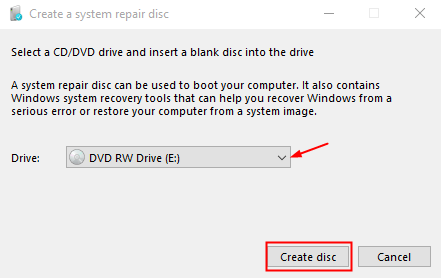
When the backup is complete, you will be asked to create a system repair disc, you can choose to create one if you have CD/DVD disc and your computer has floppy drive.
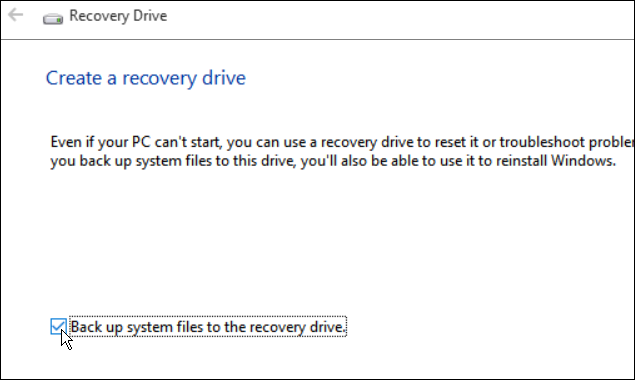
If not, you can choose to create Windows 10 recovery drive with built-in Recovery Drive feature.
It supports creating recovery drive on a USB flash drive, and gives you an option to back up system files to the recovery drive, thus you will have one more Windows 10 recovery options for troubleshooting - Recover from a drive .
In addition, you can choose to download Windows 10 recovery USB on the microsoft download page. It supports CD/DVD or USB drive, so you can select any device you have.
Use System Image Recovery to restore Windows 10 recovery image
To restore from Windows 10 recovery image, you need to access Windows 10 recovery environment window. Here are two ways:
>> In Windows 10, go to Settings > Update & Security > Recovery. In the Advanced startup section on the right, click the Restart now button.
>> From boot, insert the recovery media you created in advance, and set boot priority for it and restart your computer. Then, click Next and Repair your computer.
Then, follow the steps below to restore from Windows 10 recovery image using System Image Recovery.
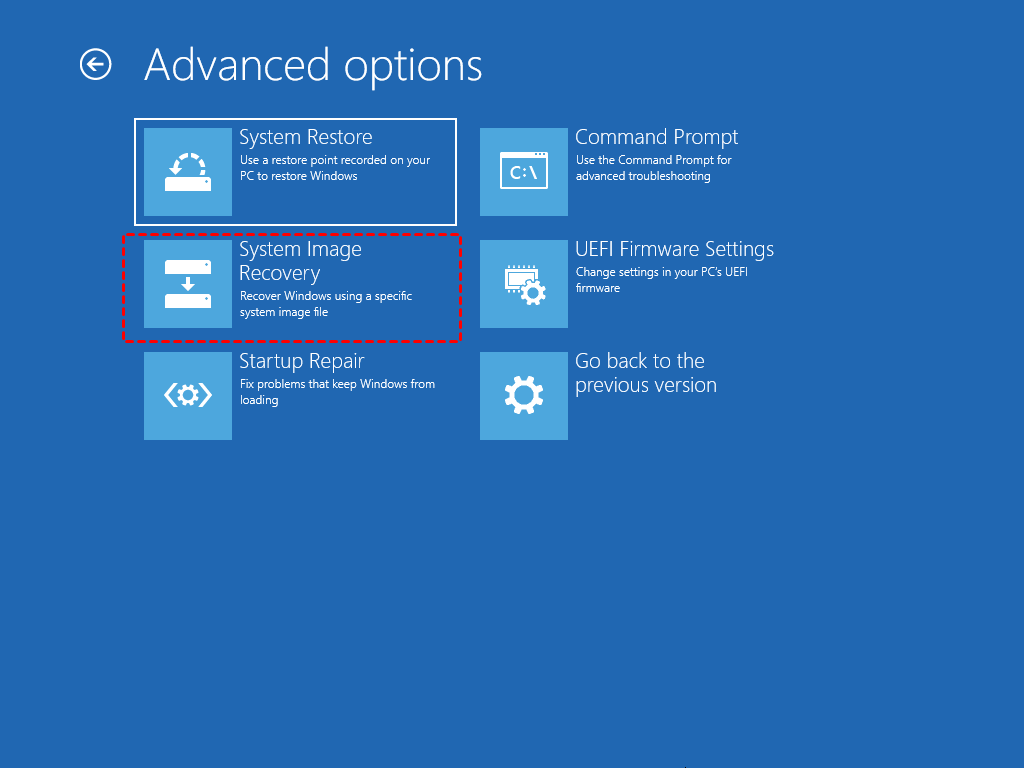
1. In the Choose an option window, click Troubleshoot > Advanced options > System Image Recovery.
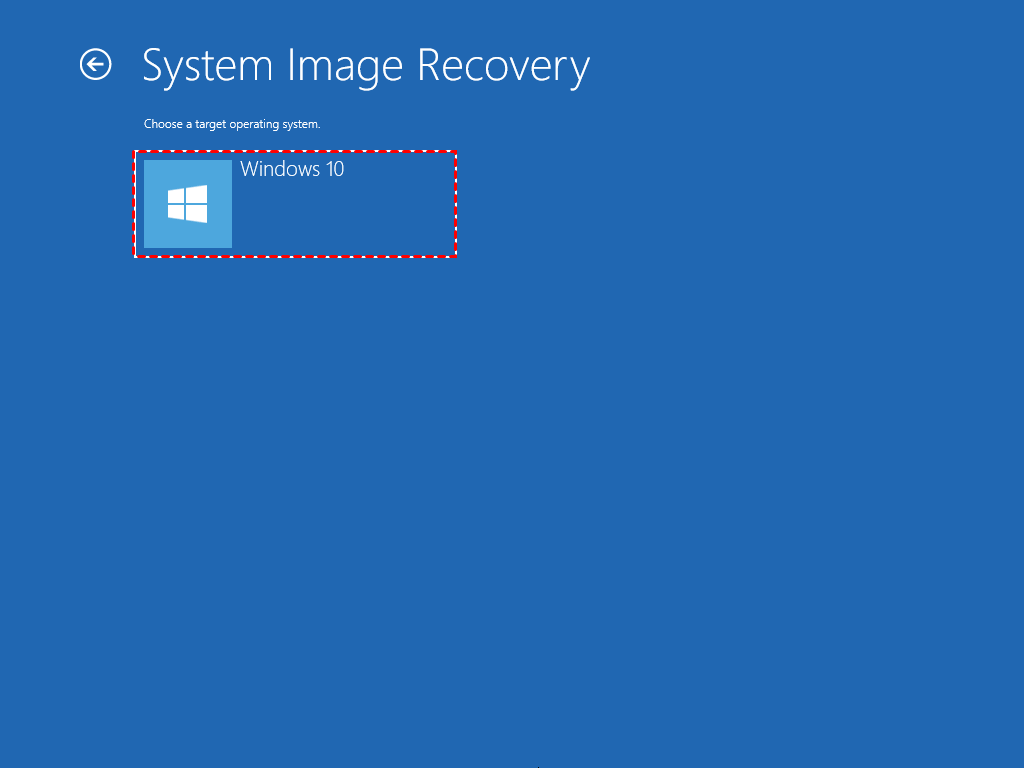
2. Select the operating system you want to restore, here is Windows 10.
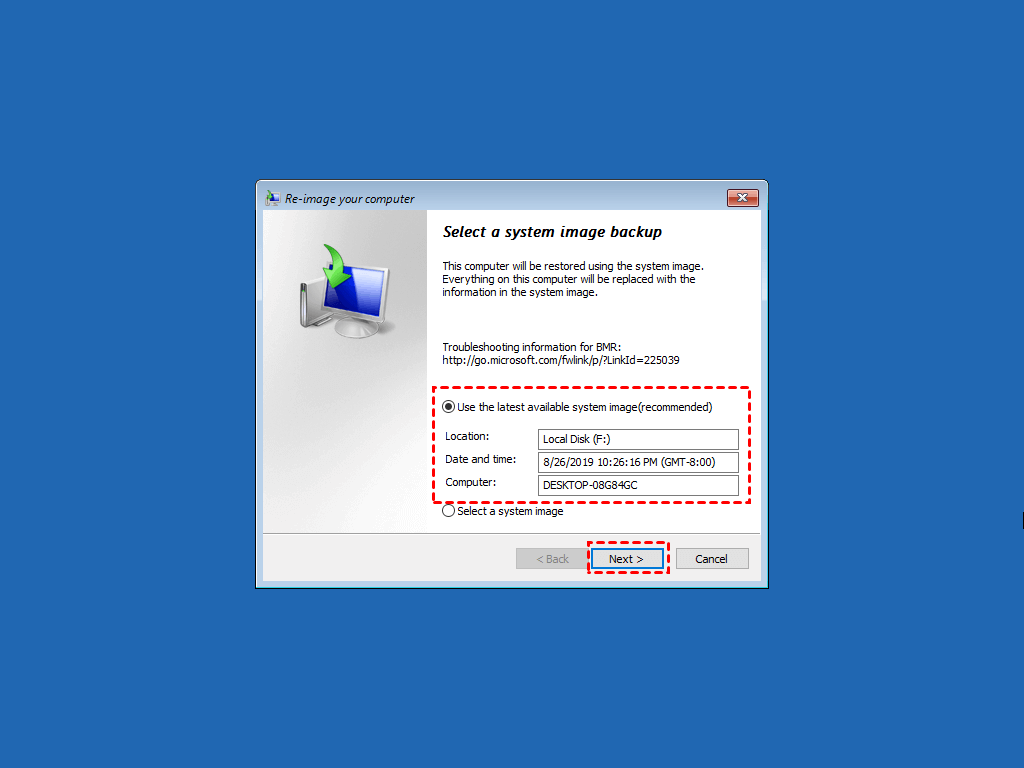
3. In the re-image your computer window, tick Use the latest available system image. Then, click Next.
4. In the Choose other restore options window, choose Format and repartition disks option, then click Next > Finish > Yes.
After you follow these steps, you can restore system image and get your computer back in a very short time. But if you restore system image to smaller drive, either HDD or SSD, the restore process will fail, because it does not support restoring to partition layouts that smaller than the original disk.
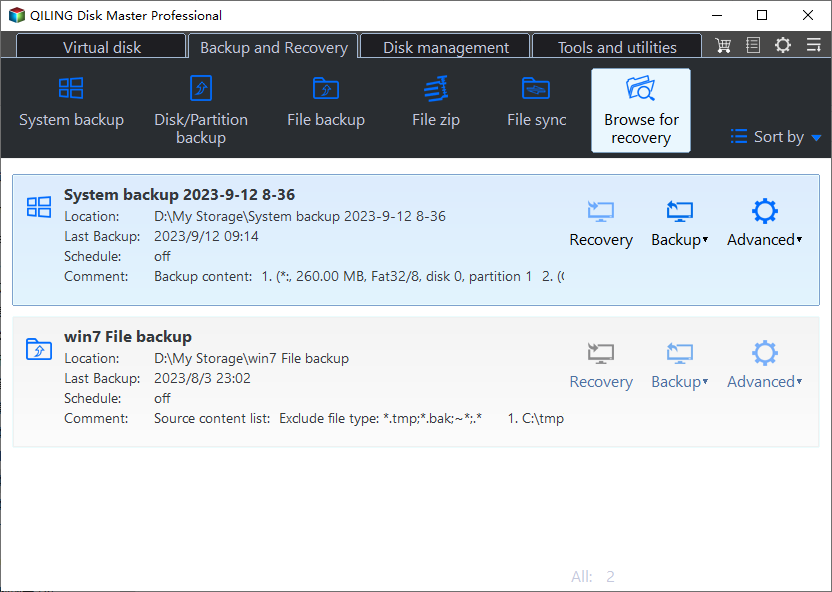
At this time, you can choose to create Windows 10 recovery image with a different backup and restore software like Qiling Disk Master Standard. It supprt creating Windows 10 system image backup with System Backup feature and then restore with the created image in the Restore tab.
The backup image is compressed image backup with extension .afi or .fvd, which can only be read by all version of Qiling Disk Master. And it can avoid any unwanted access without restoring image.
In addition, it still provides many useful features, such as, schedule backup, incremental or differential backup, universal restore(you are abled to execute Windows 10 system image restore to different computer ), etc. Some features are only available on the professional or higher version.
Create Windows 10 system image for recovery purpose with Qiling Disk Master
1. Download and install this free backup software. Then, in its main interface, click Backup and select System Backup.
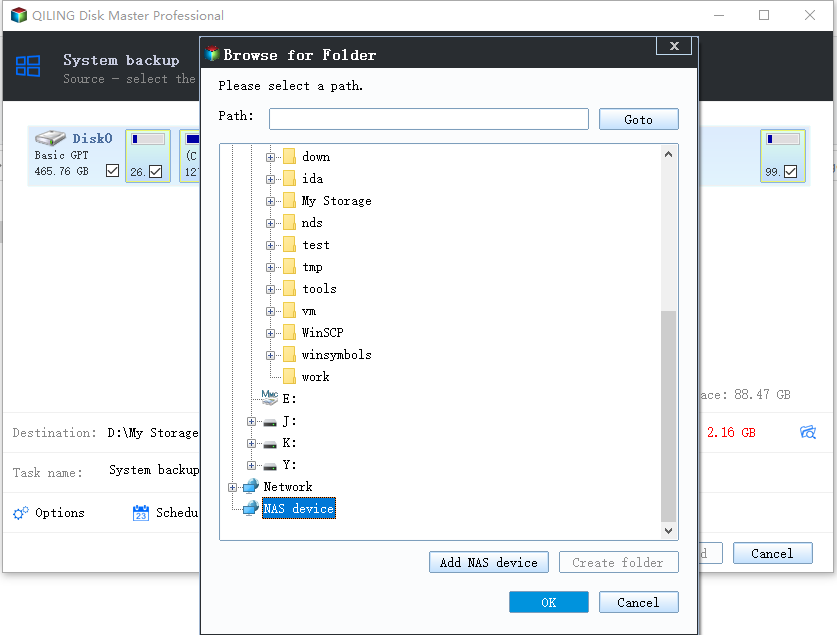
2. Click where the arrow point and select your USB drive as destination location. If it's not connected, you need to connect first. This software will automatically include required partitions for a full system restore.
3. Click Options or Schedule to customize backup settings. Then, click Proceed to create system image on USB drive.
Options: You can comment on this task, set pre/post-command, enable email notification, enable normal or high compression level, etc.
Schedule: You can set daily incremental backup or daily differential backup(supported by the professional version) to continuously backup your system and changes made after the first full backup. Also, you can change daily to weekl or monthly per your needs.
The process will also take a few hours, you need to wait patiently until the process is complete.
After that, you can choose to create a bootable media using USB drive or CD/DVD, which does the same effect as system repair disc or boot USB. But it's not limited to the same computer, you can use it on different computer, including all versions of Windows 10/8.1/8/7/XP/Vista.
If your computer fails to boot, you can boot from the bootable disk and then go to the Restore tab and restore the Windows 10 recovery image backup. Then everything will be like when you have taken the backup.
Your choice
Windows 10 recovery image is necessary for you to get your computer back easily and quickly, so you need to create system image backup on USB drive or other locations. For the methods, you can use built-in tool Backup and Restore(Windows 7) or third-party software Qiling Disk Master Standard, both of them can help you.
If you are using the built-in tool, please remember to restore system image to a larger drive, or you will receive the system restore failed error. And it is not allowed to restore system to a different computer.
If want more advanced features or need to restore system to computer with dissimilar hardware, you could consider using Qiling Disk Master. For dissimilar hardware, you can enable its Universal Restore(supported by professional version) feature to ensure your computer is bootable after restoring. For server users, you could use Qiling Disk Master Server.
Related Articles
- 3 Free Ways to Create Windows 10 Recovery Disk or USB Drive
- 4 Effective Ways to Restore Windows 10 from Recovery USB
- Custom Refresh Image in Windows 10 for Reset This PC
- Windows 10 Recovery Tools Guide and Free Download | 2021
- 3 Ways to Transfer System Image to New Hard Drive

