Sync Local Folder to OneDrive in Windows 11 with 2 Easy Ways
Learn about OneDrive in Windows 11
OneDrive is integrated directly into Windows 11 as a built-in file hosting and synchronization service. With OneDrive, you can sync files and folders created and saved on your Windows 11 computer with the cloud, and use them anywhere even without an Internet connection. You can also share any file on OneDrive with others. Whenever you're online, any changes you or others make are automatically synced.
To use OneDrive, you need a Microsoft account. Most OneDrive users can access it as part of a Microsoft 365 subscription, which includes Microsoft Office and 1TB of OneDrive storage. But you can get a free OneDrive account with 5GB of space.
Why Sync Local Folder to OneDrive in Windows 11?
There are many reasons for syncing local folders to OneDrive in Windows 11, and this article summarizes the most common ones for you as follows.
- After syncing, it is equivalent to having an extra copy of your files, which can effectively protect your files from data loss.
- If you have other devices connected to your OneDrive account, you can access your files and folders on those devices at any time, even without an internet connection, which is very convenient.
- You can easily share folders with others using the built-in "Share" feature.
How to Sync Local Folder to OneDrive in Windows 11
In Windows 11, OneDrive is already installed on your computer, so you just need to follow the graphic tutorial below to sync local folders to OneDrive.
Step 1. Select the Start button and search for OneDrive. Click the top result and then open it, then sign in with your Microsoft account.
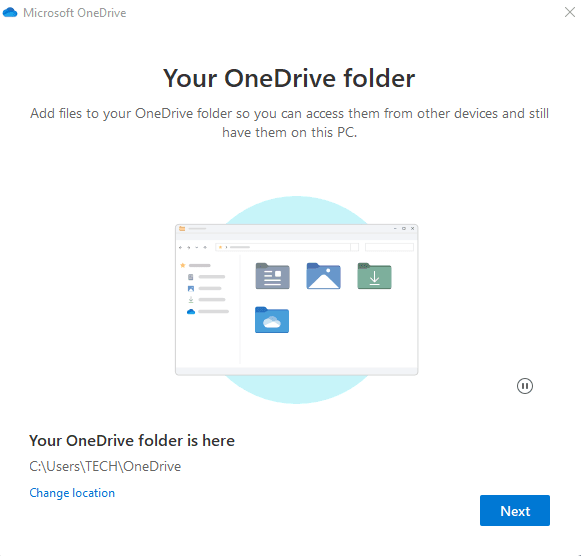
Step 2. You are in the Your OneDrive folder page, select Next to accept the default folder location for your OneDrive files.
Tip: If you want to change the folder location, select Change location. This is the best time to make this change, because you haven't synced any files so far.
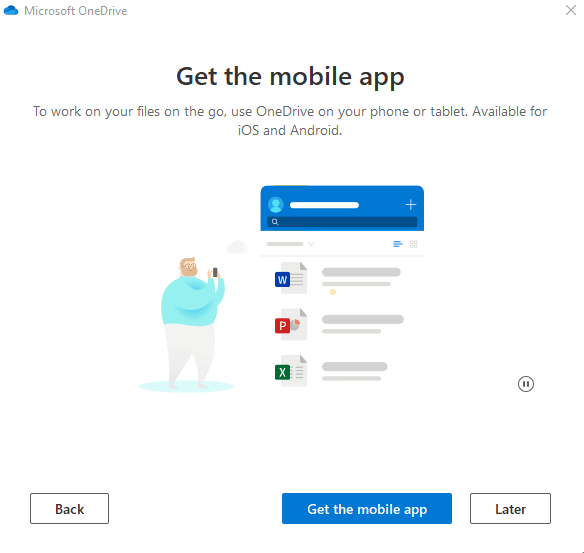
Step 3. Then you will see some introduction about OneDrive, just click on Next to continue. Then you will see Get the mobile app screen, if you need the mobile app, click Get the mobile app button. If you don't need, click Later.
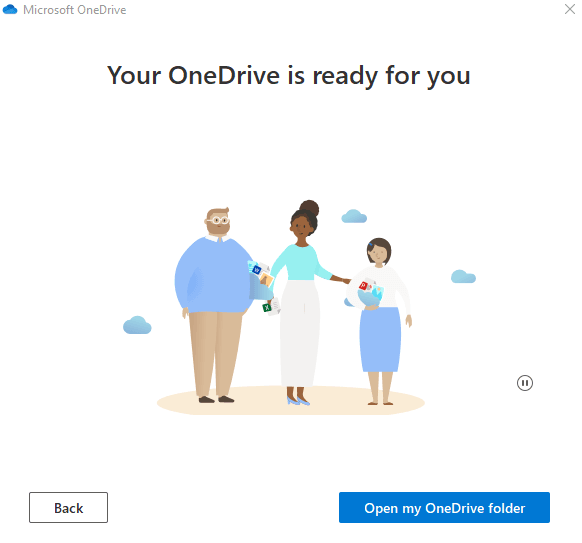
Step 4. Click Open my OneDrive folder in the Your OneDrive is ready for you page.
Step 5. When you open this page, it will automatically select these files for you and they will be synced into the OneDrive folder.
Limitation of OneDrive
After that, your local folders will be automatically synced to OneDrive in Windows 11. However, when using this feature, some users have reported a few problems that you need to pay attention to.
- If the local files/folders you want to sync to OneDrive in Windows 11 are located in different paths, repeatedly dragging and dropping or copying and pasting files/folders would be very troublesome and time-consuming.
- When you want to sync changes to the cloud, you have to make changes from the OneDrive folder and not locally from your computer. Otherwise, the changes will not be synced.
- Sometimes Windows 11 OneDrive not syncing. For example, when OneDrive keeps syncing your files but makes little progress or the sync process never seems to finish.
- OneDrive may keep automatically syncing files you don't want, which will slow down your network and your computer.
- Sometimes OneDrive moves your files to the cloud and leaves only thumbnails (not actual files) or shortcuts on your local drive, and you won't be able to access them unless you're connected to the Internet.
Sync Local Folder to OneDrive in Windows 11 with Qiling Disk Master (Easiest)
In addition to Windows' built-in sync service, you can also choose an easier and more reliable method, such as syncing local folders to OneDrive in Windows 11 with Qiling Disk Master Standard. It is a free sync software for Windows computers that allows you to easily sync folders from different locations to OneDrive, and sync changes to the cloud. It also has the following advantages.
- Automatic sync: It can automatically sync local folders in Windows 11 with OneDrive in fixed intervals (daily/weekly/monthly).
- Multiple cloud devices: It supports syncing local folders to OneDrive and other cloud drives like Dropbox, Google Drive, etc.
- Different operating systems: It supports not only Windows 11, but also all other Windows OS, such as Windows 10/8.1/8/7/XP/Vista.
Now, you can follow the steps below to sync local folders to OneDrive in Windows 11.
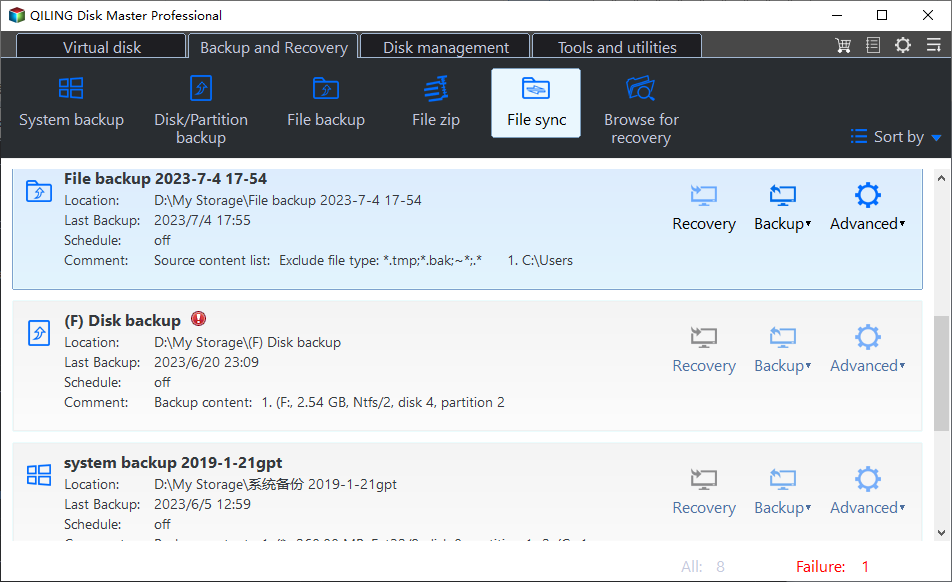
Step 1. Download Qiling Disk Master Standard, install and launch it. Then click Sync > File Sync.
Notes: In addition to File Sync, this software offers three other advanced sync modes. And they are available in the professional version and higher versions.
- File Sync: It will keep the OneDrive directory the same as the computer directory. Therefore any additional files in the target folder will be deleted.
- Real-Time Sync: As soon as the folder in the computer is changed it will be synced to the OneDrive.
- File sync: It will sync the changes in the computer directory to the OneDrive directory and vice versa.
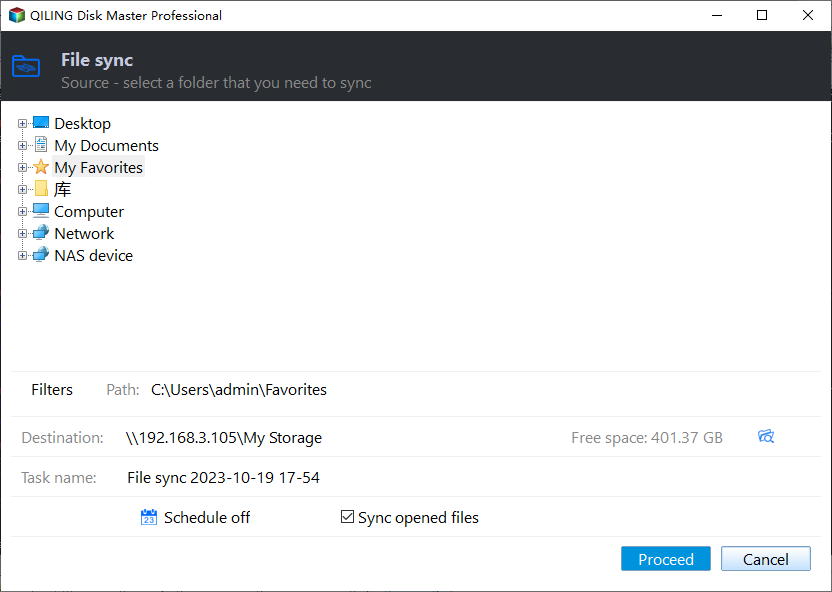
Step 2. Click Folder to select the local folders you want to sync.
Step 3. Click the inverted triangle at the right edge of the second bar and choose Select a cloud drive.
Tip: If you cannot find OneDrive in the list, then go back to Step 3 and manually navigate to the OneDrive local folder by clicking the folder shaped button in the second bar.
Step 5. Confirm your operations and click Proceed to sync local folders to OneDrive in Windows 11.
Notes:
- Options: You can write comments for your sync tasks as well as set the email notification.
- Schedule: It can help you to automatically sync your files, and you can set the intervals as daily/weekly/monthly/event trigger/USB plug in. The last two are available in the professional version.
Summary
This article shows you 2 ways to sync local folders to OneDrive in Windows 11. You can choose any of them to help you. The easiest way is to use the free and professional sync software Qiling Disk Master Standard. It will not only help you easily sync local folders from the same location or different locations to OneDrive, but also sync subsequent changes. You can also set the fixed intervals for automatic sync. Except for OneDrive, it also supports syncing to other common cloud devices, and it supports all Windows operating systems.
Moreover, it is a professional backup software which can help you backup your system/disk/partition/file. Even if you want to backup files to external hard drive in Windows 11, it can easily complete. You can download this software to explore more features.
Related Articles
- How to Sync OneDrive in Windows 10 Automatically?
OneDrive auto sync is convenient. However, you may get stuck with OneDrive not syncing problem. Don't worry! You can find another easier way to sync Windows 10 to OneDrive. - 2 Ways to Sync Network Folder to OneDrive in Windows 7, 8, 10, 11
Here you will find the two ways to sync network folder to OneDrive in Windows 7/8/10/11. Both are free of charge, and the latter is simpler. - Mirror PC Folder to OneDrive | 3 Ways
You can mirror folder to OneDrive automatically with 3 practical ways, even if they are not in the desktop folder. Get details below. - How to Sync Any Local Folders to OneDrive (2 Ways Included)
OneDrive is free online storage that comes with your Microsoft account. Learn how to sync local folders to OneDrive easily from this page.
