[Full Guide] Upgrade From Windows 10 to Windows 11 without Losing Data
About Windows 11
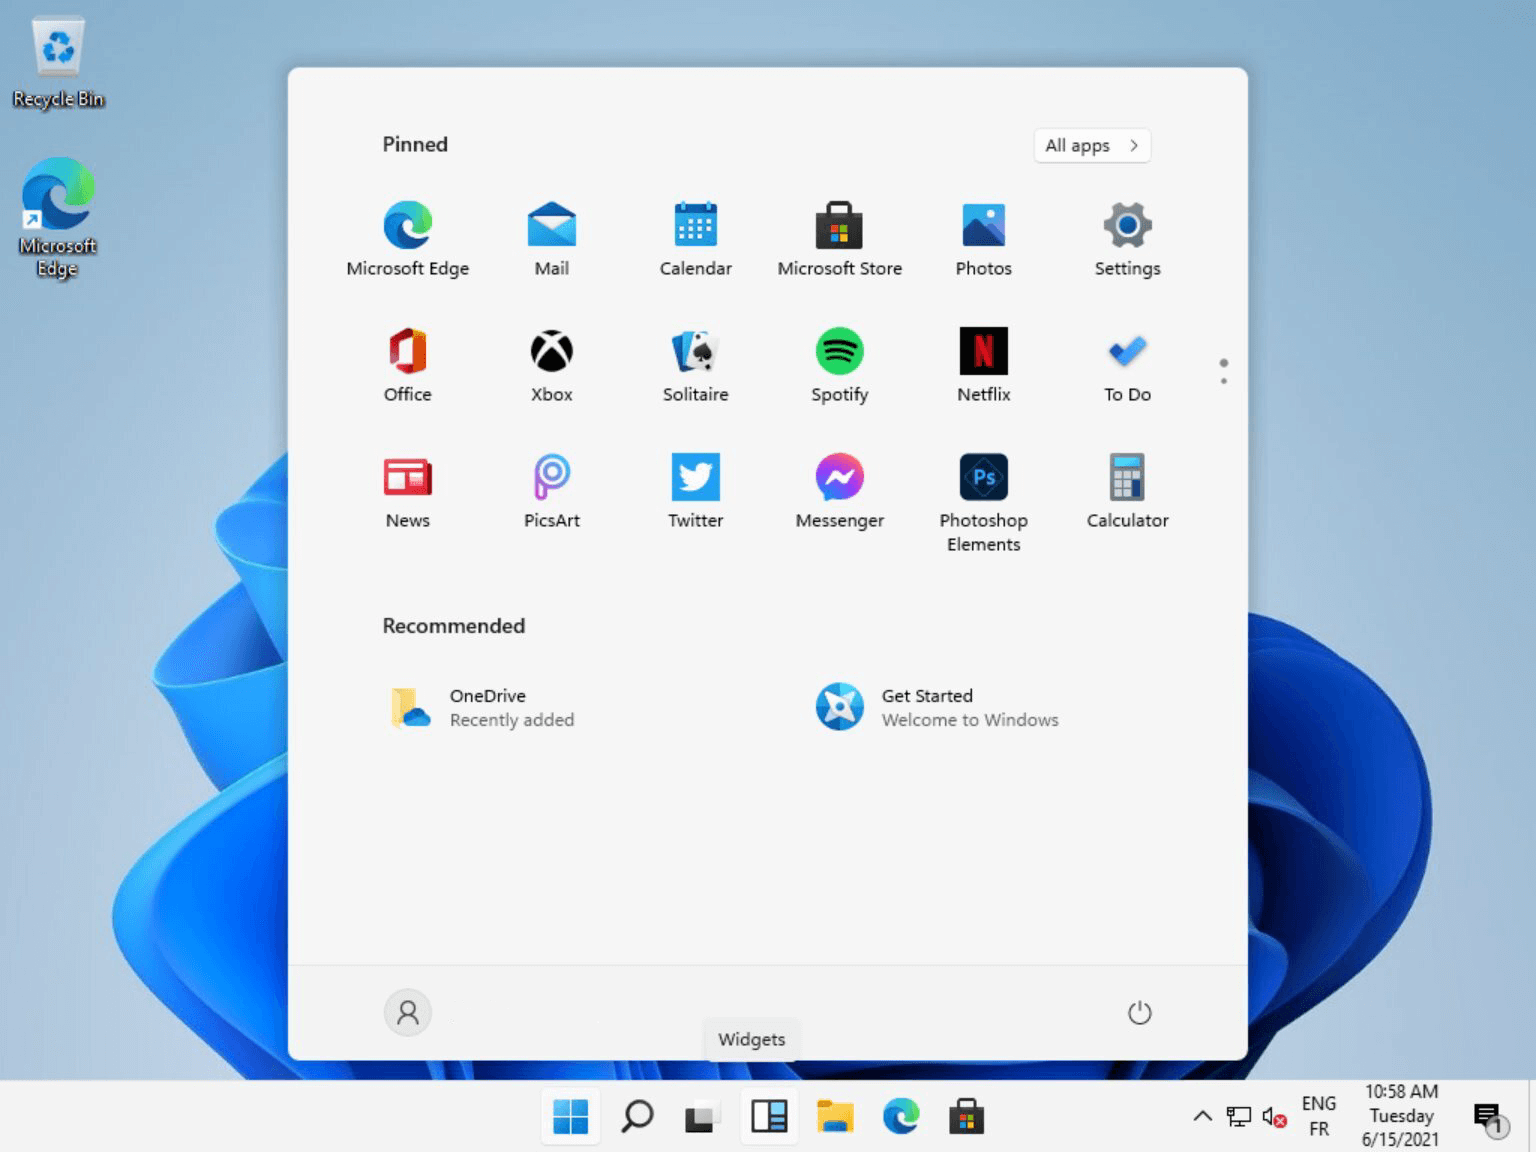
Windows 11 brings users a brand-new UI interface, and also provides many innovative features designed to support the current mixed working environment, focusing on improving users’ work efficiency in a new and flexible experience. However, the system requirements for Windows 11 are different from previous Windows versions.
According to Microsoft’s official announcement, Windows 11 supports UEFI boot mode and GPT system disk. It means you should convert MBR system disk to GPT for upgrading from Windows 10 to Windows 11.
Please read the following next paragraph to learn some related information.
What you should know before upgrading to Windows 11?
Before installing Windows 11, we need to figure out What are UEFI and GPT?
Both MBR and GPT are disk partition styles. MBR is an old partition style that requires a traditional BIOS to boot and supports hard drives up to 2 TB and 4 primary partitions or 3 primary partitions + 1 extended partition. While GPT is a new partition style, which is booted by UEFI boot mode. It supports partitions up to 9.4ZB and has no limit on the number of partitions.
How do I upgrade from Windows 10 to Windows 11 step by step?
Now, it is time to talk about the method of upgrading from Windows 10 to Windows 11. You may need to use the Windows 11 requirement check tool to check if your PC can install Windows 11.
▶ Part 1. Convert MBR to GPT
According to the content mentioned before, Windows 11 only supports GPT+UEFI, so you need to convert the system disk from MBR to GPT before changing Legacy to UEFI.
To convert MBR to GPT without losing data, using Qiling Disk Master Professional is a good choice. It only takes three steps to convert system disk from MBR to GPT, and it is guaranteed. Please download the demo version to see how it works.
Tip: You'd be better backup computer before upgrading to Windows 11 if you need to restore Windows 11 to Windows 10.
Step 1. Install and run Qiling Disk Master Professional. Right-click the disk (take the system disk as an example) and choose “Convert to GPT”.
Step 2. Waiting to convert the partitions.
▶ Part 2. Change Legacy BIOS to UEFI
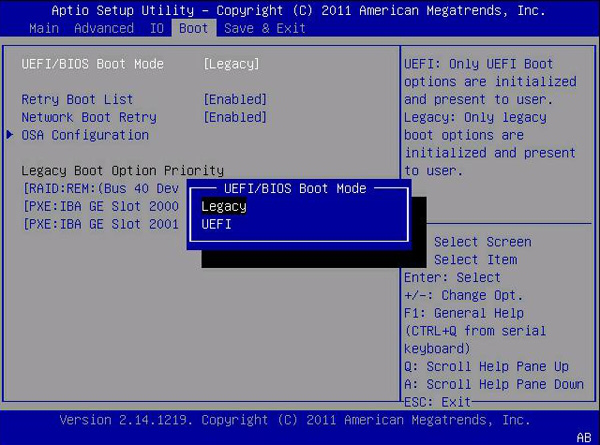
After successfully converting system disk from MBR to GPT, you also need to change Legacy BIOS to UEFI.
Step 1. After restarting the computer, When a picture appears on the computer screen, enter the BIOS according to the key prompted at the bottom of the screen (keys vary from machine to machine).
Step 2. Use the arrow keys to select UEFI/BIOS Boot Mode in the Boot column, and then change Legacy to UEFI. Then saving and exit.
After everything is done, you can go to “Update & Security” in “Settings” and click “Check for updates” to upgrade to Windows 11.
Conclusion
The above is the whole process of upgrading from Windows 10 to Windows 11. With Qiling Disk Master, converting the system disk from MBR to GPT will no longer be a problem. If you are a Windows Server user, don’t worry, Qiling Disk Master Server is specially designed to solve various disk problems of Server users.
Related Articles
- How to Create New Partition from C Drive in Windows 7 Home?
This tutorial will introduce how to create partition from C drive in Windows 7 Home Basic using Disk Management and freeware Qiling Disk Master. - The Top Six Ways to Fix Windows 7 running slow
Stuck with “Windows 7 slow” issue but have no idea? Read this post to learn how to speed up a Windows 7 PC and improve its performance. - 7 Easy Ways to Fix Windows 11 Stuck on Boot Screen
Is your PC stuck on Windows 11 Stuck on Boot Screen, blocking you from accessing your account? Then follow this guide that offers easy ways to fix Windows 11 Stuck on Boot Screen. - Can Windows 10 Be Cloned [2024 Fullest Guide]
This article covers the theme Can Windows 10 Be Cloned and introduces a professional tool to clone Windows 10.


