Upgrade to Windows 11: What You Need to Know?
About Windows 11
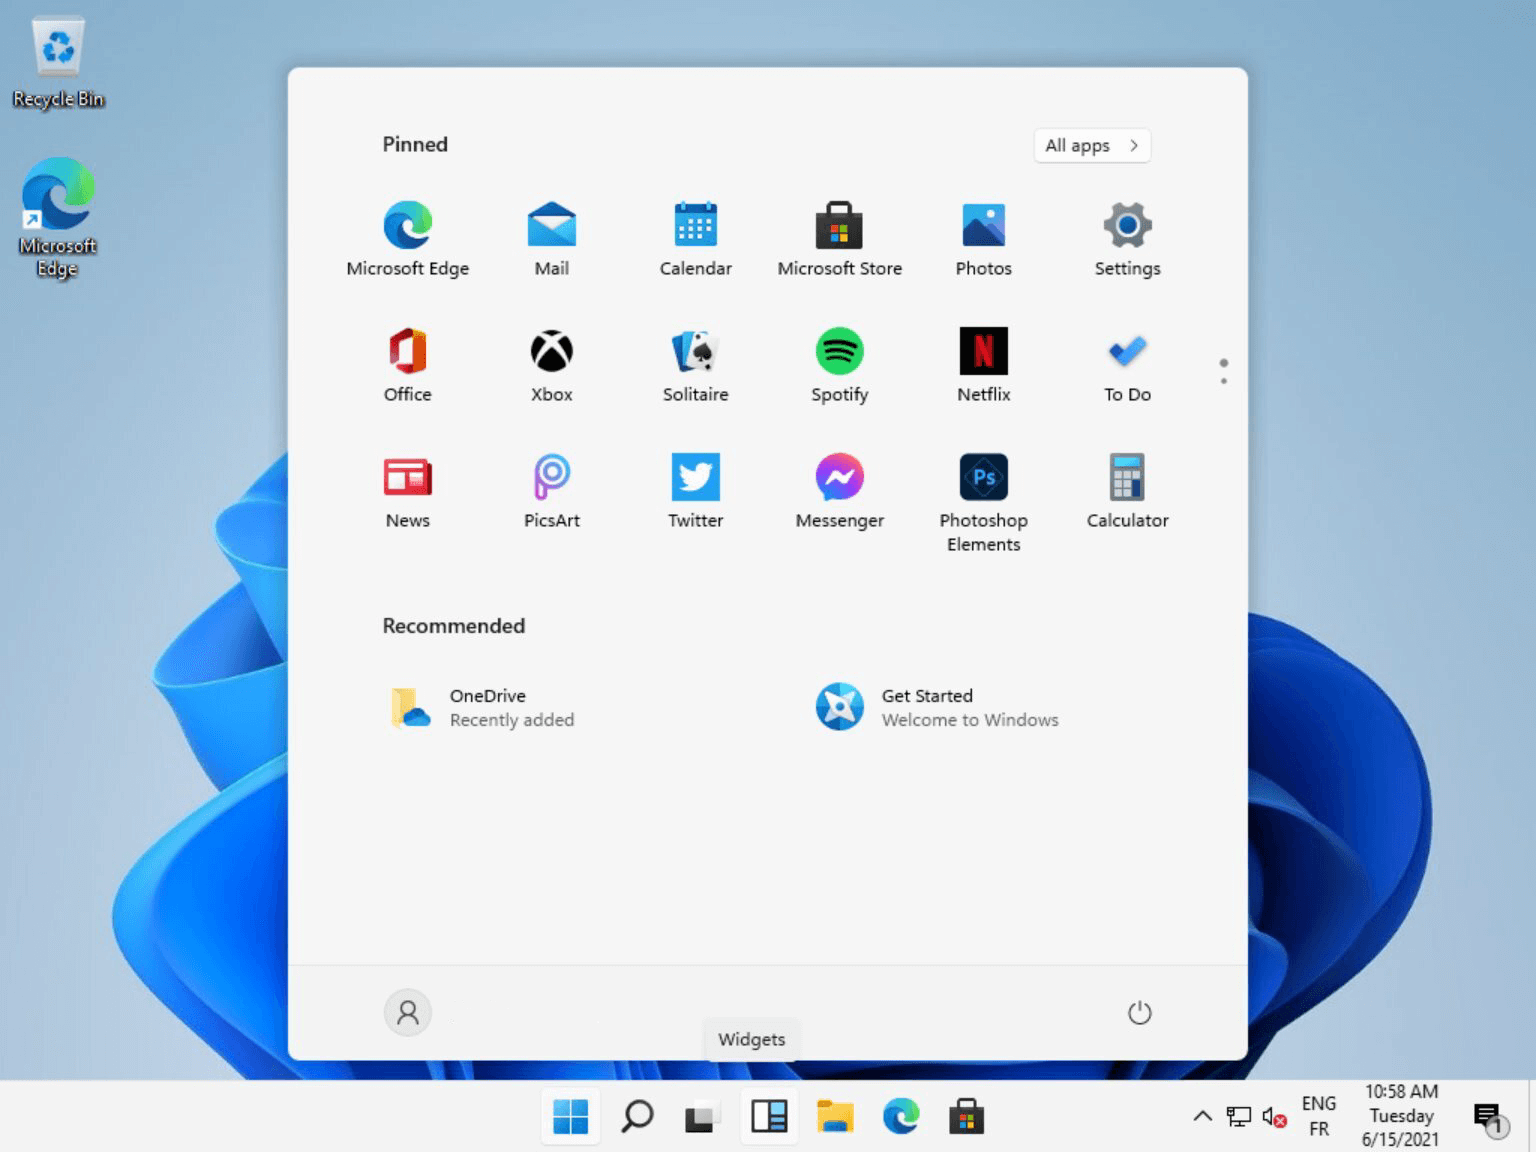
Windows 11 is the newest Windows operating system that will be released late in 2021 by Microsoft. It comes with a redesigned UI, a new Start menu, a new square Windows logo, and lots more. And it is supposed to have a faster speed in waking from sleep, browsing and so on. A big surprise is that users can install and run apps on Windows 11. Besides, the new feature “Direct Storage”, which allows games to directly upload assets to the graphic card. Then you can launch your game faster and get a better game experience. Of course, there are many other changes in Windows 11.
Full guide on how to upgrade to Windows 11
After the release of Windows 11, there must be many users who want to upgrade Windows 10/8/7 to Windows 11 to enjoy the new OS. For those users, it's wise to refer to the following guide before upgrading. The guide contains three sections: what should you know before the update, detailed steps to upgrade to Windows 11, and something you need to know after the update.
▐ Section 1: Before upgrading to Windows 11
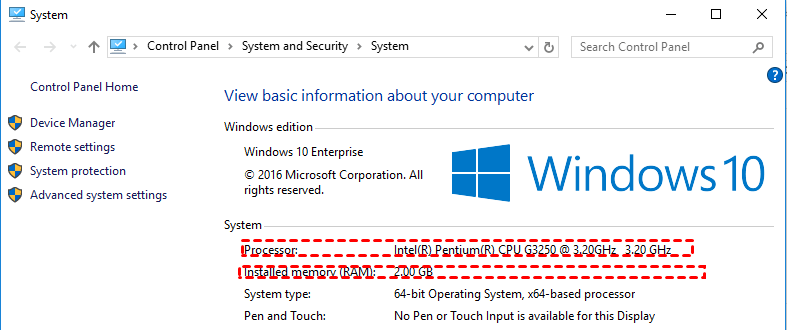
Prior to upgrading your current OS to Windows 11, it’s important to know whether the new OS is supported by your PC hardware.
☞ To view your computer’s processor, RAM, right-click This PC and choose “Properties”.
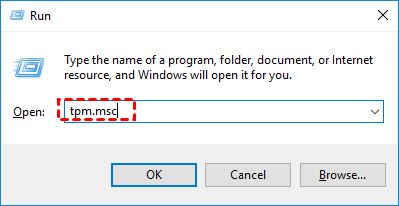
☞ To check TPM version of your PC, follow these steps:
Step 1. Press “Windows” + “R”, input “tpm.msc” and press Enter.
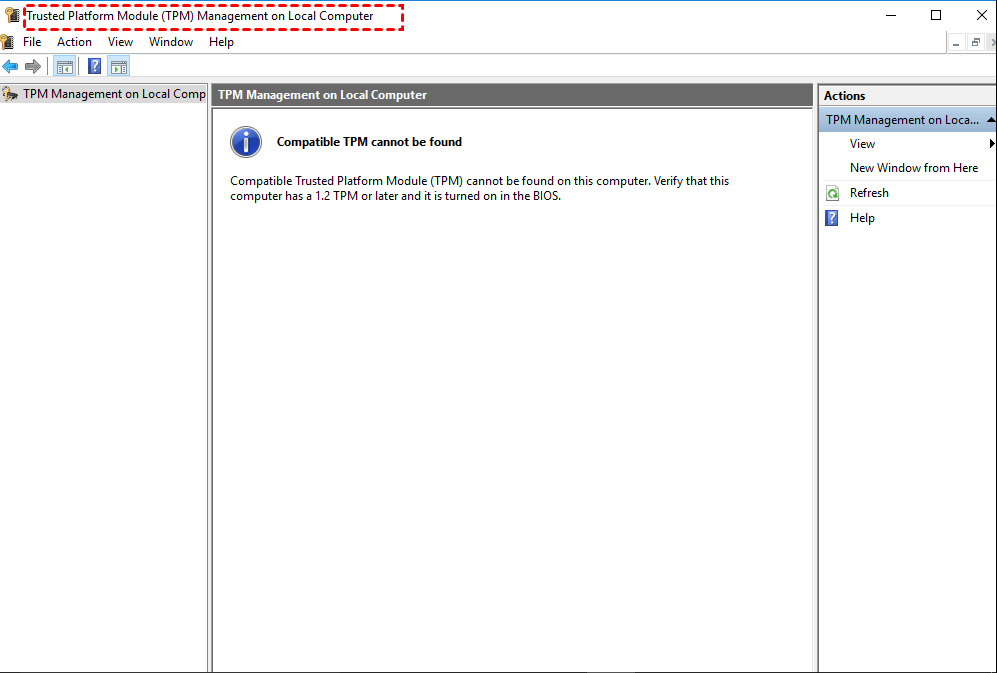
Step 2. In the pop-up window, you can view the TPM specification version that your chip supports.
Note: If you see the message "Comptiabel TPM cannot be found", you can enable TPM in BIOS: Enter BIOS> Change BIOS into "Advanced Mode" > go to Settings>Miscellaneous > enable TPM
☞ To check the graphics card on your computer, walk through the steps below:
Step 1. In the Search box, type “System Information” and click it to open it.
Step 2. Expand “Components” and click “Display”.
Step 3. Then, you’ll see the type of Graphics card.
If you think it’s a lit bit complicated to check out those items on your PC, you can use the PC Health Check app to see whether your PC is eligible to upgrade.
After you have confirmed that your computer hardware meets the Windows 11 hardware requirements, to avoid data loss caused by events during update, it’s highly recommended to back up your system and important files in advance.
▐ Section 2: Steps to upgrade to Windows 11
If you have complete hardware check and system & files backup, now you can have a look at how to complete Windows 10 to Windows 11 update after Windows 11 release.
Step 1. Click “Start” and “Settings”.
Step 2. On the window, click “Update & Security”.
Step 3. On the “Update & Security” window, click “Check for update” and then Windows 11 will show up in the Download updates section.
Step 4. Then, wait for the update to download and install.
▐ Section 3: After upgrading to Windows 11
After you update OS to Windows 11, you can explore the new features of the OS. And if you find out that a certain device not compatible with Windows 11 or you like Windows 10 more, you can downgrade Windows 11 to a previous version. If you find that your system C drive is almost full after the Windows update, you can turn to a professional and intuitive partition manager, Qiling Disk Master Professional to adjust partition size flexibly. It enables you to extend C drive with non-contiguous unallocated space or by allocating frees space directly from another drive on the same disk. See how to use it to solve the inadequate space of C drive after upgrading to Windows 11 from Windows 10.
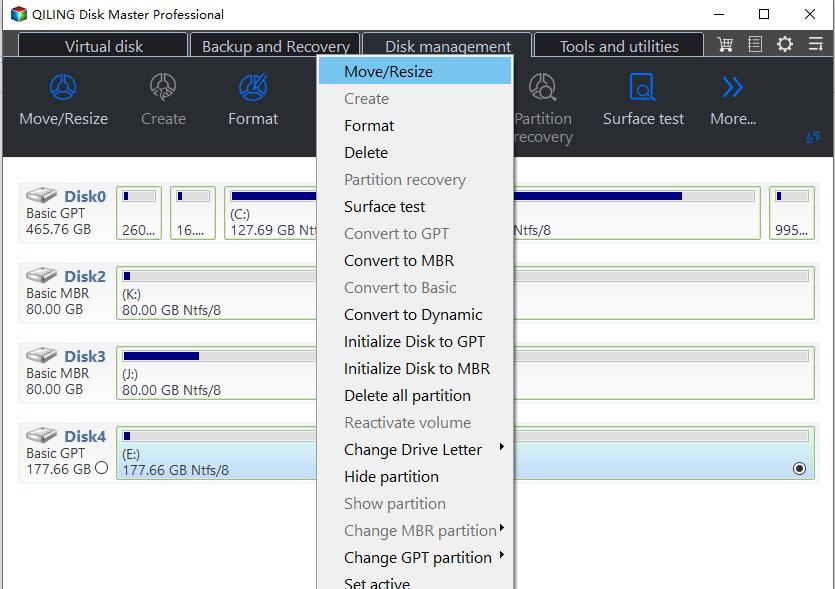
Step 1. Right-click the drive that has extra unused space and choose “Move/resize”.
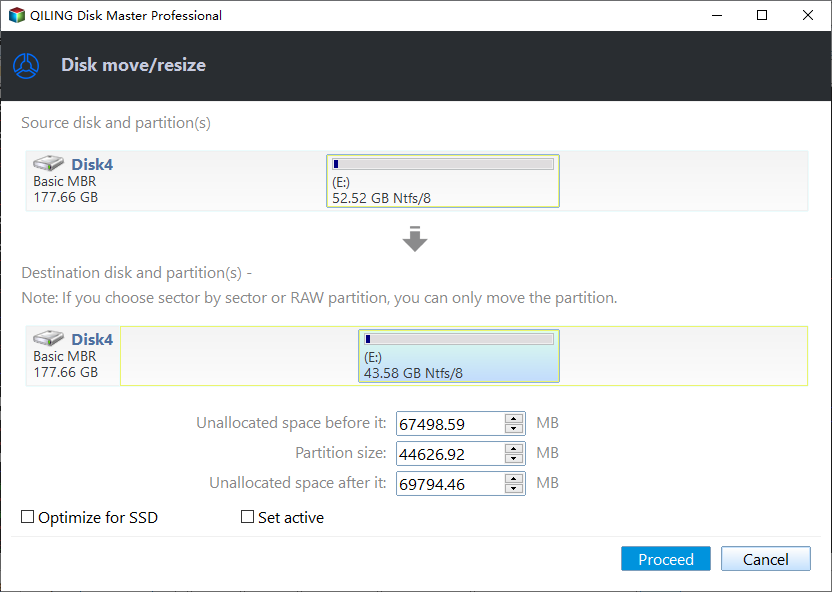
Step 2. Input how much space that you want to allocate from partition D and choose C drive as the target space.
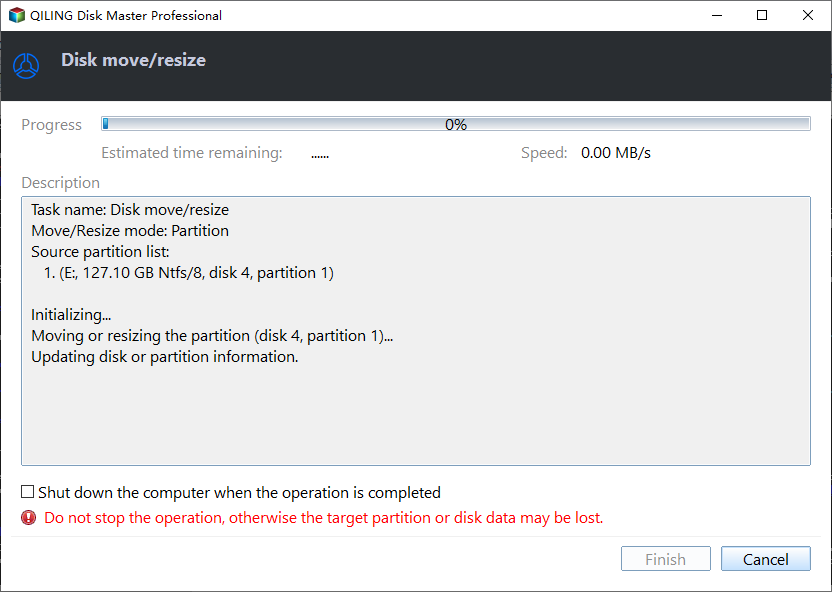
Step 3. Now, you can preview what will happen after you allocate free space to C drive. Click “Proceed” after you confirm it.
Notes:
▪ To free up space on C drive, you can run Disk Cleanup, disable hibernation, move installed apps to another drive, and so on.
▪ The partition tool also allows you to clone hard disk drive to SSD, convert GPT to MBR, and many more.
Related Articles
- How to Clone Windows to a New Drive [2024 Full Guide]
This article covers a professional tool to help you clone Windows to new drive and provides detailed steps on how to clone the operating system to a new drive. - How to Format My 1TB Hard Drive to FAT32? 2024 Guide for Beginners
Briefly state the goal of this page, and call Windows users to follow this page to learn how to efficiently 1TB hard drive to FAT32 successfully. - How Do I Format Hard Drive on Windows 11? 2024 Complete Guide
Briefly state the goal of this page, and call Windows users to follow this guide, tell them they'll successfully format their external hard drive without losing any data on Windows 11/10/7 computers. - How to Format Galaxy S5 SD Card [2024 Newest Solutions]
This passage will help you figure out the reasons for formatting the Galaxy SD card and offer three solutions to teach you how to format Galaxy S5 SD card on Windows, Mac, and Android.
