Fixed: Windows 11 Go Back to Windows 10 Not Working
User Case
Unable to do "Go back" on Windows 11
"I'm happy to help! Since you're trying to go back to Windows 10, I assume you're within the 10-day period where the 'Go back' option is available. If that's the case, the 'Go back' option in System->Recovery->Go Back & Restore should work. If not, you can try using the 'Reset this PC' option in the same menu, which will reinstall Windows 11 without affecting your files. If you're still having issues, you may want to try using a third-party tool to create a system image or clone your current installation to a separate drive, which will allow you to easily switch back to Windows 10 later. Would you like me to walk you through any of these steps?
- Question from Microsoft Forum
Windows 11 is Microsoft's latest operating system, offering a new interface and features that bring Windows into the post-2020 era. With more people working from home and the office, Windows 11 aims to bridge this gap. For eligible Windows 10 PCs, a free upgrade to Windows 11 is available.
Some users may encounter issues when installing Windows 11 or experience dissatisfaction with its features, leading them to want to downgrade to Windows 10. Microsoft allows a 10-day rollback period, but if the "Go back" button fails or the 10-day window has passed, users may need to explore alternative solutions. If you're interested in learning more about downgrading from Windows 11 to 10, read on.
Quick Workarounds to Windows 11 "Go Back" Not Working Issue
After upgrading to Windows 11, you have 10 days to downgrade to Windows 10 while keeping your files and data. The easiest way to revert is to use the "Go back" feature. If that fails, you can use other workarounds.
Method 1: Downgrade from Windows 11 to Windows 10 with Uninstall latest feature update
If Windows 11 go back not working, you can uninstall Windows 11 in the Windows 11 recovery environment. Then, let's learn the detailed steps.
Note✍: This method is only available within the first 10 days of installing the Windows 11 operating system. If the installation has exceeded 10 days, please use method 2.
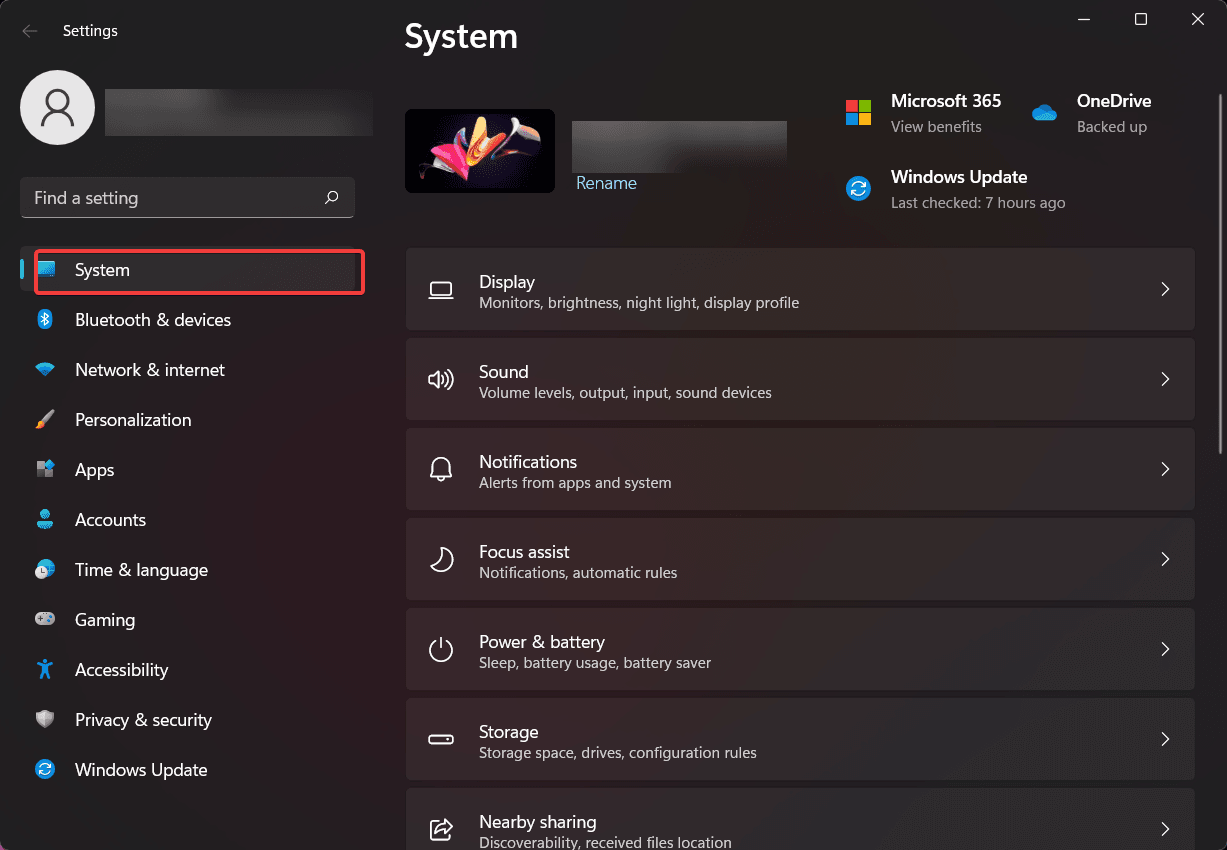
- Open "Settings" from Windows box and click "System".
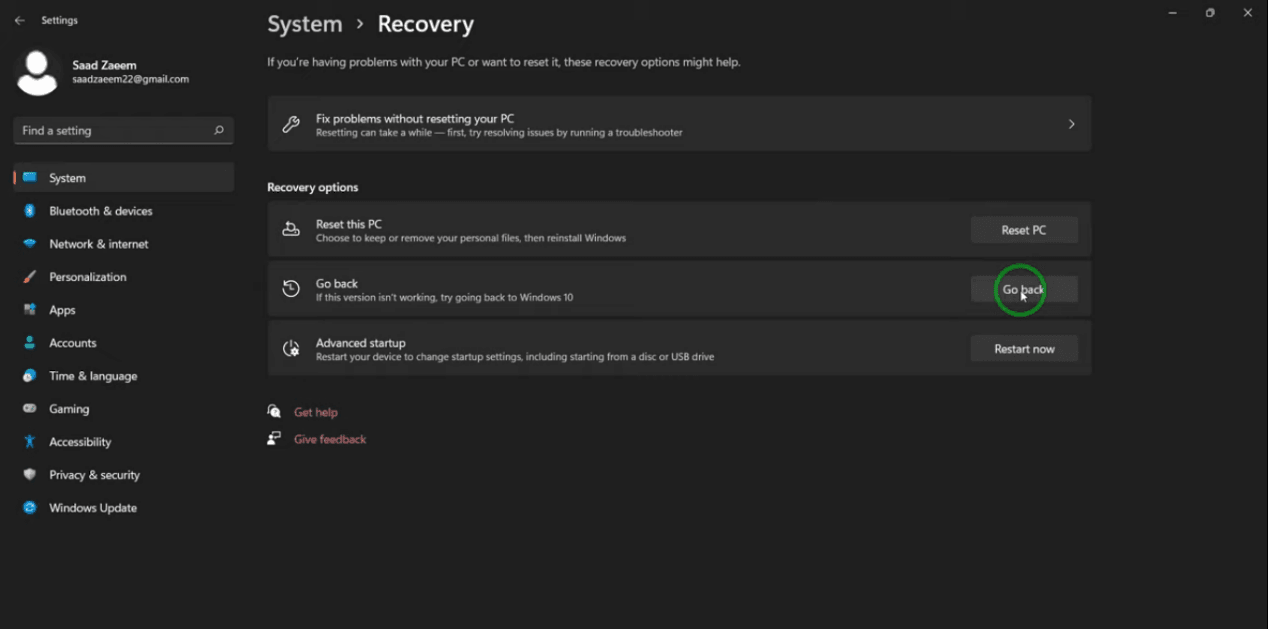
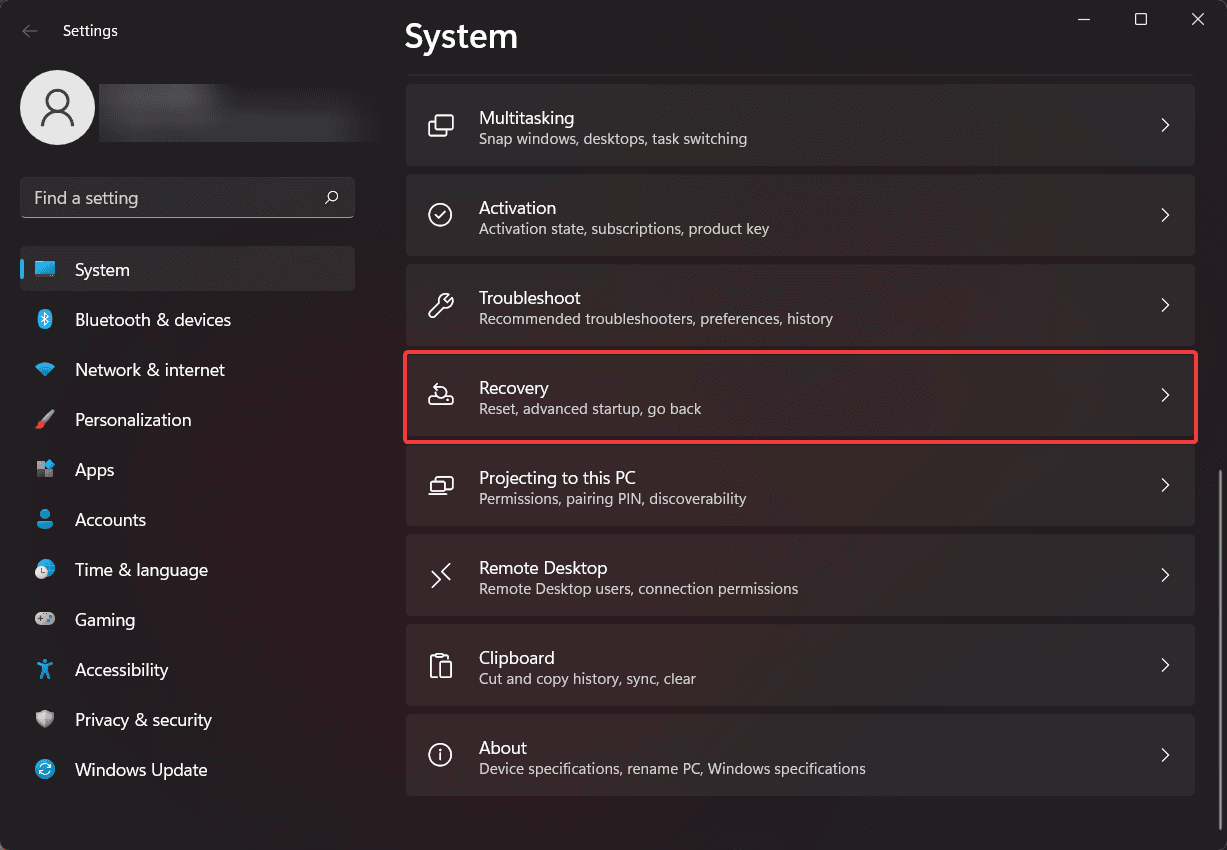
- Select "Recovery" from the menu.
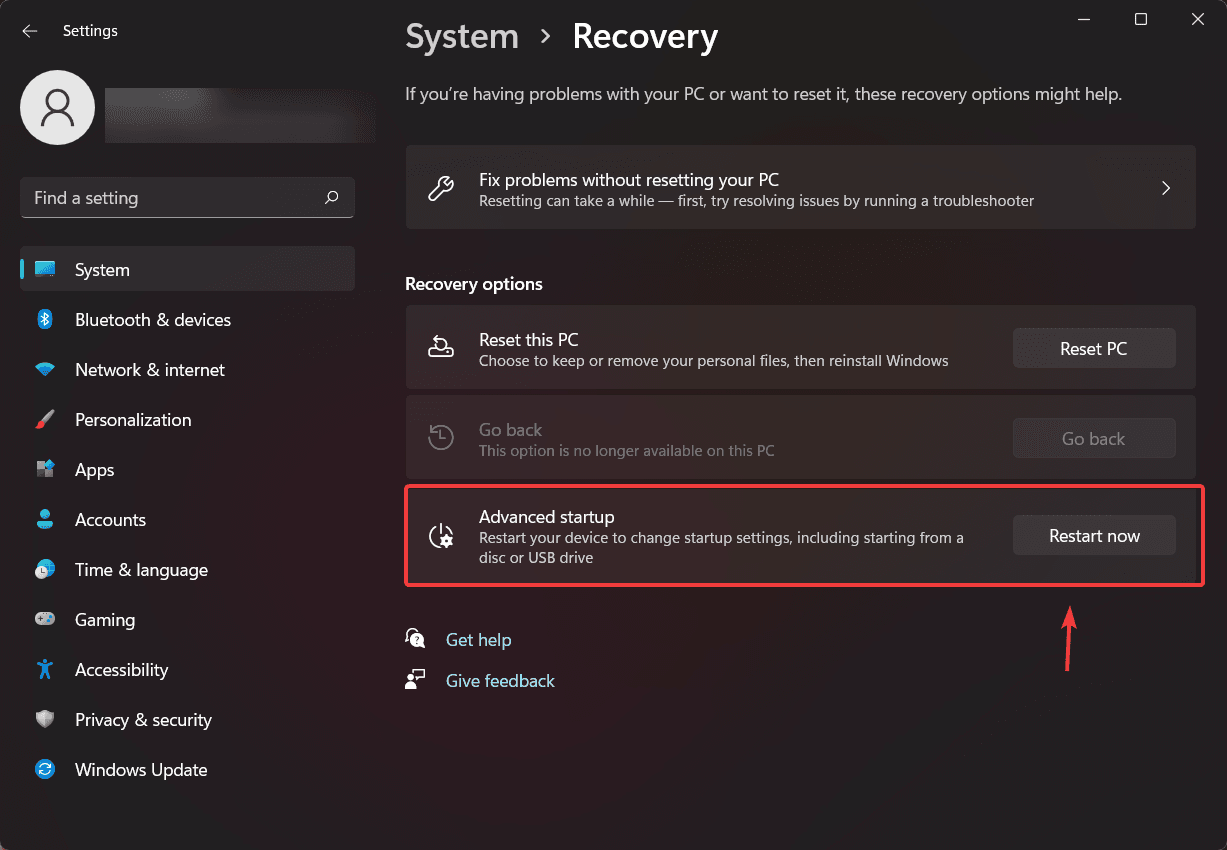
- Under Recovery options, find "Advanced startup" and click "Restart now".
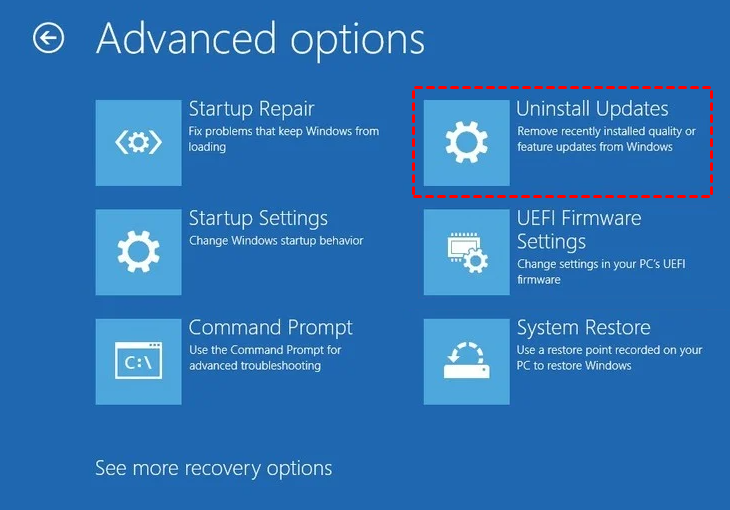
- After restarting your computer, you will be taken to the Windows Recovery Environment. From there, choose "Troubleshoot" and then "Advanced options".
- To uninstall the latest feature update in the Advanced options window, select "Uninstall Updates" followed by "Uninstall latest feature update".
Method 2: Go back to Windows 10 from Windows 11 after 10 Days via Clean Install
After 10 days of installing Windows 11, the old version of Windows is automatically removed to free up space on the hard drive. If you want to go back to Windows 10, you can perform a clean installation. This process will allow you to start fresh with a new installation of Windows 10. I can guide you through the steps to do this.
Note✍: Reinstalling Windows 10 will cause data loss, so please back up your files before doing so.
- Download the Media Creation Tool from the Microsoft download page.
- Run the .exe file, click "Accept" to agree to the terms of service.
- To upgrade to Windows 10, select the "Upgrade this PC now" option in the first Windows 10 Setup window, then click "Next". This will initiate the download of the latest version of Windows 10, allowing you to continue using your PC in the meantime.

- After the download is complete, click "Next" and then "Accept" from the following screen.
- From the "Choose what to keep" screen, select "Nothing" and then "Next".
- Click on Install to begin the installation process.
Backup Windows 10 before Upgrading to Windows 11
With the help of Qiling Disk Master, you can easily back up your Windows 10 operating system in advance, ensuring that you won't lose any data in case of system problems. This free backup software allows you to create a full backup of your system, including all installed applications and settings, making it a reliable solution for protecting your data.
With Windows 11's built-in feature, you can easily revert back to Windows 10 if needed, ensuring your important data remains safe. This feature also allows you to restore to Windows 10 if you encounter any issues with Windows 11 or simply prefer the features of the older system. It's always a good idea to back up your data and system to prevent any unexpected losses.
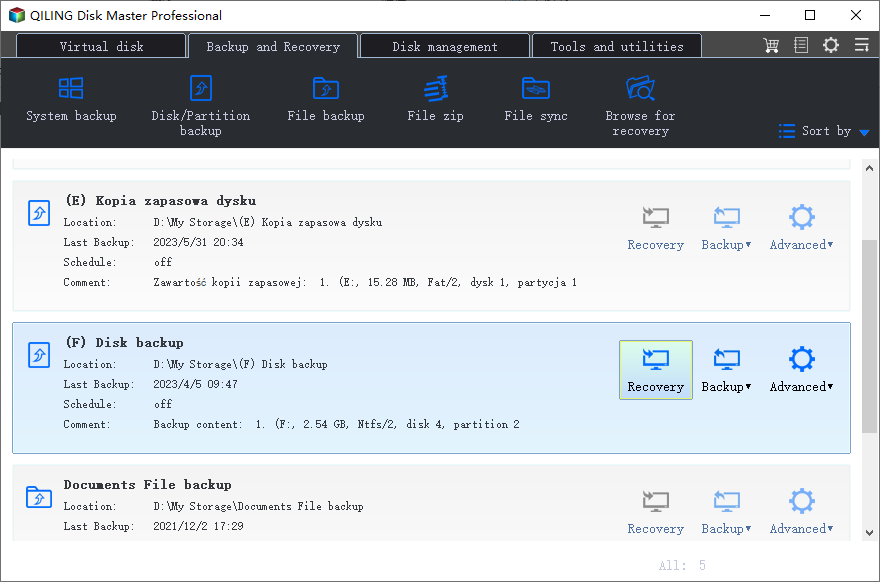
This comprehensive backup software supports Windows 7/8/10/11 and offers various backup methods, including Disk Backup, File Backup, System Backup, and Partition Backup, allowing users to choose the best option for their needs. Additionally, it enables users to save their backups in different storage locations, such as local disks, network locations, cloud drives, and external hard drives, providing flexibility and convenience.
To create a system image backup and downgrade your computer from Windows 11 to Windows 10, start by downloading and installing Qiling Disk Master. This tool will enable you to create a system image backup and perform the downgrade process.
Create Windows 10 system image before upgrading to Windows 11
Step 1. Launch Qiling Disk Master and enter into the dark blue interface, then click "Backup" and select "System Backup" from the left side.
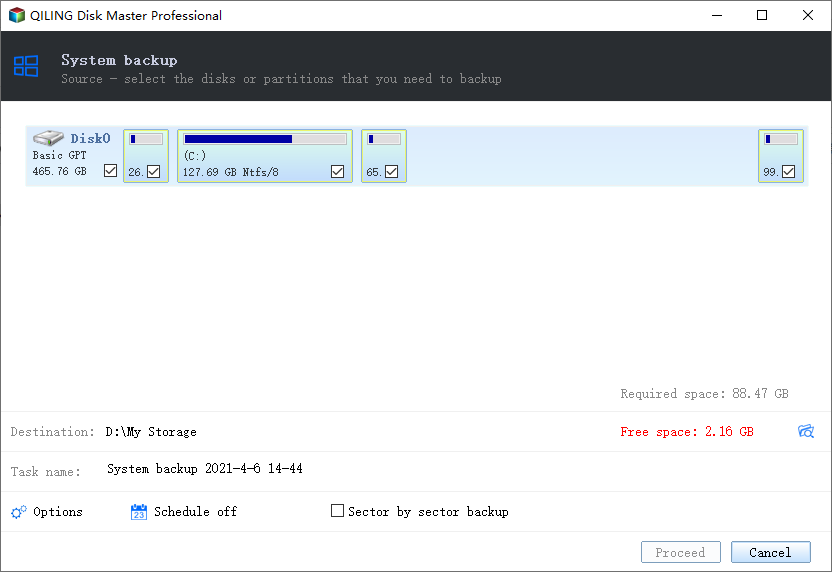
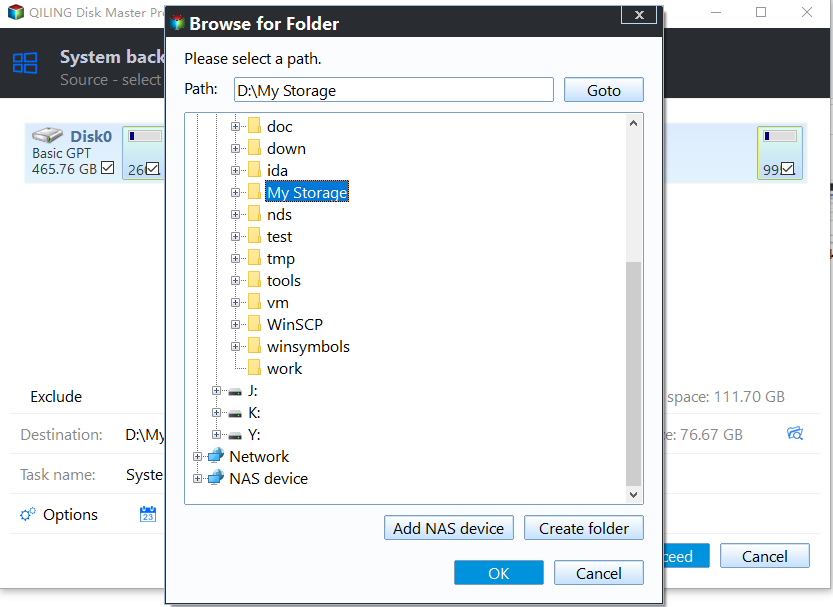
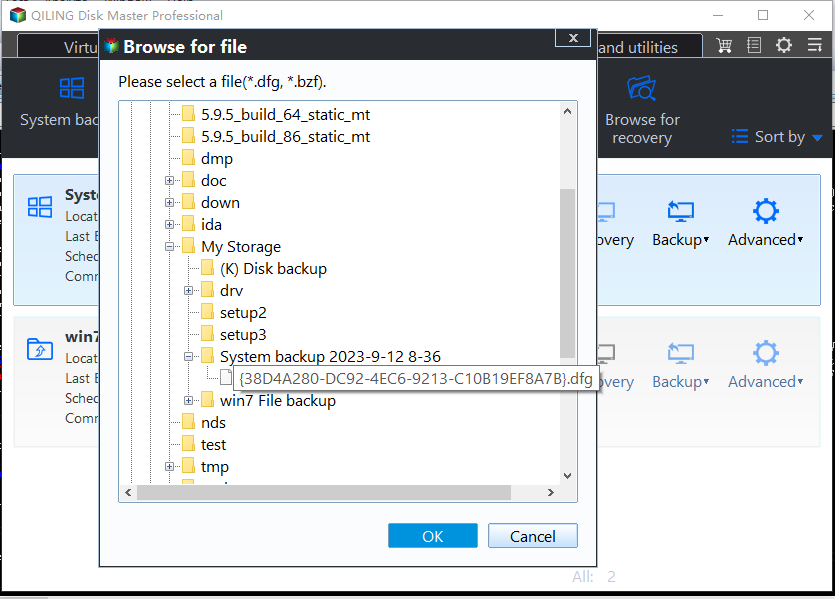
Step 2. The program will automatically select the system and boot partitions as the source by default, and then prompt the user to choose a destination path to save the system image files.
Step 3. Click "Proceed" to create Windows 10 system image.
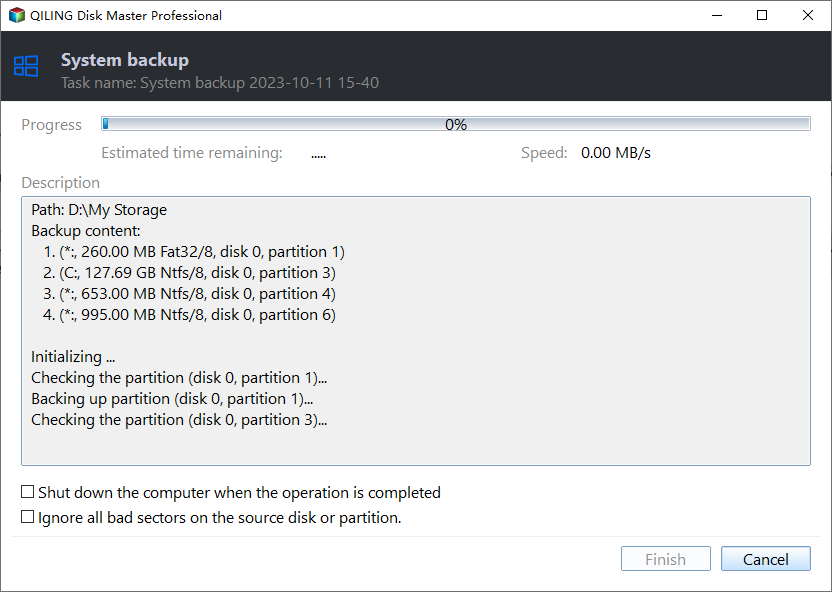
Step 4. Wait until the process is complete and click "Finish".
Revert Windows 11 to Windows 10
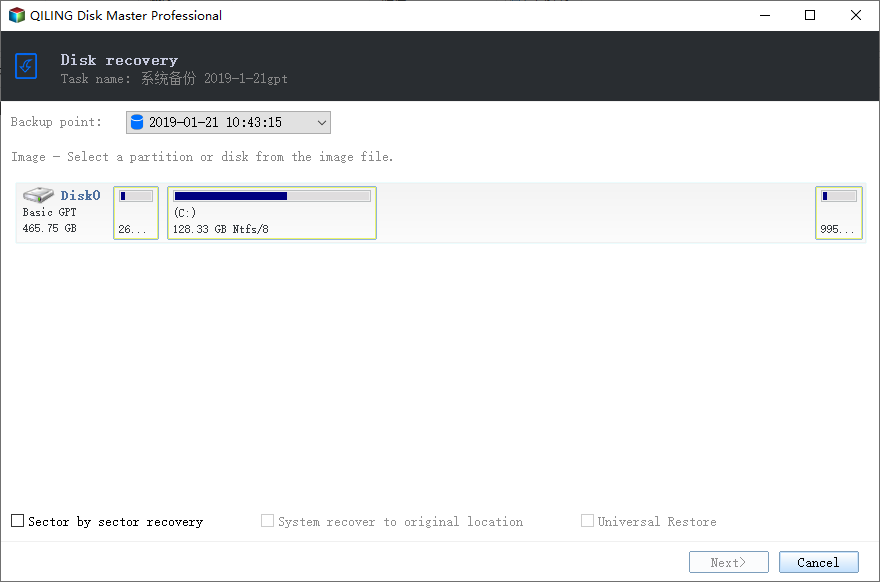
Step 1. Open Qiling Disk Master, select "Restore" on the left side, then click "Select Task".
Step 2. Select the Windows 10 system image backup you created in advance and click "Next".
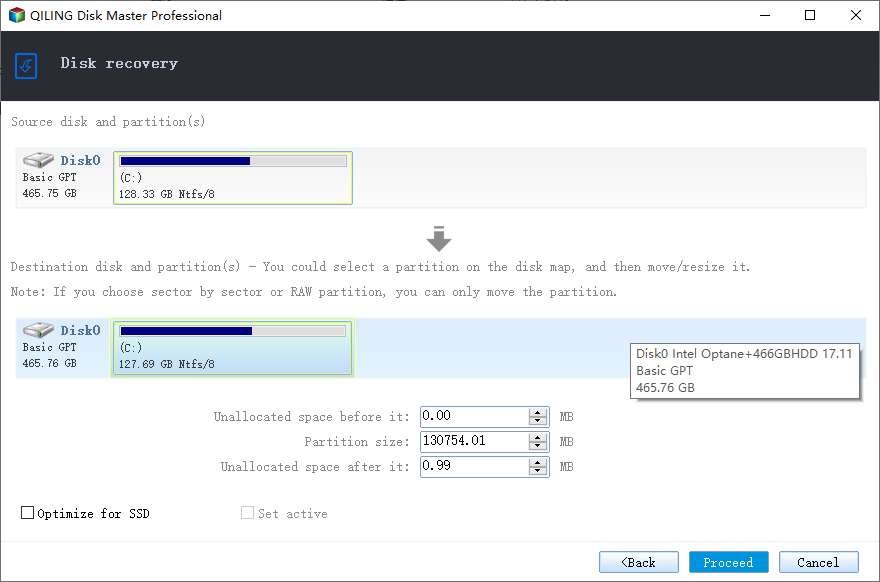
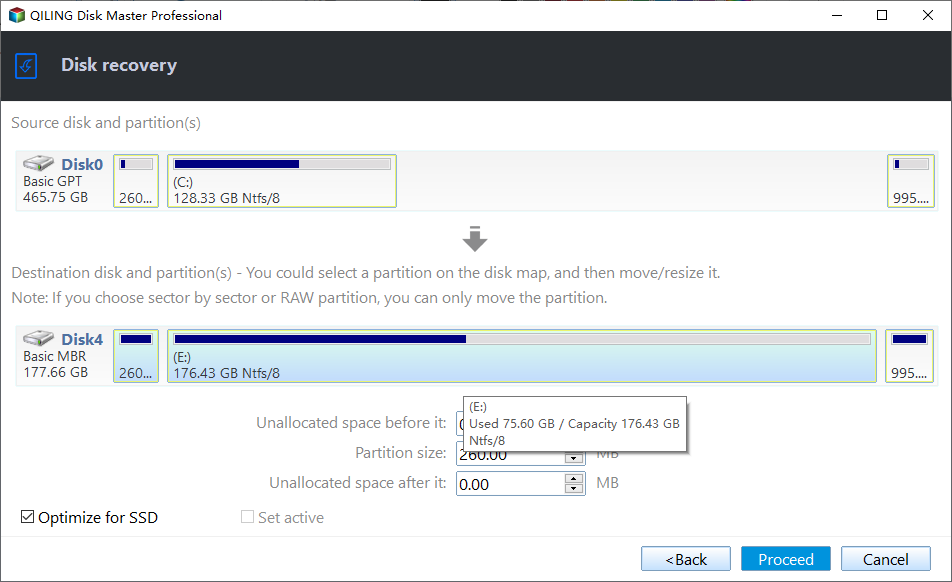
Step 3. To restore the entire image, select the option to restore the system to another location and click "Next".
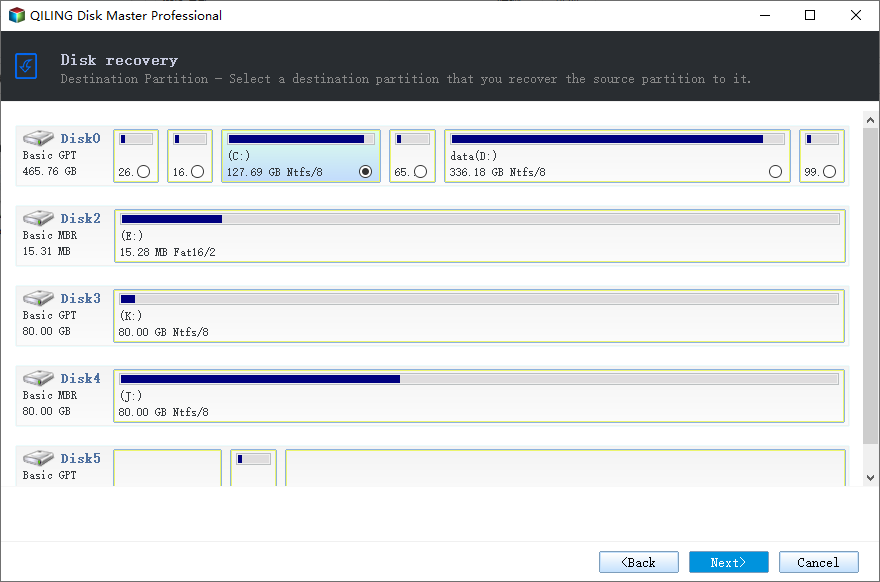
Step 4. To set the system drive where Windows 11 is installed as the destination path, select it from the available options and click the "Next" button.
Step 5. Confirm all your settings and click "Proceed".
▶ What if you don't have a Windows 10 system image at hand?
If you haven't created a system backup before upgrading to Windows 11, you can use a working Windows 10 computer to create a system image backup and restore it to your computer, ticking the Universal Restore feature to ensure secure boot on different hardware.
Summary
Windows 11's "Go back" feature, which allows users to downgrade to Windows 10, may not work if you miss the limited time provided by Microsoft to do so. If this happens, you may encounter issues with the "Go back" button, making it difficult to revert back to Windows 10.
To avoid potential problems, it's recommended to back up your data and system in advance using the free backup software Qiling Disk Master, which doesn't have a deadline limitation. This way, you can safely roll back your computer to Windows 10 at any time after upgrading to Windows 11.
It is also a good migration tool that can help you migrate OS/data to various SSD brands, such as Kingston, Samsung, and WD Blue, and more.
Related Articles
- How to Return/Roll Back Windows 11 to Windows 10 (4 Ways)
The newly published Windows 11 has attracted people's eye, but still some people will regret installing and want Windows 10 back. How to return Windows 11 to Windows 10? How to protect your data from damage? Get a full guide from this page. - Computer Won't Start after Windows Update | 5 Quick Fixes
- How to Fix or Reset Windows Update in Windows 10, 11 (6 Methods)
If you get stuck downloading Windows Update in Windows 10/11, try following methods to fix it or reset Windows Update components. Also, here are some effective tips if you receive serious errors after upgrading. - [Full Guide] How to Partition SSD for Windows 10 Install
How to partition SSD for Windows 10 install? This tutorial will provide 2 different ways and offer a step-by-step guide.