Top Two Ways to Make Windows 11 Sync Folders Fast and Easily
Need to sync folders on Windows 11
Regularly backing up critical data safeguards against unexpected data loss, making this an indispensable precautionary measure. If managing backup image files seems too time-consuming, consider synchronizing important files between two locations instead.
Synchronizing files provides an added layer of protection against potential data loss by maintaining equivalent copies across multiple storage locations. You could move files to another local folder, store them safely on an external hard drive, or even transfer files from one device (such as an external hard drive) directly onto your PC.
This comprehensive guide provides step-by-step instructions on how to efficiently sync files between two folders within Windows 11 using two free and reliable tools at your disposal. Feel free to choose the method that suits your specific needs.
- Use OneDrive to sync folders in Windows 11
- Sync folders in Windows 11 with Qiling Disk Master freely (easiest)
Use OneDrive to sync folders in Windows 11
By utilizing OneDrive, you can sync files and folders not only within your computer but also access them remotely through the cloud, allowing seamless availability across devices – whether it's your computer or mobile phone.
◉ When working with a synced OneDrive folder, changes made – such as adding new content, modifying existing items, or deleting something altogether – automatically propagate through both the local copy and its online counterpart; conversely, updates initiated via OneDrive also reflect locally.
◉ With multiple devices connected to your shared OneDrive account, you enjoy flexibility by being able to access shared files and folders on these linked devices even when offline, providing an added layer of convenience.
◉ Any modifications made by yourself or others will be automatically synchronized once you're back online. Moreover, leveraging OneDrive's built-in "Share" feature allows for effortless sharing of entire folders directly with desired individuals.
Now let's see how to do Windows 11 OneDrive sync.
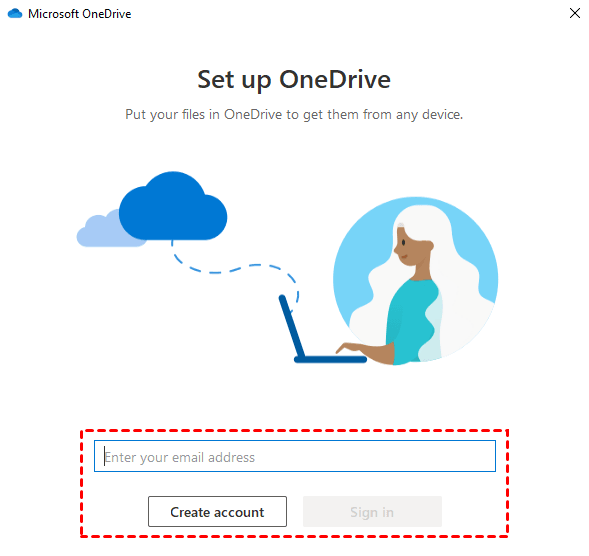
Step 1. Select the Start button, search for OneDrive, open it, and then sign in with your Microsoft account.
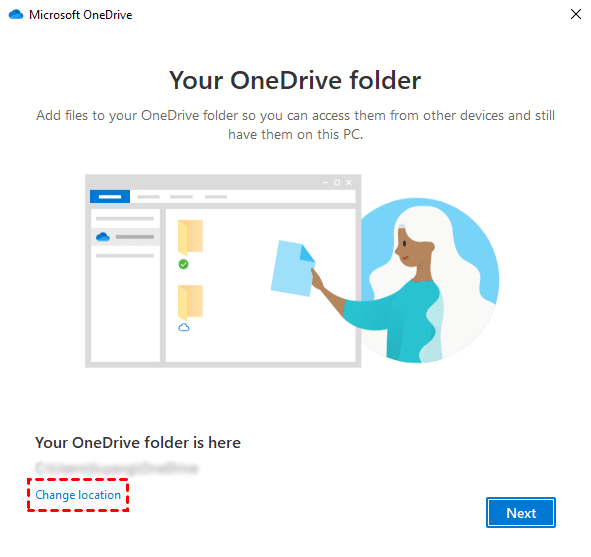
Step 2. On the This is your OneDrive folder screen, select Next to accept the default folder location for your OneDrive files.
Tip: If you want to change the folder location, select Change location--this is the best time to make this change, for you haven't synced any files yet.
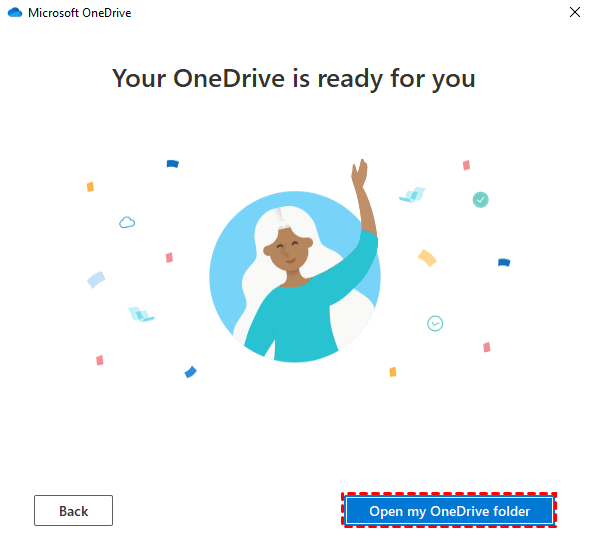
Step 3. Click Open my OneDrive folder in the Your OneDrive is ready for you page.
Step 4.Step 4 When you open this page, it will automatically select the Desktop, Documents, and Pictures folder on your PC for you and sync them to the OneDrive folder. And you can also drag and drop or copy and paste the files/folders you want to sync into the OneDrive folder.
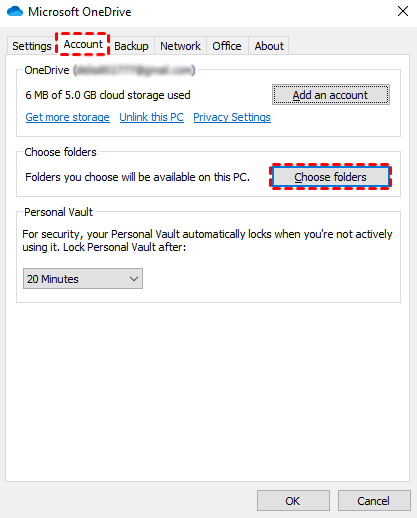
Tip: Any time you want to change the folders you sync on your computer, right-click that cloud icon in the taskbar notification area, and select Settings > Account > Choose folders. Find other information about your account and change other OneDrive settings from here.
Following that setup process, your local folders should be automatically synchronized with OneDrive within Windows 11 seamlessly. Nevertheless, it's essential to acknowledge potential issues certain users may encounter while utilizing this feature.
1. Insufficient space. The free version of OneDrive is only 5GB in size, and this size can only store files and images but cannot support large files.
2. Files or folders synced by OneDrive must be placed in its exclusive folder, which would be very troublesome and time-consuming.
3. OneDrive may keep automatically syncing files you don't want, which will slow down your network and your computer.
4. Sometimes when you sync with OneDrive, due to a limit on file upload size or a bad network connection, OneDrive sync pending will occur and the files may get stuck and never sync.
What should you do if encounter the above situation? Read on to find an easier way.
Sync folders in Windows 11 with Qiling Disk Master freely (easiest)
In addition to utilizing the native synchronization tool within Windows, another viable option exists – namely Qiling Disk Master Standard. This software offers a simpler approach to syncing folders, similar to 'copying' them but without creating image files afterward. As such, it provides direct access to contents at any point in time, making it highly convenient and accessible.
✎ This versatile solution enables syncing files between various storage types – including PC hard drives, external hard drives, USB flash drives, NAS (Network-Attached Storage) devices, or cloud-based services like Google Drive, Dropbox, etc., allowing seamless data transfer in both directions.
✎ Qiling Disk Master supports various popular cloud storage platforms including OneDrive, Google Drive, Dropbox, and so on.
✎ All Windows PC operating systems are supported, for example, Windows 11/10/8.1/8/7/Vista/XP.
Follow along with our step-by-step guide below to successfully sync local folders using Qiling Disk Master within your Windows 11 environment.
Step 1. Please download the free file sync software Qiling Disk Master Standard first and then install it on your computer.
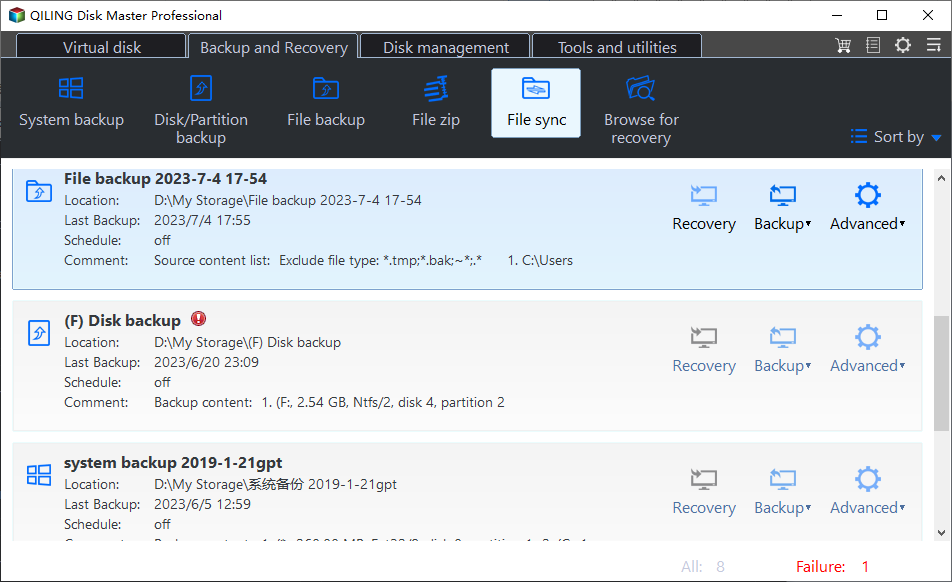
Step 2. Click the Backup and recovery tab page and then select File Sync.
Note: In addition to File Sync, the software offers three other advanced sync modes as follows. You can upgrade to the advanced version if you need.
◓ File Sync. It will keep the destination folder exactly the same as the source folder. If there are files only existing in the destination folder, they will be deleted.
◓ File Sync. As soon as the source folder in your computer changes, it will be instantly synced.
◓ File sync. It will sync changed files from the source directory to the destination directory and vice versa.
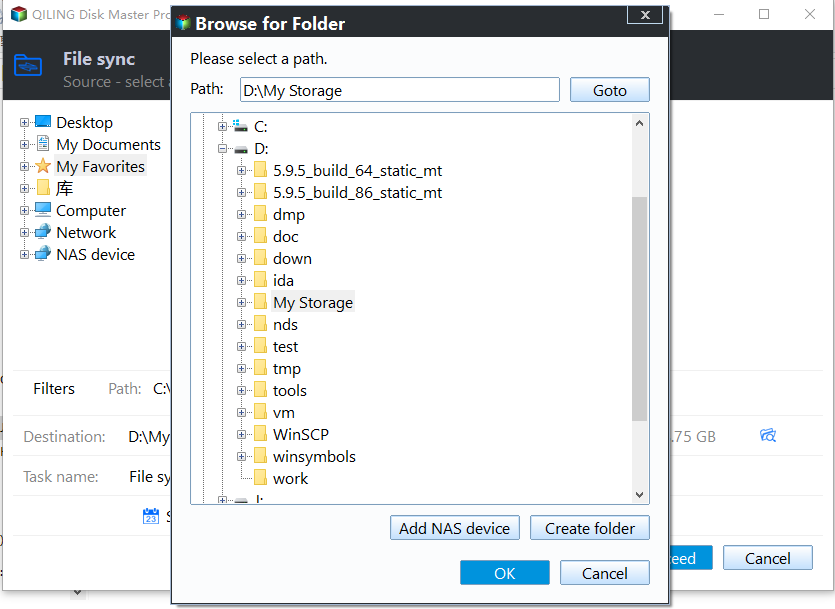
Step 3. Click Folder to select the folder which you want to synchronize. You can click the plus icon to add more folders to sync.
Step 4. Select a destination to store the folder, then click Proceed to perform the operation.
✍ Notes:
Options: You can write a note for your task to help you distinguish it from other backup tasks. In unattended operations, a notification can be emailed containing the result of each backup.
Schedule: It allows you to automatically sync your files, and you can set the fixed frequencies such as Daily/Weekly/Monthly/Event trigger/USB plug in. (The last two modes are available in Professional version)
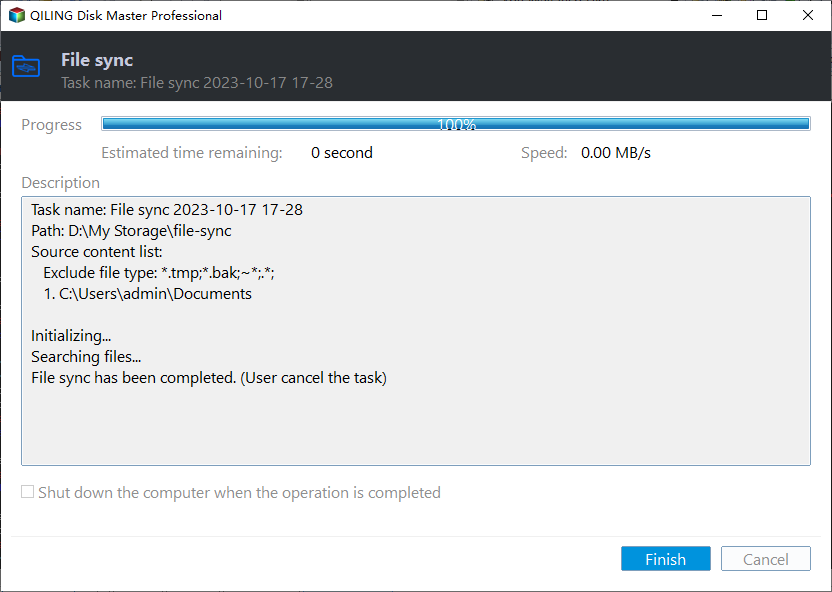
Step 5. Wait for the sync process to complete and then click the Finish button.
To sum it up
That concludes our guide on using either OneDrive or Qiling Disk Master Standard for synchronizing folders within your Windows 11 environment. If simplicity and reliability matter most, consider utilizing free and professional sync software such as Qiling Disk Master Standard. Not only does it facilitate effortless folder synchronization but also ensures subsequent changes are synced seamlessly.
You're right! In addition to its file/folder syncing capabilities, Qiling Disk Master offers even more features such as cloning entire systems or disks/partitions – making it an extremely versatile tool.
Related Articles
- Sync Folders between Drives in Windows 11, 10, 8, 7 (with Video)
This article will provide you with 2 reliable sync tool and illustrate how to sync folder between drives in Windows 7, 8, 10, 11 automatically. - Sync Two Folders with Robocopy Command Line in Windows 11, 10, 8, 7
You will learn more about Robocopy and examples to perform Windows sync two folders via command line - Robocopy. Meanwhile, this article offers an easier way. - How to Easily Sync Local Folder to OneDrive in Windows 11 (2 Ways)
You can learn how to easily sync local folder to OneDrive in Windows 11 with 2 effective methods. You can read on to catch more details. - 3 Ways to Make Windows Sync Folders between Computers
How to sync folders between computers in Windows 7/10/11? Read this guide to get 3 practical methods.
