How to: Create Windows 7 Bootable USB for Installation or Repair
Why create Windows 7 bootable USB drive?
There are many motivations to create bootable USB of Windows 7 and some are presented below:
▪ To make a fresh install of Windows 7 conveniently.
▪ To own the same Windows workplace environment in different places.
▪ To rebuild MBR, check system hard drive error or clone hard drive from bootable USB drive when PC is unbootable.
▪ To format/delete/erase C drive in WinPE environment.
Make Bootable USB of Windows 7 for Windows installation
It's easy and quick to install Windows 7 from USB drive. Now, check out those steps about how to create Windows 7 bootable USB drive for OS installation using CMD.
Step 1. Connect an empty USB drive whose capacity should be larger than 4GB for Windows 7 (8GB for Windows 11, 10, and 8.1).
Step 2. Press "Windows" + "R", input "cmd" to and click "OK".
Step 3. In the CMD window, run commands as follows to partition and format the USB drive.
▪ diskpart
▪ list disk
▪ select disk 1
▪ clean
▪ create partition primary
▪ select partition 1
▪ active
▪ format fs=ntfs
▪ assign
▪ exit (exit DISKPART, but doesn't exit the command prompt window)
Step 4. Mount the Windows installation media: put the Windows installation disc in the optical drive, mount the ISO, or extract its contents to a folder.
Step 5. Use BOOTSECT command to make the USB drive bootable.
▪ D: CD BOOT
▪ CD BOOT
▪ BOOTSECT.EXE /NT60 F:
Note: Replace D with your install media drive letter, and F with your USB flash drive letter.
Step 6. Use ROBOCOPY command "robocopyDE:F: /s /v /mt: 16" to copy all files and folders of the Windows 7 installation media to the USB drive.
When it completes, type "Exit" to leave the command prompt. Then you can boot your computer from the bootable USB drive and install Windows.
Create Windows 7 bootable USB drive for portable Windows
This part tells how to save your personalized Windows 7 OS on the USB drive, thus you can get a portable Windows workspace and boot any compatible compute from it. To complete the task, a powerful partition manager, Qiling Disk Master Professional is recommended. It's for Windows 7/8/8.1/10/11 and with an intuitive GUI interface. Here are the detailed steps:
Make bootable USB drive to repair OS or clone hard drive
Partition Assistant also has "Make Bootable Media" function, enabling you to create a bootable repair USB drive based on Windows PE. If OS gets corrupted, insert the bootable repair USB to the PC, run Windows 7 from it and then you can repair MBR of corrupted system hard drive, check bad sector for hard drive, and clone hard drive.
Step 1. Connect an empty USB flash drive or USB external hard drive to a working computer and run the software. Click "Tools" in the top toolbar, and choose "Make Bootable Media".
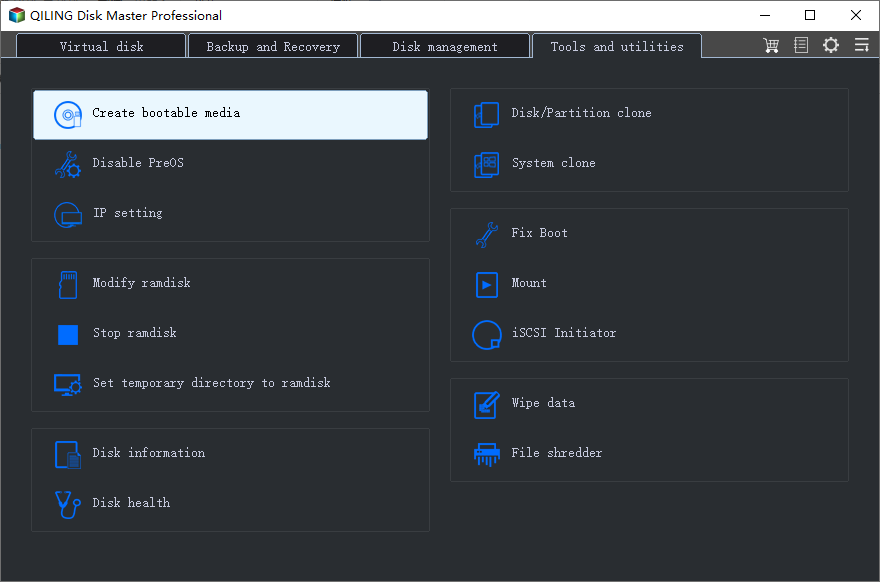
Step 2. Choose "USB Boot Device" among three options and click "Proceed",

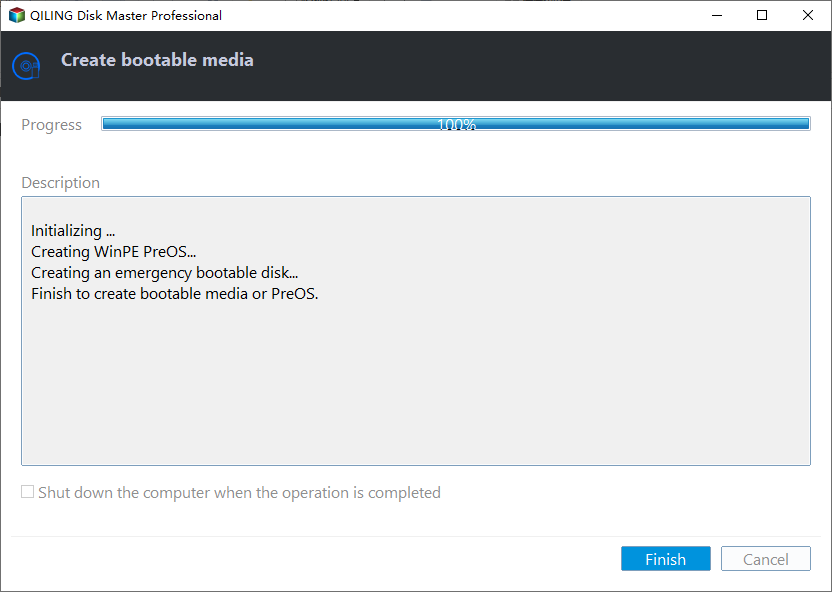
Step 3. When the operation completes, click Finish to exit.
PS.: It is available to create a bootable CD/DVD as well via Qiling Disk Master Professional.
After creating Windows 7 bootable USB under different situations, you can insert the USB drive to the computer that you want to boot and enter BIOS to boot computer from it.
Related Articles
- How to Low Level Format USB Flash Drive?
Why and how to low level format USB flash drive? You can find out answers in this paper. - How to Boot Windows 7 from External Hard Drive Successfully?
There are chances that you need to boot Windows 7 from external hard drive. This article demonstrates how to create bootable media and boot Windows 7 from the drive. - Create Windows Server 2012 Bootable USB for Repairing
When Windows Server-based computer fails to boot and you are without a recovery disk, you can turn Qiling Disk Master Server to create a bootable USB drive to repair Windows Server. - How to Boot Windows 10 from USB Flash Drive (2 Approaches)
Booting Windows 10 from USB flash drive can help you with clean installation or troubleshooting, especially when a PC crashes and fails to boot. Here's how to do it correctly.