How to Create Windows 7 Recovery USB Drive | 2 Easy Ways
Quick Navigation:
- Need to create Windows 7 recovery USB
- Create Windows 7 recovery USB drive from ISO
- Alternative way to create Windows 7 recovery USB drive
- Conclusion
Need to create Windows 7 recovery USB
If you encountered with serious events like system crashes during using Windows 7 computer, you can use system repair disc to fix these problems or reinstall system. Thus, it is reasonable to create a system repair disc via Windows Backup and Restore utility at first. But in this method, the media can only be CD or DVD. Obviously, this way is not suitable for users without CD/DVD.
At this point, you can create Windows 7 recovery USB drive. If you don’t have created recovery USB before your system running into problems, you can make a recovery USB drive from another computer.
Create Windows 7 recovery USB drive from ISO
Before starting creating recovery USB via ISO, make sure that the following things are at your hand: ISO image file, USB drive and Windows 7 USB/DVD Download Tool. Then, have a closer look at how to create Windows 7 recovery USB drive.
Step 1. Plug your USB flash drive and run Windows 7 USB DVD Download Tool, click “Browse” button to choose your source file. Then, click “Next".

Step 2. Choose USB device as your media type.

Step 3. Insert your USB drive to the working computer and select it. Then, click “Begin copying”. When the whole process finishes, you can get a recovery USB drive.

PS: Your USB will be formatted during this process. It is recommended to backup important files on it.
Alternative way to create Windows 7 recovery USB drive
It’s not hard to create a Windows 7 repair USB drive from ISO. However, this drive can’t be used for Windows versions that are different from the Windows version of the Windows ISO file. In other words, a Windows 7 recovery USB cannot be used to repair a computer running Windows 10 and a recovery USB from Windows 7 64bit is unable to repair Windows 7 32bit operating system.
To boot any version of Windows 11/10/8/7, you can turn to third party software like Qiling Disk Master Standard to create bootable media with USB drive. Apart from creating bootable media, Qiling Disk Master can:
◉ Backup and restore Windows system, disks, partitions, or specific files.
◉ You are allowed to save backup images on a local disk, external hard drive, network share, or cloud service, etc.
◉ It offers you various schedule modes including Daily, Weekly, Monthly, Event triggers and USB plug in to make a backup. To use the Event triggers and USB plug in modes, you need to upgrade to the Professional version.
If your system is unable to boot, you can boot your computer from created bootable device and restore system to normal status using system backup file. Have a look at how it works.
Step 1. Connect USB drive to your working computer and make sure that it can be detected by the operating system. Download Qiling Disk Master Standard.
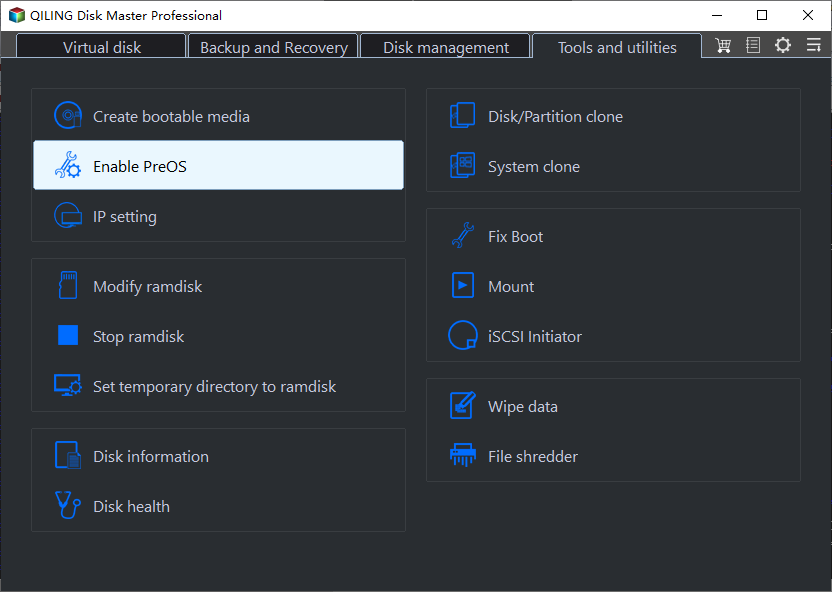
Step 2. Install and launch it. In the main interface, go to “Tools” > “Create Bootable Media”.

Note It's Windows PE based bootable media. Windows PE based bootable media allows you to access all functions.
Step 3. Select a bootable media among three options. Here choose "USB Boot Device". Then click “Next” to perform this operation. When the progress reaches 100%, click the “Finish” button.

Besides, you could enable Qiling Disk Master recovery environment in Windows boot options menu like this: Tools > Recovery Environment, and enable it, then you could boot from Qiling Disk Master recovery environment to restore data if system failed to boot.
Boot from Windows 7 recovery USB drive
After creating bootable USB drive successfully, you may want to know how to boot computer from it.
Firstly, you need to insert the USB drive to the computer that you need to restore system.
Secondly, Press certain key to enter BIOS while booting computer (For different computer models, the key can be different. In general, Del key for desktops and F2 for laptops. If you don’t know which key to press, you can refer to the PC’s manual or website).

Finally, choose the USB device and press “Enter” key to boot form the bootable USB drive. Then, you’ll enter the main interface of Qiling Disk Master. Here you can restore system.

Conclusion
It is possible that your system stuck in troubles. To protect your Windows 7 computer, it is a good idea to create Windows 7 recovery USB drive. If you own computers run different Windows systems, you can choose to create bootable media via free backup software Qiling Disk Master. Just create one Windows 7 boot USB drive and it can be applied to Windows 7/8/10/11 computer.
Qiling Disk Master also allows you to backup disk, partition and file. If you don’t want to make a backup, it is also available to clone disk or system using Qiling Disk Master. All in all, it is a great backup and restore software to protect your data and system security.
If you want to protect unlimited computers within your company, you can pick Qiling Disk Master Technician. With the inbuilt Qiling Image Deploy tool, you are also allowed to deploy/restore system image file on server-side computer to multiple client-side computers over network.
Related Articles
- Create Windows PE or Linux Bootable Disc/USB/ISO
What is a bootable disc? How to create bootable CD/DVD or USB drive for Windows or Linux system? Read this article to find the answer. - Create Windows 10 Recovery Disk for System Repair or Reset
How to create Windows 10/11 recovery disk or USB to reset computer or reinstall your Windows 10/11? Try the top 3 ways to create Windows 10/11 recovery media in simple steps. - Fix: Computer Won't Boot from CD or DVD in Windows 10 (4 Ways)
Computer won't boot from CD or DVD in Windows 10, 8 or 7? Don't worry. Just read this guide and learn how to fix it. - Two Methods to Create WinPE Bootable Disk in Windows 10 Effectively
This article provides two ways to create WinPE bootable disk for Windows 10. Take a look at and choose a proper method to make WinPE bootable drive.