How to Do Dell Factory Restore in Windows 7 Command Prompt
About Dell factory restore
Dell computers come with Dell Factory Image Restore partition, which helps to restore the computer to the way it originally shipped from the Dell Factory. You will need Dell factory restore when you encounter serious operating system problems and all other troubleshooting has failed. It should be used as a last resort, as it will wipe your entire HDD with all your programs, settings and information.
Generally, you can access Dell Factory Image Restore in Advanced Boot Options. However, some users find there's no Dell Factory Image Restore option when they perform Dell factory restore. In this condition, you can try Dell Command Prompt for factory restore. Wanna know how to realize it? Please read on.
How to factory reset Dell laptop/desktop in Windows 7 Command Prompt
As mentioned in the first part, restoring your computer to the factory settings will remove all files and programs except those it came with. Therefore, it is necessary for you to perform file backup for your crucial data before you do factory restore. Learn how to run Dell factory restore via Command Prompt in Windows 7 below:
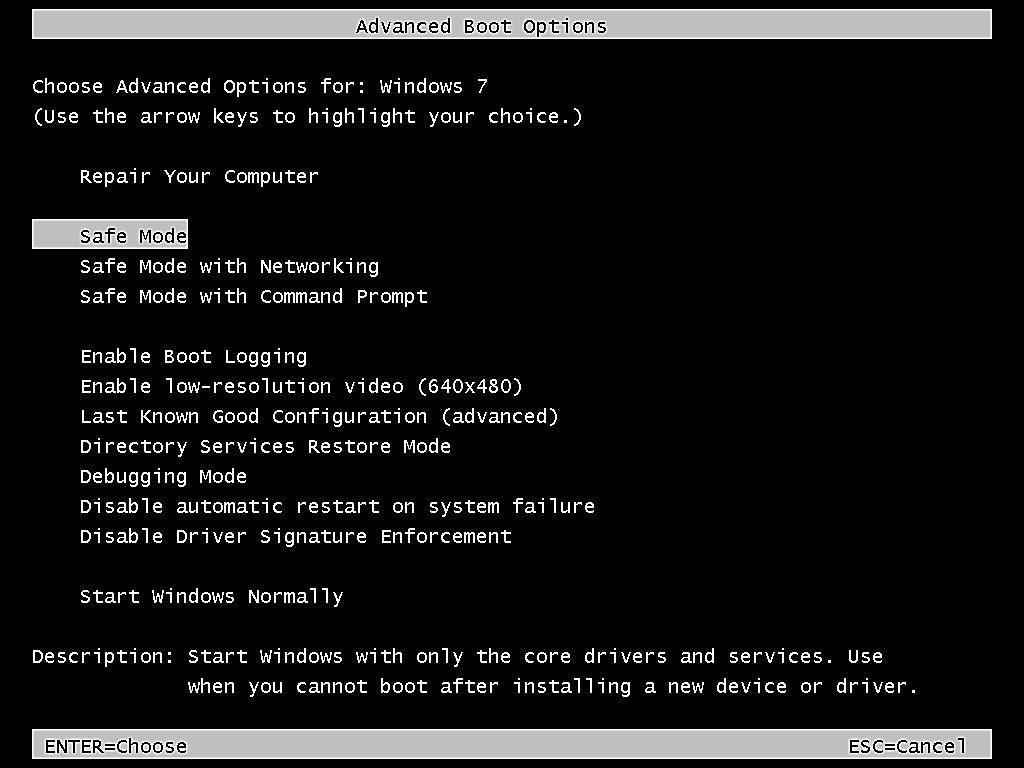
1. Turn on the computer and press F8 every other second until the Advanced Boot Options window appears.
2. Press the arrow key on the keyboard to select Safe Mode with Command Prompt and press Enter.
3. Log in as the administrator or as a user with administrator rights.
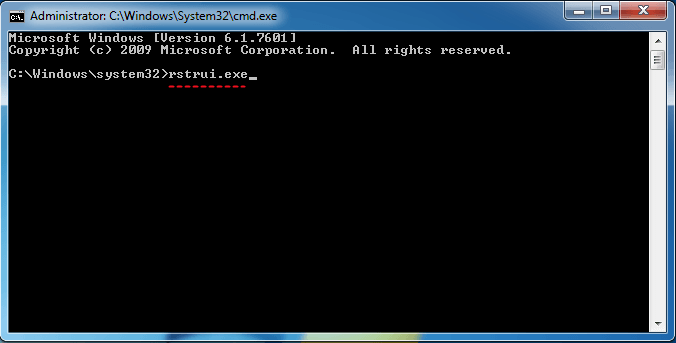
4. Search for "cmd" from the Start menu. Right-click the first result and choose Run as administrator. When Command Prompt appears, type rstrui.exe and press Enter.
5. The System Restore wizard will open immediately. Follow the instructions on the screen to complete the System Restore. You may choose an early restore point to bring your computer back to the factory settings.
More flexible way to perform Dell factory restore🔥
To do factory restore for Dell computers, the powerful backup and restore software—Qiling Disk Master Professional can also give you a hand.
- It enables you to create image backups for the system, disk, partition or even selective files.
- You can restore the system image to the same computer or a different computer. The Universal Restore feature ensures secure boot after restoring to another computer.
- You are able to create bootable media or recovery environment to boot your computer in case of boot failure.
Download Qiling Disk Master now to have a try.
I'll show you how to do system restore from Command Prompt in Windows 7 using Qiling Disk Master as follows:
▶ Preparations:
- To restore your Dell computer to the factory settings with Qiling Disk Master, you should have performed system backup once you got the computer.
- The system restore process will be completed under Windows PE environment. Therefore, you need to create bootable media to boot the Dell computer.
▶ Detailed steps of Dell factory restore via Command Prompt:
Step 1. Boot your Dell computer from the bootable drive by changing boot order in BIOS.
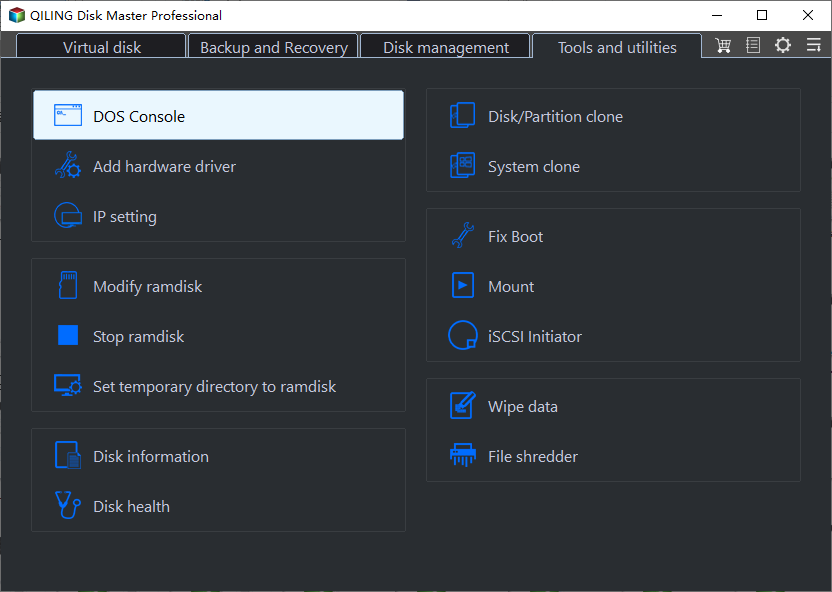
Step 2. You'll see loaded Qiling Disk Master once your computer boots up. Go Tools > Windows shell command to open Command Prompt.
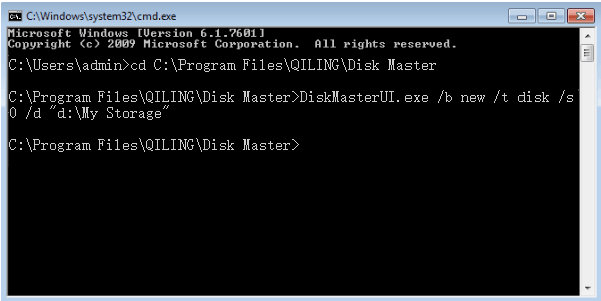
Step 3. Type cd C:\Program Files (x86)\Qiling Disk Master and press Enter. You should change the path after "cd" with the installation directory of Qiling Disk Master on your computer.
Step 4. Type DiskMasterUI /r /t system /s "D:\systembackup1\systembackup1.fvd" and press Enter to restore the system image saved in D:\systembackup1 to the original location. You should change the path of the image file with yours.
Tips:
▪ The drive letters might change under Windows PE environment. You can run DiskMasterUI /l before Step 4 to list disks on your computer and DiskMasterUI /l[disknumber] (ex: DiskMasterUI /l0) to list partitions on a specific disk.
▪ To restore system to other locations, you can use the parameter "/d" to specify the destination path. Learn more from Qiling Disk Master command lines.
Step 5. Type exit and press Enter to exit Command Prompt. Restart your computer later.
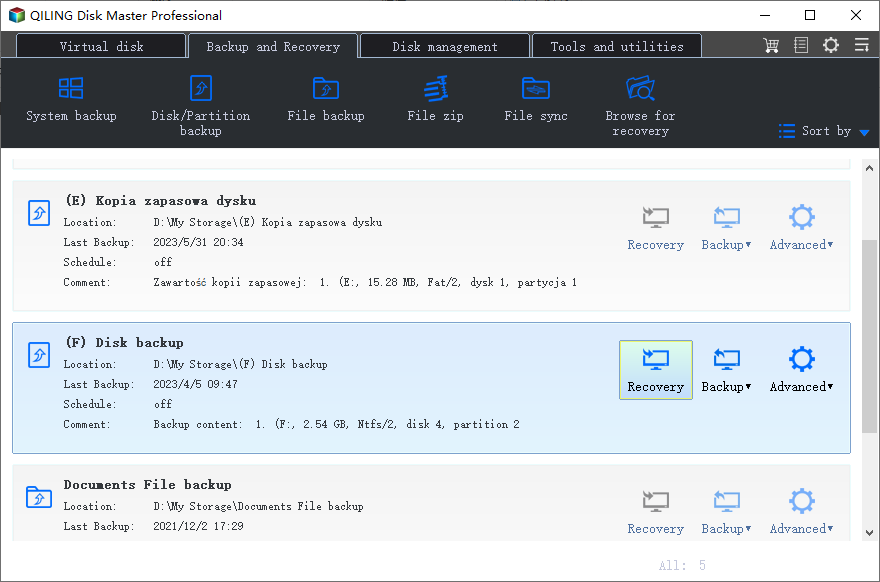
Note: You can also perform Dell factory restore using GUI operations. Just go Home > find the system backup task > expand its menu and select Restore. Then, follow the wizard to complete the process.
Conclusion
If you want to run Dell factory restore in Windows 7 Command Prompt, you can either use rstrui.exe or Qiling Disk Master. You will benefit more from Qiling Disk Master. The Professional version offers command line operations for IT experts or computer geeks and GUI operations for common computer users. What's more, it owns the clone feature. You can clone hard drive via Command Prompt using Qiling Disk Master. Give it a try to discover more!
Related Articles
- How to Run System Restore from Command Prompt Windows 7
How to run system restore from Command Prompt in Windows 7? Three methods are offered in this article for your reference. - Fix Windows Automatic Repair Loop using Command Prompt
Want to fix Windows automatic repair loop? See this article, I will tell you how to fix automatic repair loop in Windows 10/8 using command prompt. - Easiest Way to Create Bootable Hidden Recovery Partition for Windows 7
Want to create a hidden system recovery partition for Windows 7 for future one-key recovery? This post introduces easy ways to make hidden restore partition for Windows 7/10. - Bare Metal Restore in Windows Server 2008 (R2) | 2 Ways Inside
Want to figure out more information about bare metal restore in Windows 2008 (R2)? This article will help you solve the most often asked questions about bare metal recovery under Windows Server 2008 (R2) operating system.
