How to Run System Restore from BIOS in Windows 7 (2 Ways)
When to do System Restore from BIOS?
System Restore is a built-The Windows Recovery Tool allows you to revert to a previous software, registry, and driver configuration, known as a restore point. This is especially helpful when your computer is experiencing serious issues and you're unable to find a specific solution, making it a useful troubleshooting tool.
With System Restore, you can undo any changes that may cause the current problems and bring your computer back to the way it was when a system restore point was created.
To perform System Restore from BIOS in Windows 7, you should first enter the BIOS settings by pressing the corresponding key (usually F2, F12, or Del) when the computer starts. Then, navigate to the Boot tab and select the Windows 7 installation drive. Next, save the changes and exit the BIOS settings. After that, Windows 7 will start in a state where you can access System Restore.
How to restore Windows 7 from BIOS efficiently
If your computer won't start up, you can perform system recovery from BIOS in Windows 7. To do this, turn off your computer, then press the power button to turn it back on.
1. Insert the Windows 7 installation disc into your computer and turn it on. Wait for the prompt to press a key to start Recovery Mode.
2. At the Windows setup dialog, set your appropriate settings and click "Next".
3. Click on the "Repair your Computer" option.
4. To install the Windows 7 operating system, start by clicking on your Windows 7 operating system in the list provided, then click "Next". If your operating system is not listed, click "Load Drivers" to search for it.
5. Select System Restore from the recovery tool list and click Next to start the System Restore wizard.
6. Select a restore point from the next screen and click "Next". Choose a date when the computer was working properly, and click "Next".
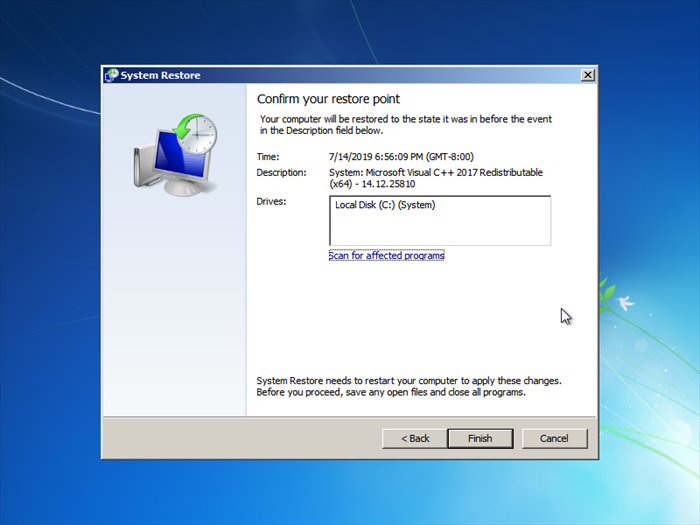
7. Click "Finish" to start the system restore. When prompted, restart your computer to return to the restored state.
To restore Windows 7 from BIOS, you can follow the steps mentioned earlier. For Windows 10, you'll need a Windows 10 installation media, and then navigate to "Repair your Computer" > "Troubleshoot" > "Advanced Options" > "System Restore" to restore Windows 10 from BIOS.
To create a recovery drive and protect your computer in a more reliable way, you can create a recovery drive that can boot your computer and restore the system in case of a serious problem, allowing you to recover your computer.
Create Windows 7 recovery disk to restore system from boot🔥
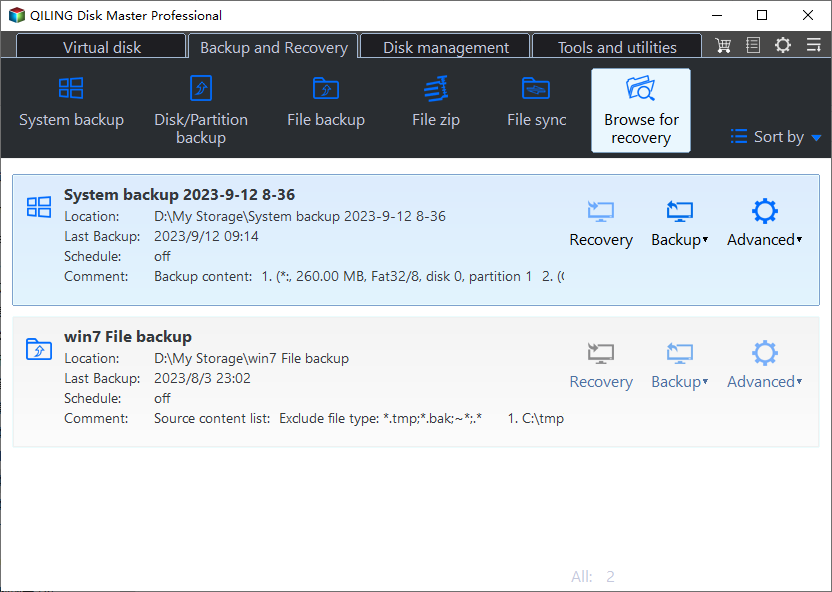
Qiling Disk Master Professional, a comprehensive Windows PC backup software, provides assistance in protecting against data loss and recovering from difficult situations by enabling users to create backups of their computer.
- There are four types of backups that cater to different needs: System Backup, Disk Backup, Partition Backup, and File Backup.
- To enhance backup efficiency and conserve disk space, you can create incremental and differential backups.
- It allows you to create a bootable USB drive/CD/DVD to boot your computer in case of boot failure, allowing you to troubleshoot and repair issues.
If you have created a recovery drive before your computer fails to boot, you can easily restore Windows 7 using Qiling Disk Master. If not, you can create one on another computer with the same OS. However, be aware that restoring from a recovery drive will revert your computer to its state at the time the drive was created, making it a last resort to get your computer working again.
To create a recovery drive and restore Windows 7 from boot, download Qiling Disk Master and follow the guidance below. This tool will help you create a recovery drive that can be used to restore Windows 7 from boot.
◉ Create a recovery drive
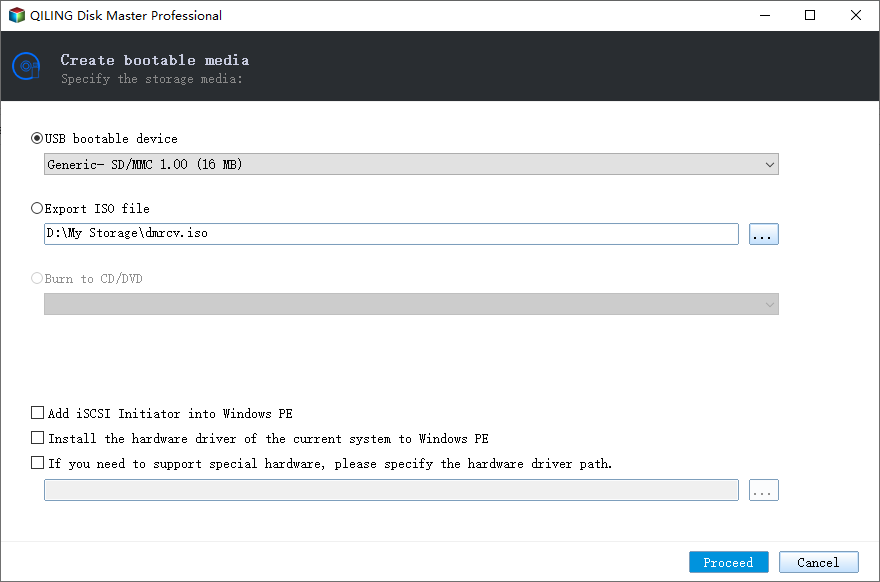
1. Connect a USB drive to your computer, install and launch Qiling Disk Master, and create bootable media on the USB.
2. To backup the system on the bootable USB, click on "Backup" in the left pane and then select "System Backup".
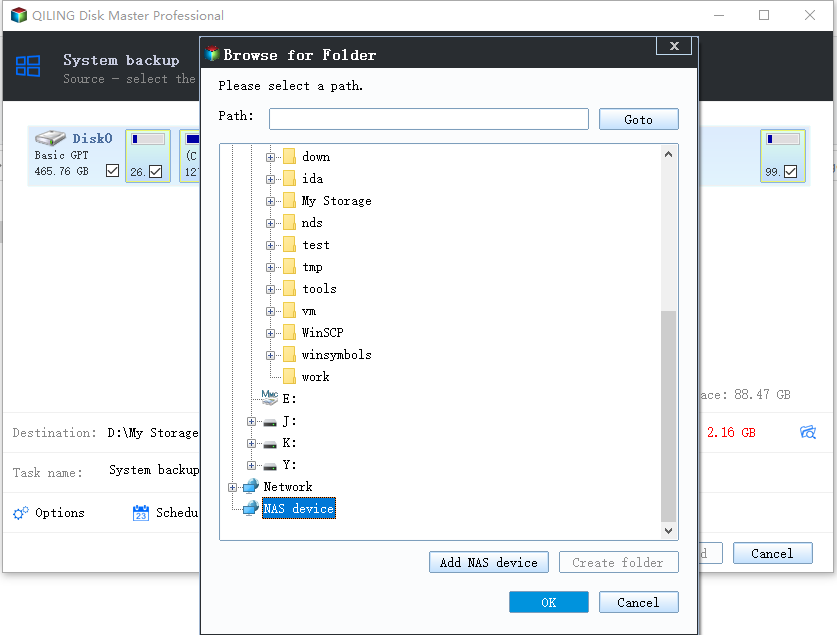
3. The system partition(s) will be selected by default, and the backup files will be stored on the chosen USB drive.
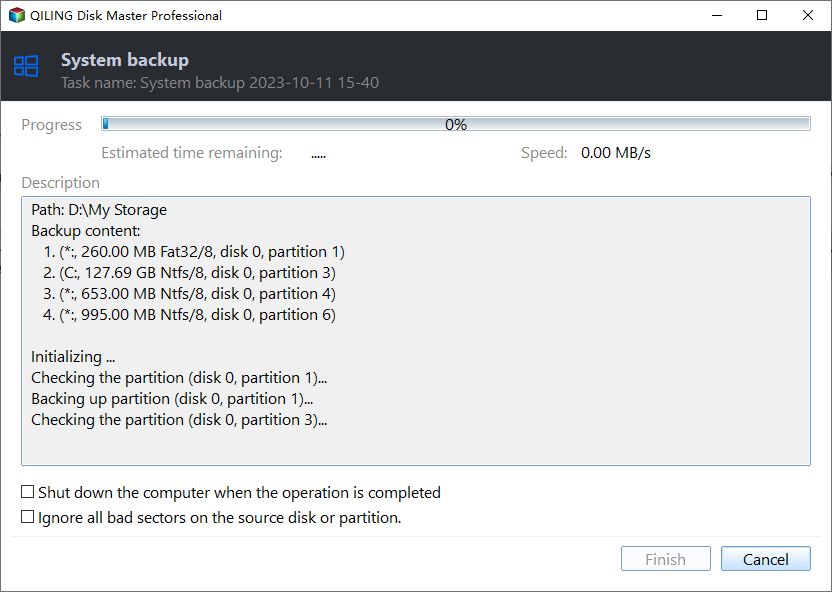
4. Confirm the operation and click "Proceed". After the backup process is finished, safely disconnect your USB drive.
Note: To create a scheduled backup task, click on "Schedule Backup" in the bottom left corner of the system.
◉ Restore Windows 7 when it fails to boot
1. Connect the recovery drive you've made to your computer, then restart and change the boot order in the BIOS settings to boot from the recovery drive.
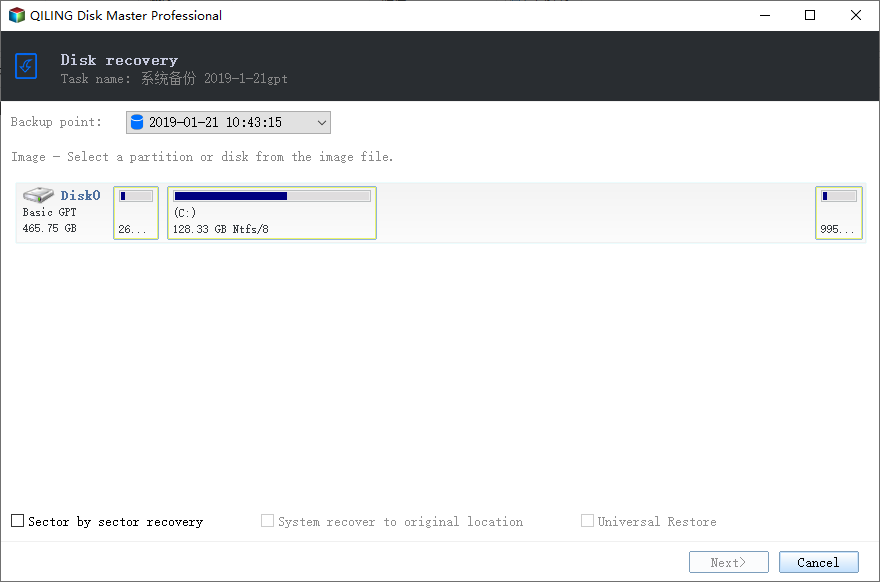
2. Once logged in, you'll see the Qiling Disk Master loaded. To proceed, select the "Restore" option and then click on "Select Image File" to continue.
3. Locate the system image file on the recovery USB drive and click "Next".
4. Select "Restore this system backup" and click "Next".
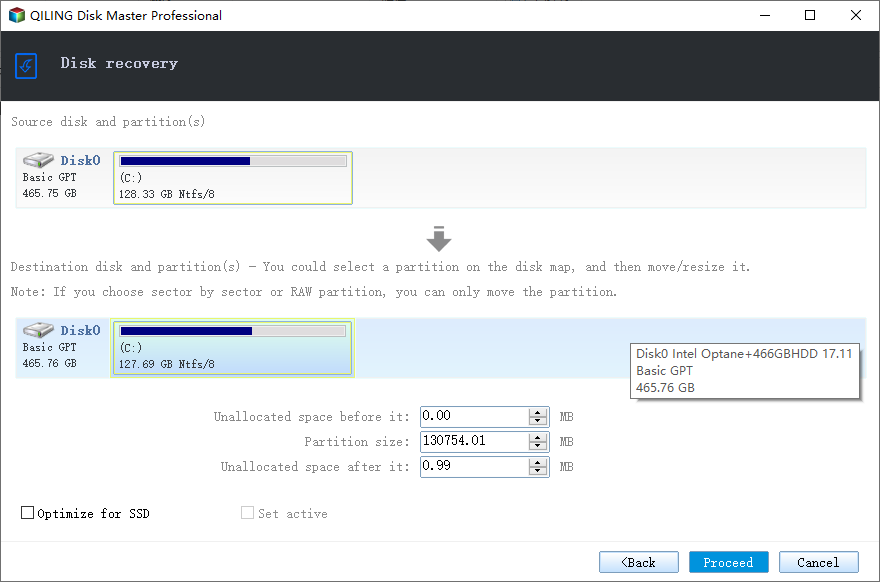
5. To initiate the system restoration process, preview the operation on the Operation Summary page, and then click "Proceed" to start the process.
Notes:
▪ The program will automatically select the original system partition(s) as the destination drive(s) if detected, otherwise, it will prompt to manually select a destination path.
▪ If your system backup image is from another computer, you should check the "Universal Restore" option in Step 5 to ensure the system is bootable after recovery.
▪ To deploy or restore a system image to multiple computers within a local area network (LAN), you will need to utilize the image deployment software Qiling Image Deploy (AID).
Conclusion
You have learned step-To system restore from BIOS in Windows 7, follow these steps: boot your computer, press the F2 key to enter BIOS, navigate to the Boot tab, select the Windows 7 installation drive, press Enter, select the System Restore option, and choose the restore point. However, this method can be unreliable. A more reliable way to protect your computer is to use Qiling Disk Master, which offers features like cloning an SSD to a larger SSD and transferring data from one Surface Pro to another, providing a more comprehensive solution for your data protection needs.
Related Articles
- How to Do System Restore in Safe Mode Windows 7?
- How to Do a System Restore When the Computer Won't Boot?
- Factory Reset using System Recovery Options Command Prompt
- System Restore Could Not Start in Windows 7-How to Resolve?
Are you confronted with the problem that System Restore could not start in Windows 7? Learn how to resolve it efficiently from this page.


