How to Use Windows 7 System Image to Restore a Hard Disk
What is System Image Recovery
System Image Recovery is one of the advanced boot options in Windows 7. It allows you to replace everything on the PC with an image file that contains all the system drives and additional drives as you need. That is, you can use Windows 7 System Image Recovery to restore a hard disk when computer breaks down and even fail to boot.
As an repair tool in Windows 7/8/10/11, System Image Recovery is useful yet sometimes won’t work, or prompt you that no disk can be used. These issues happen randomly and take you much effort to work them out. Also, the process of Windows 7 system image restore is relatively slow.
In this case, you should complete the process very carefully, or find a quick and highly compatible alternative to backup & restore the operating system and even the entire hard drive.
- Use Windows 7 System Image Recovery to restore a hard disk
- Efficient and free alternative to restore Windows OS or hard drive
Use Windows 7 System Image Recovery to restore a hard disk
How to use system image recovery to restore hard drive? You should first have a backup image created before the error occurs. Otherwise you can only reset windows 7 with installation disc. So this tutorial is mainly divided into 2 parts:
1. How to create a system image in Windows 7
Step 1. Click Start button, then click Control Panel > System and Security > Backup and Restore.
Step 2. Choose Create a system image on the left pane.

Step 3. Choose where to save the system image, then click Next.
The destination disk must be formatted to NTFS, and normally it’s not recommended to store the image file on your system drive from a safety standpoint. In Windows 7, you can restore system image from external hard drive, USB drive, DVD, network location, etc. instead.

Step 4. To use system image recovery to restore hard drive in Windows 7, you should include all the additional drives you want to keep, and click Next.
Step 5. Confirm your backup settings, and click Proceed. Then wait for the process to end.

Tips: you can create Windows 10 system image in the similar way, just search for "backup and restore" on the taskbar directly. The same goes for Windows 8.
2. How to use Windows 7 System Image Recovery to restore a hard disk
To restore system image in Windows 7, you need to do some proparations at first.
Preparations:
◉ First of all, make sure whether your computer includes a set of preinstalled recovery options.
If yes, press F8 when you start the computer and the Windows logo appears. You will enter advanced boot options in Windows 7 and see an option named Repair your computer.
If you can’t find the option, then your computer doesn't include preinstalled recovery options. You should insert a Windows 7 installation disc, change the boot order if needed, click Next in Install Windows, and then choose Repair your computer on the lower left corner.
◉ If you backed up the system image to a device like USB drive, external hard drive and so on, connect it as well.

Step 1. Enter Repair your computer menu in Windows 7.
Step 2. Choose System Image Recovery in System Recovery Options.

Step 3. It will automatically locate the available system image stores on your device, click Next to continue.
If you store it on network, just click Select a system image and type its path.

Step 4. Then choose additional restore options, and click Next.
The Install drivers… option is used to install drivers that needed for your OS yet haven’t been built in Windows. For example, if you restore the system image from network, you may need to install a set of NIC drivers. Otherwise, you are likely to get this error message: The network location cannot be reached.

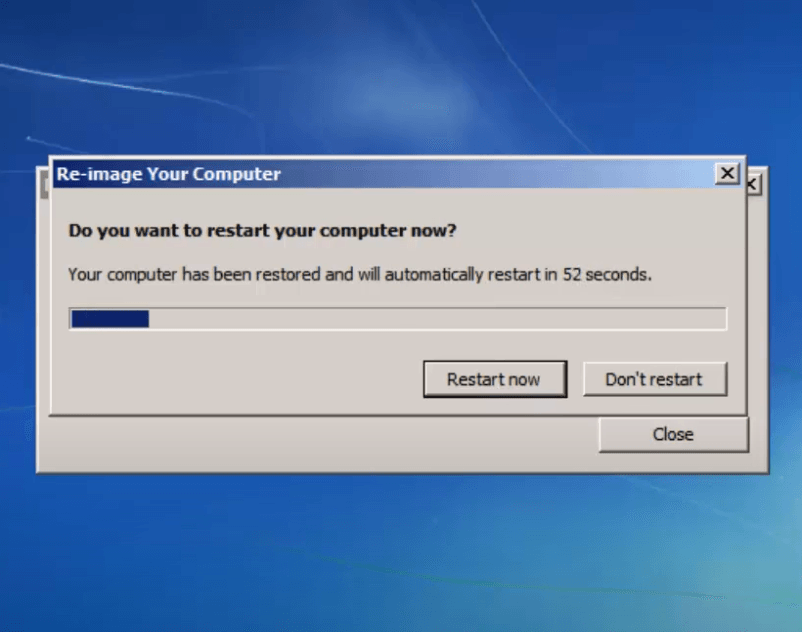
Step 5. Confirm the information and click Finish, then Yes to continue. It may take hours to restore and the computer will restart after completion.

Tips:
- You can also use a repair disc to restore your computer in Windows 7 (learn how to create it here). Just insert the disc and boot from it, then follow the wizard to re-image your computer.
- The approach to use system image recovery in Windows 10/8 is roughly the same, you just need to take corresponding way to enter Windows 10 recovery mode.
Efficient and free alternative to restore Windows OS or hard drive
Qiling Disk Master Standard is a complete backup and recovery freeware for Windows 11, 10, 8, 7, Vista, XP.
◆ It allows you to create restorable image for files, partitions, OS or the entire disk with satisfying speed.
◆ There’s a built-in tool help you create recovery media in case computer cannot boot due to system errors. You can use it along with a system image (created by this software) to restore the OS or entire disk to an earlier state.
◆ You can restore system image to another computer with different hardware if you upgrade to higher edition.
Now I’ll introduce how to restore Windows 7 with System Backup. If you’d like to backup and restore the entire hard disk along with all the personal data, choose Disk Backup instead. The steps are pretty much the same, you’ll know how to do as soon as you see the intuitive interface.
How to backup and restore Windows 7 system easily:
If you want to backup & restore only the operating system, then you can use the System Backup feature.
Preparation: Download and install the software.
Step 1. Go to Backup tab and choose System Backup.

Step 2. Your system partitions will be automatically selected. You just need to specify a destination to backup it.
For better security, you can save it to external hard drive, USB, NAS, cloud drive, network location, etc.

Step 3. Configure the backup as you like and click Proceed.
Before starting, you can edit Task Name, adjust further settings in Options, set an automatic Schedule Backup, or set a Backup Scheme (advanced editions only) to auto delete older backup.

Step 4. When the process has been completed, click Finish, or you can go to the target directory to view the image.

Step 5. To restore the system image, just navigate to Restore tab, locate the image file or task you want, and click Proceed.

Related tips:
- You can choose from five options in Schedule Backup: Daily, Weekly, Monthly, Event triggers, USB plug in. The last two are only available in advanced editions. Full backup, incremental and differential backup are also supported.
-
If your computer fails to boot and you haven’t created any system image nor bootable media, you can:
1) Install Qiling Disk Master Professional or higher editions on another working Windows 7 PC.
2) create a bootable media with it.
3) create a system or disk image to network or a removable device
4) Insert the media to boot the crashed computer to Windows PE, then restore the system image you just created.
5) Remember to tick the advanced option Universal Restore, it’s specially designed for dissimilar hardware restore and ensures you can boot the computer normally after system image recovery.
✐ Easier way to restore system image to external hard drive:
Instead of creating system image and bootable media one by one, you can use one key recovery software Qiling Disk Master to create them simultaneously. And it will add a boot men on the computer as well as a fast key to access it, F11 or A, for example.
Then, when your computer not working, you can press F11 or A to access this software via boot menu and then restore system image with OneKey System Recovery option.

Conclusion
If your computer fails and you can't log in to Windows, you may want to use Windows 7 System Image Recovery to restore your hard disk in recovery environment, which requires a previously created system image and a bootable media (if there’s no preinstalled repair tools on your computer).
You may also encounter errors that prevent you from using the feature, and the recovery speed may not be satisfactory. As an efficient alternative, you can try Qiling Disk Master, which can not only create image for file, system, partition or disk, but also help you network boot multiple computers, create bootable media, clone windows 7 to new hard drive and so on.
Related Articles
- How to Create a System Image Backup in Windows 7 Easily?
Creating a system image backup in Windows 7 helps you a lot in case of system crash, virus attack or hardware failure and get your computer back quickly. Also applies to Windows 8 and 10. - How to Restore System Image from External Hard Drive?
Restoring system image from external hard drive is a popular way of restoring Windows 7/8/10. And this article will tell you the ways to restore Windows from external hard drive. - How to Create Windows 7 Recovery USB Drive Effortlessly?
It's wise to learn to create Windows 7 recovery USB drive, which can help you to repair or restore your system if your computer fails to boot. - 2 Ways to Restore Windows 10 System Image to New Hard Drive
You will learn how to easily restore Windows 10/11 system image to new hard drive with Backup and Restore (Windows 7) or powerful backup software- Qiling Disk Master Standard.