3 Methods to Backup Windows Server 2019 to NAS/Network Share
Why backup Windows Server 2019 to NAS?
Windows Server enables a computer to manage network roles (print server, domain controller, web server, file server) and provide services for other networked computers. It’s used in business settings under most conditions and involves a lot of important data & information.
NAS (Network Attached Storage), also popular with companies, enables multiple clients to store and share files with fast data access and easy administration. If you are considering backing up Windows Server like 2019, NAS could be an ideal destination for the following advantages:
• It offers you a considerable storage space to back up Windows Server, and costs lower in the long term.
• Data stored in NAS could be accessed and shared with multiple clients on the network.
• With NAS, it’s able to stream media like movies, TV shows, music, and photos on multiple computers.
• Compared with PC, NAS storage is less likely to be damaged by accidents.
• Some NAS drives have RAID options to duplicate data on multiple drives as NAS disaster recovery strategy.

3 Methods for Windows Server backup to NAS
Since there are so many benefits to backing up Windows Server to NAS, how to achieve it? Here I compiled 3 methods and hopefully one of them could suit your case.
☛ Method 1. Windows Server Backup
Windows Server Backup is the built-in backup solution for Windows Server, including the latest system Windows Server 2019 and 2022. It did not have the ability to back up to the network in the early days, and only since 2012 has it added “Remote shared folder” option.
But there are still some functional limitations of Windows Server Backup, like the latter backup will overwrite the former one, so it can only keep one full backup. And even with the remote backup feature, there are many users reported errors when specifying NAS drives as destination.
To perform Windows Server backup to NAS successfully, it's recommended to create a VHD or iSCSI Target on your NAS drive beforehand, then select the created volume as the backup destination in Windows Server Backup.
The steps are honestly quite complicated. You could refer to following tutorials with detailed screenshots.
>> Create a virtual hard disk and attach it to NAS
>> Create an iSCSI Target on NAS device
Then you can create the backup task in Windows Server Backup, and select the NAS as select an additional drive.
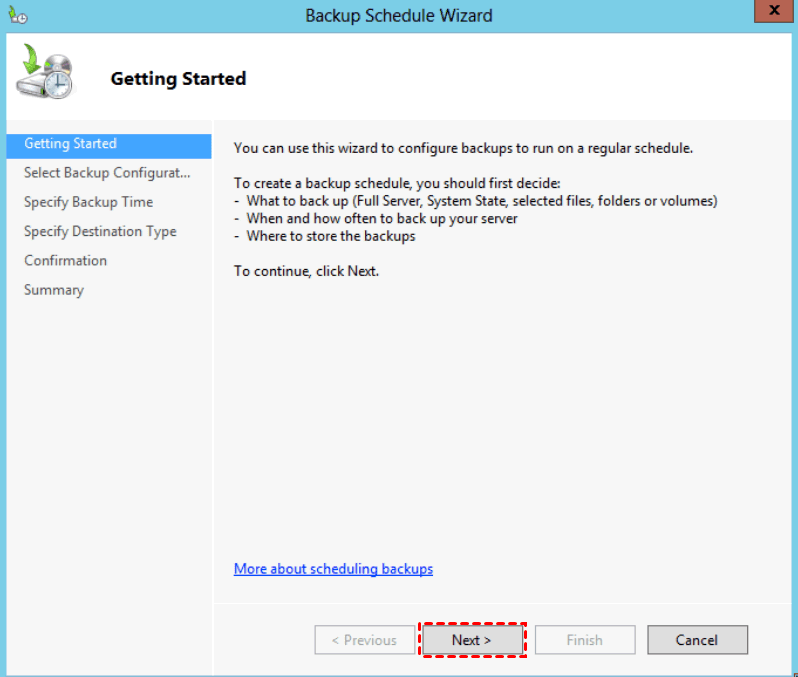
If you are not sure how to access and use the utility for image backup, please read Windows Server Backup guide.
☛ Method 2. Active Backup for Business
If you are trying to perform Windows Server backup to Synology NAS, then Active Backup for Business could be backup solution for Windows physical server, PC, rsync/SMB file server, and VMware vSphere/Microsoft Hyper-V virtual machine. Here are 2 official tutorials about it:
>> Backup full Windows PC/Server
>> Backup individual folders on Windows Server
☛ Method 3. Professional backup program (Recommended)
As you can see from above, there are some must-do configurations before Windows Server 2019 backup to NAS, and different NAS may also have different scenarios. If you don't want to spend time on these steps, and prefer a direct solution with higher success rate, the following method may suit you better.
Easy and effecient way to backup Windows Server to any NAS
Qiling Disk Master Server is a specialized backup & restore program for Windows Server. It comes with complete features including backup/sync/clone, and supports a wide range of OS and storage devices.
- You can directly backup Windows Server 2019, 2022, 2016, etc. to NAS/network share/cloud in several clicks.
- Unlike Windows Server Backup, AB enables you to schedule incremental or differential backup and keep multiple backup images for an accurate restore.
- It offers you the option to customize retention policies for auto deletion.
|
Supported OS |
Windows Server 2022, 2019, 2016, 2012, 2011, 2008, 2003 (including R2) Windows SBS 2003, 2008, 2011 Windows 11, 10, 8.1, 8, 7, Vista, XP |
|
Supported Devices |
All devices recognized by Windows, such as IDE, SATA, iSCSI, SCSI disk, IEEE1394 (Firewire). Hard disk drive (HDD), solid-state drives (SSD) and SSHD. Network-Attached Storage (NAS), Shared Network and cloud drive. External hard drives (USB 1.0/2.0/3.0), PC card, all removable flash drives and thumb drives. Hyper-V, Virtual box, VMware virtual disk and other virtual systems, etc. |
Just download the trial and follow the guide to have a try:
*If you have many machines to protect, you can consider the Tech Plus edition. Check the edition comparison.
How to backup Server 2019 to NAS/network share:
1. Make sure you can connect to your NAS, launch the software and select Backup > File Backup. You can also choose System Backup to protect the OS of Windows Server 2019.

2. Click Folders or Files to select the data you want to backup. If you choose System Backup in the last step, the operating system will be automatically selected.
Click the funnel icon beside folder path, you can use Filter settings to customize the file inclusion or exclusion.

3. To make Windows Server backup to network share/NAS, click on the inverted triangle icon beside the destination box and choose Add Share or NAS Devices, enter the IP address to add it as target, then select a folder to receive the backup.

4. Before Proceed, you can click Schedule Backup to set up automatic backup daily/weekly/monthly/event triggers/USB plug in. To save storage space in NAS, it’s also a good idea to create a retention policy for obsolete backups auto deletion.
In Options, you can manage compression level, image splitting, encryption, email notification, etc.

👉 Related tips:
- If you are worried that Windows Server 2019/2016/2012/etc. will suddenly crash and not start properly, it’s best to create a system backup task on a regular basis and create a bootable media for system restore in WinPE.
- If you want to replicate folders from Windows Server to NAS and keep the original format & structure, please use Sync features. Qiling Disk Master supports multiple synchronization modes including one-way sync, two-way sync, File Sync, File Sync. You can even sync files between 2 Windows Servers.
- If you create an Qiling account, you are able to backup files to Qiling Cloud. It offers you 1TB free storage for 15 days after you sign up for an Qiling account.
Conclusion
Want to backup Windows Server 2019 to NAS like Synology or QNAP? Qiling Disk Master Server could be a better option than Windows Server Backup with its high compatibility and complete features. No matter you want to perform Windows Server 2019 or Windows Server 2016 backup to NAS/network share, cloud drive or vice versa, the operation can be completed in several clicks. Simple and quick.
The restore function of Qiling Disk Master is also powerful, you can even perform Windows Server system restore to different hardware. And with the Clone feature, you can migrate Windows Server to SSD without reinstalling.
Related Articles
- How to Backup Windows Server 2019/2016/2012 in the Best Way?
You will learn the best way and how to backup a server to prevent data from losing. Get details below right now! - Best Way to Backup Windows Server 2008 to NAS/Network Share
This article tells you how to get Windows Server 2008 automated backup to NAS or network share in simple steps. And you are able to keep multiple backups for disaster recovery. - Create Backups with Windows Server Backup Command Line
You will learn how to use Windows Server Backup command line with Wbadmin or third-party tool. Besides, you can use the GUI version of backup software if you want a simpler way. - How to Backup Windows Server 2016 to An External Hard Drive?
This article describes why backup Windows Server 2016 to external hard drive and 2 ways to achieve the goal, including the built-in tool and the professional third-party software.